My dear friend Mem loves cake pops. Whenever we go out for coffee, she’s sure to add one of these little balls of goodness to the order. Being raised in Thailand, she didn’t grow up around a lot of baked goods. Which I honestly never thought of until she mentioned it to me! So, the other day while we were talking, she asked if I knew of anyone who made cake pops because she’d like to have some for her daughter’s birthday. I couldn’t think of anyone, but I told her I’d be glad to make some for her.
So guess what?
I had never made cake-pops.
hehe.
So, I called my cousin Jen who’s the “Cake-Pop Making Queen” and asked her how she went about this business. She shared her tips and tricks with me, and I have to say I was quite pleased with the outcome…and thankfully so was Mem and her sweet daughter.
What a blessing it was to serve a dear friend and her daughter!
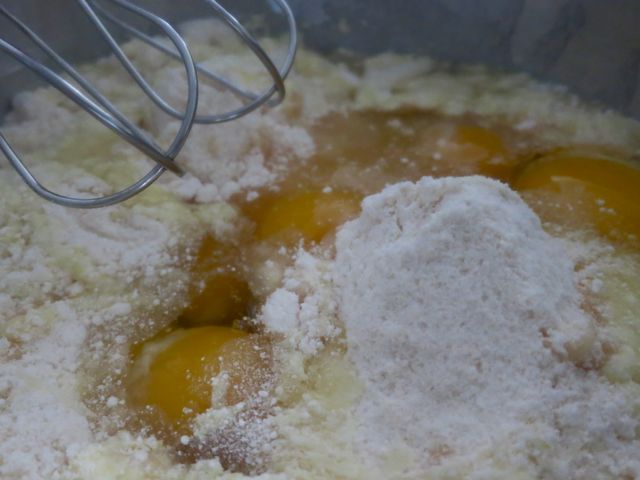
Start off by making a boxed cake as directed (folks with gluten allergies can use GF cake mix, however I suggest using 2 boxes of GF mix because they tend to be much smaller ). Make as directed and bake accordingly.
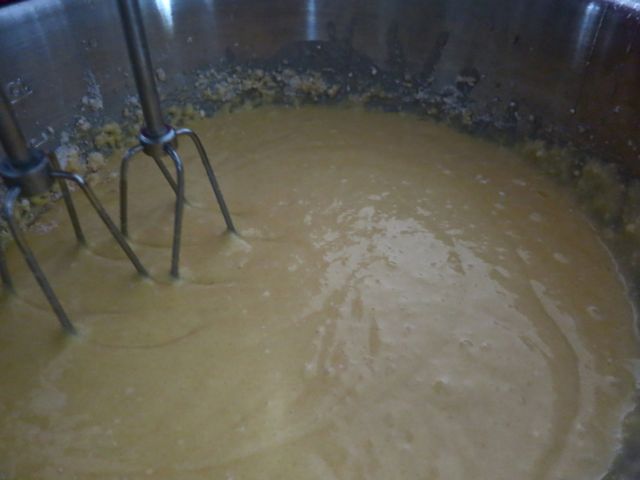
You can choose any flavor you wish- I chose a yellow cake this time.

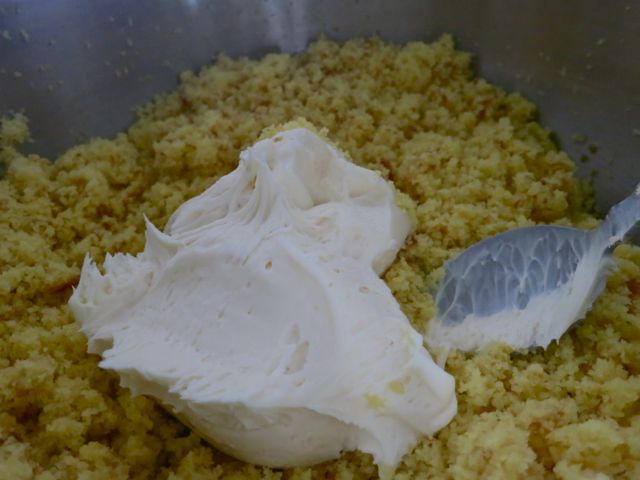
When the cake is cool enough to touch, crumble it in a medium-sized bowl. Add 1/2 container of frosting. I suggest using cream cheese frosting because it’s not as sweet. But, if you have a chocolate cake, chocolate frosting would work great, and so on.
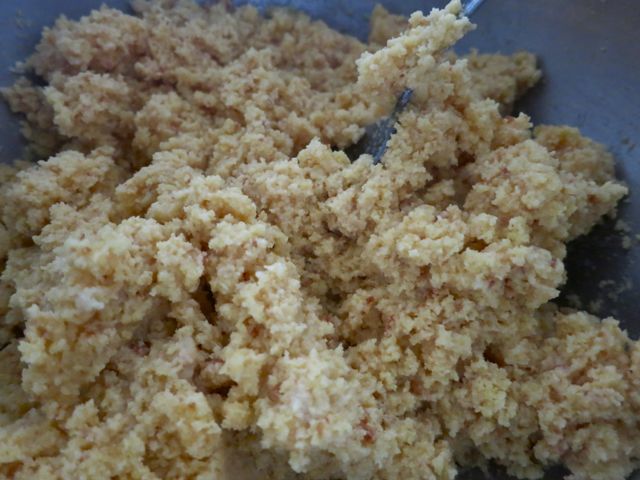
Mix this with a spoon until it’s in the consistency of raw cookie dough.
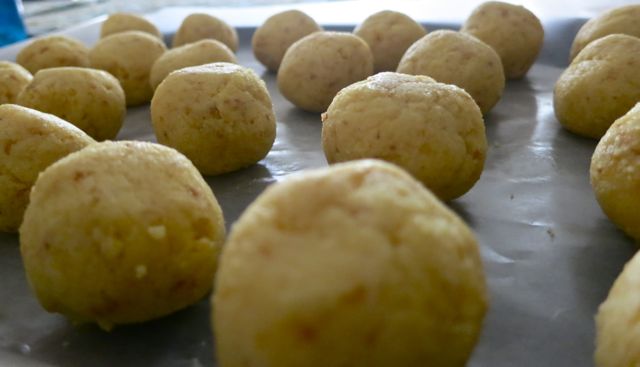
Lay out parchment/wax paper on a cookie tray. Roll balls the size of 1 heaping Tbsp.
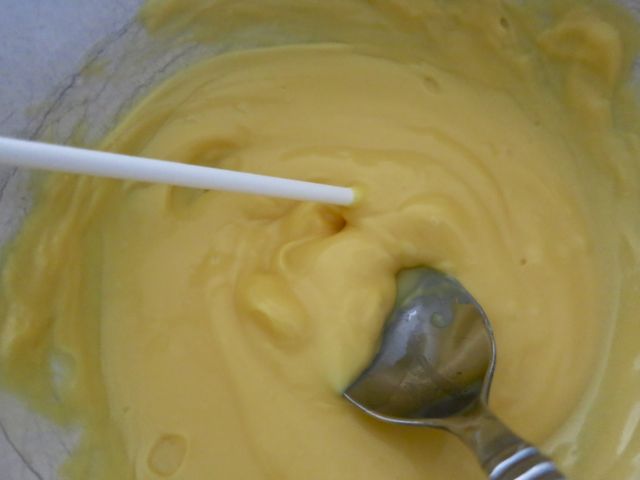
Melt 1/2 cup of colored chocolate wafers with 1 tsp of vegetable oil in the microwave for 1 minute .
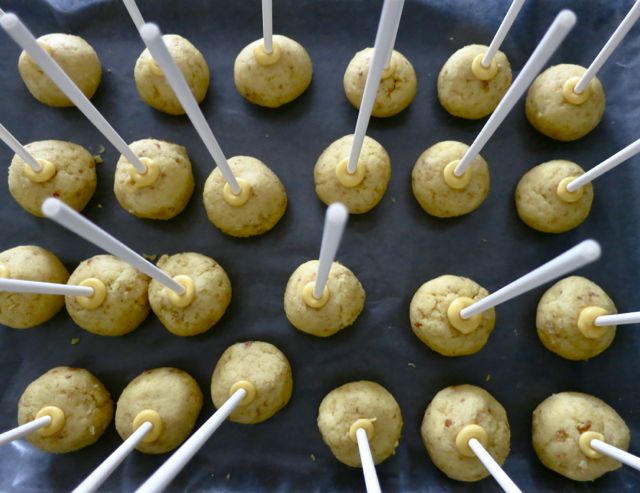
Dip sticks into the melted chocolate and place them into the balls. REFRIGERATE for 4 hours. If you skip this step, you’ll be in for a messy time.
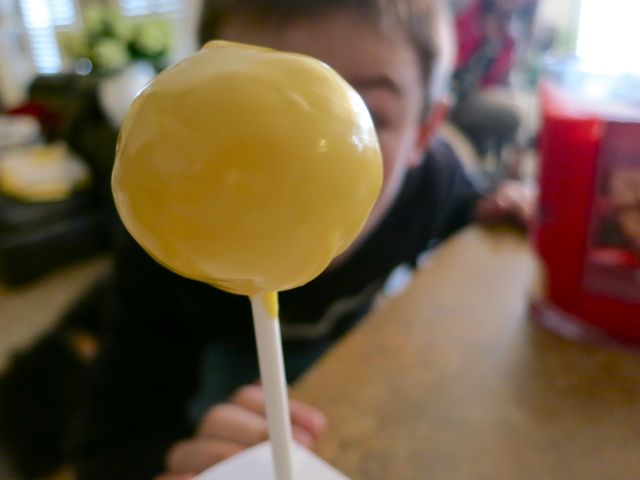
Melt remaining chocolate with 1 Tbsp vegetable oil 1 min at a time. stirring in between times. Lay cake ball on its side and swirl in a circle covering it with chocolate.
(This one was scarfed down by the “taste tester” in the background, lol- he was quite amazed by this recipe. Let’s just say, I was very glad I made extra.)

If you’re using sprinkles (which is so much easier) now is the time to put them on. If you’re decorating, wait for them to dry, then decorate. The faces will fall if you put them on now.
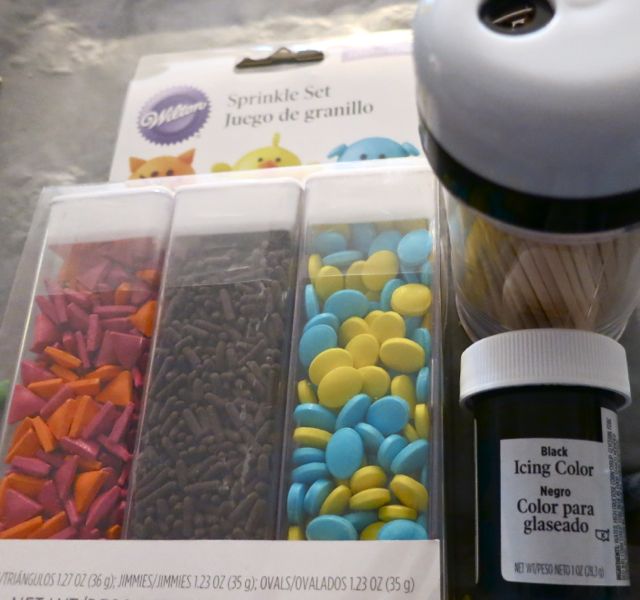
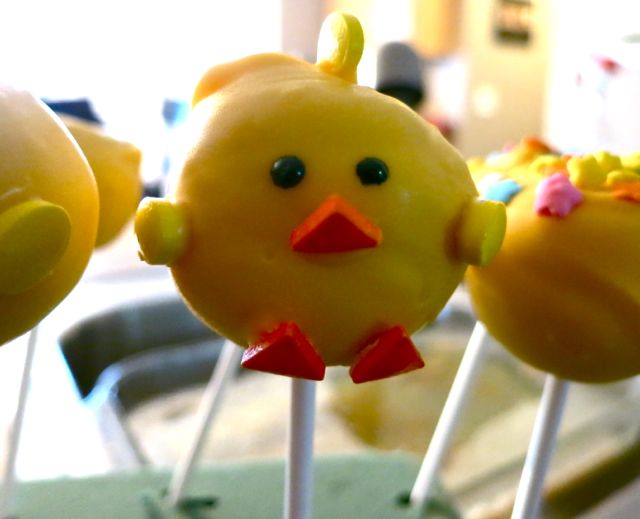
Michael’s and Jo-Ann’s sell adorable “flare” made for cake-pops! These were super cute…I used the orange triangles for the beaks and feet and the yellow ovals for the wings and “hair”. For the eyes, I used a toothpick and the black icing.
I used frosting to secure the candy pieces and chocolate to secure the little fro on top.
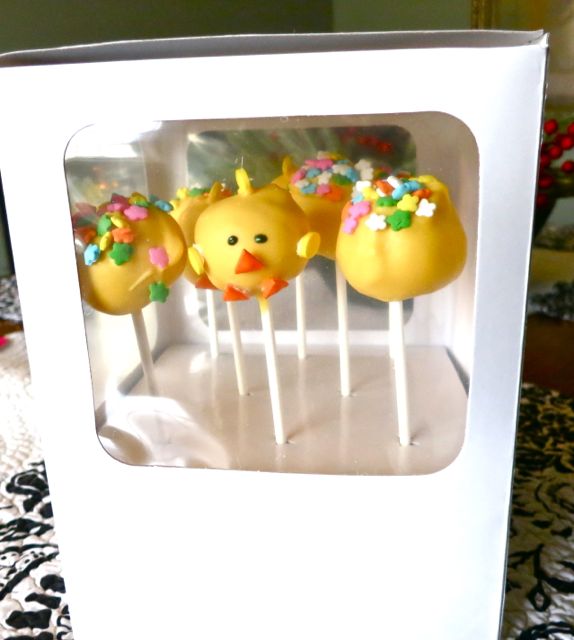
Wilton’s also makes special boxes for cake balls….love them!
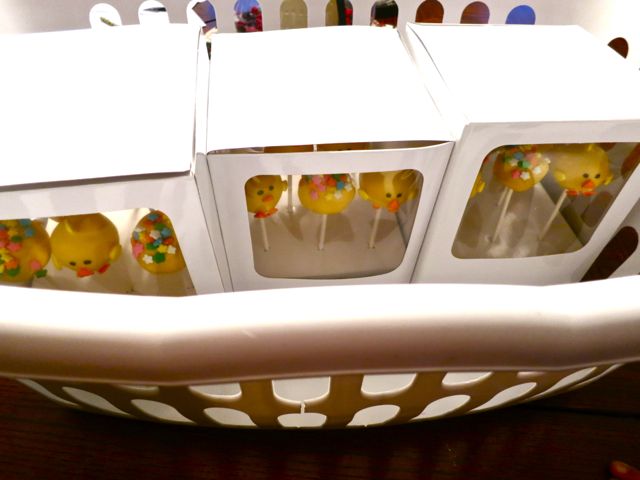
And away we went…..
These are not only super adorable-they’re amazingly delicious. The cake inside is so succulent and moist! Add “coated in chocolate”, and you just can’t go wrong. Mmmmmm!
[yumprint-recipe id=’12’]


OH my goodness – these are adorable Janelle!!! Way to go!!!
Courtney
Thank you!
Soo cute! I want to make for my girls.
They were a hit 😉
Very nice post. I just stumbled upon your blog and wanted
to say that I’ve truly enjoyed surfing around your blog posts.
After all I’ll be subscribing to your feed and I hope you write again
soon!