
Creativity is intelligence…having fun. – Albert Einstein
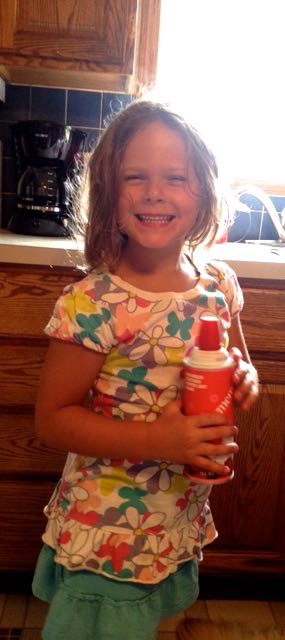
“Mama, we need to make my Valentine’s Day box for school this weekend. I know what I want to make…a vending machine!”
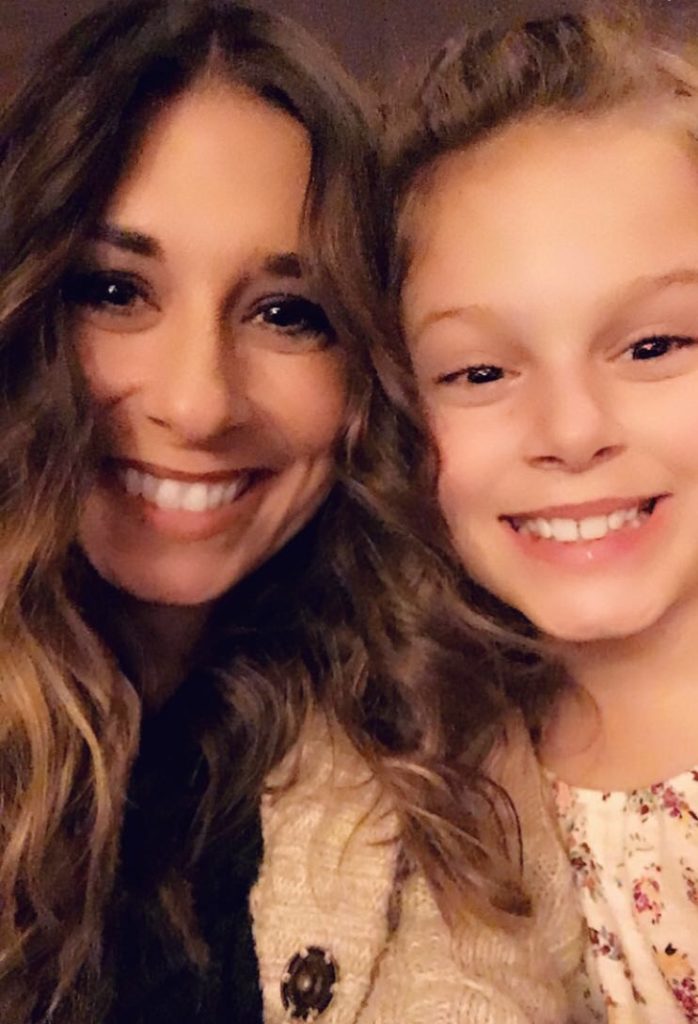
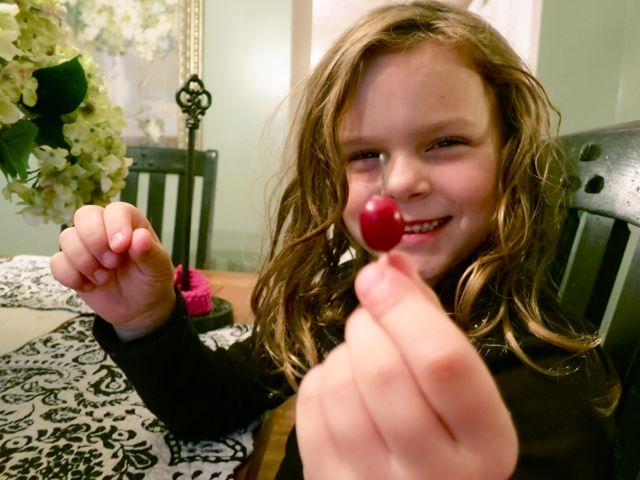
My little one showed me a variety of pictures she photo snapped on her tablet. Her very intelligent brain is always mustering up something creative and artistic. She amazes me.
If you’re a mom who is in a panic wondering what to create with your kiddo this Valentine’s day. Fear not. This project is super fun and pretty adorable, if you ask me.
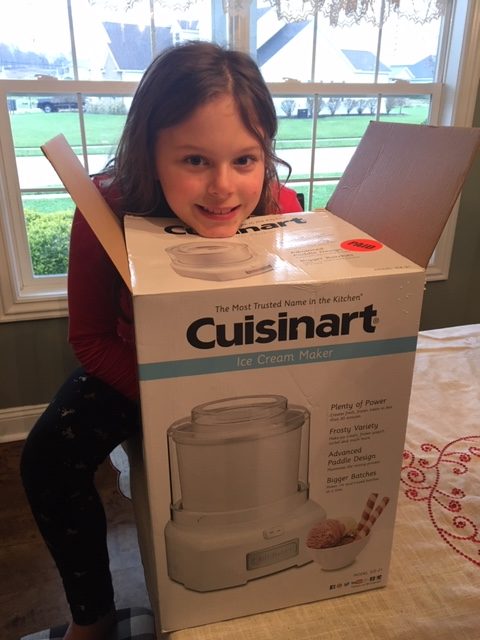
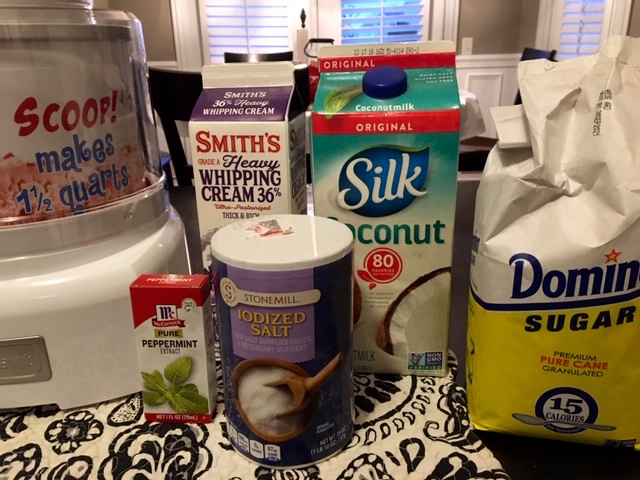
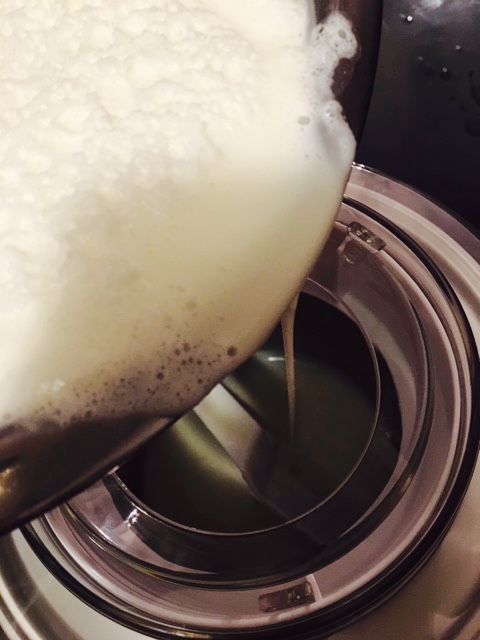
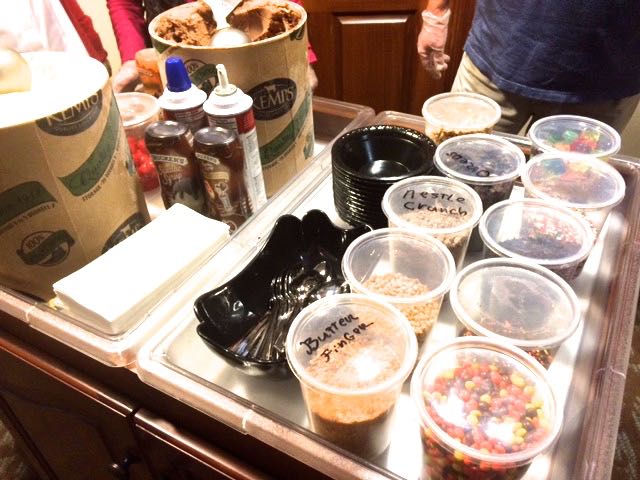
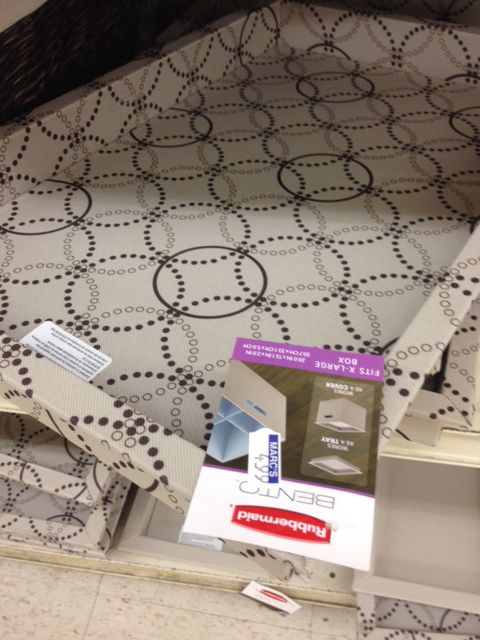
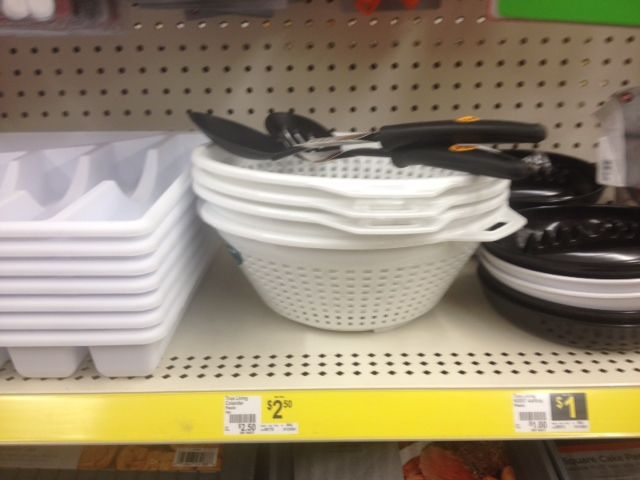
As I was putting away the ice-cream maker, I realized the box was actually the perfect size for her project and set it aside.
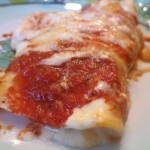
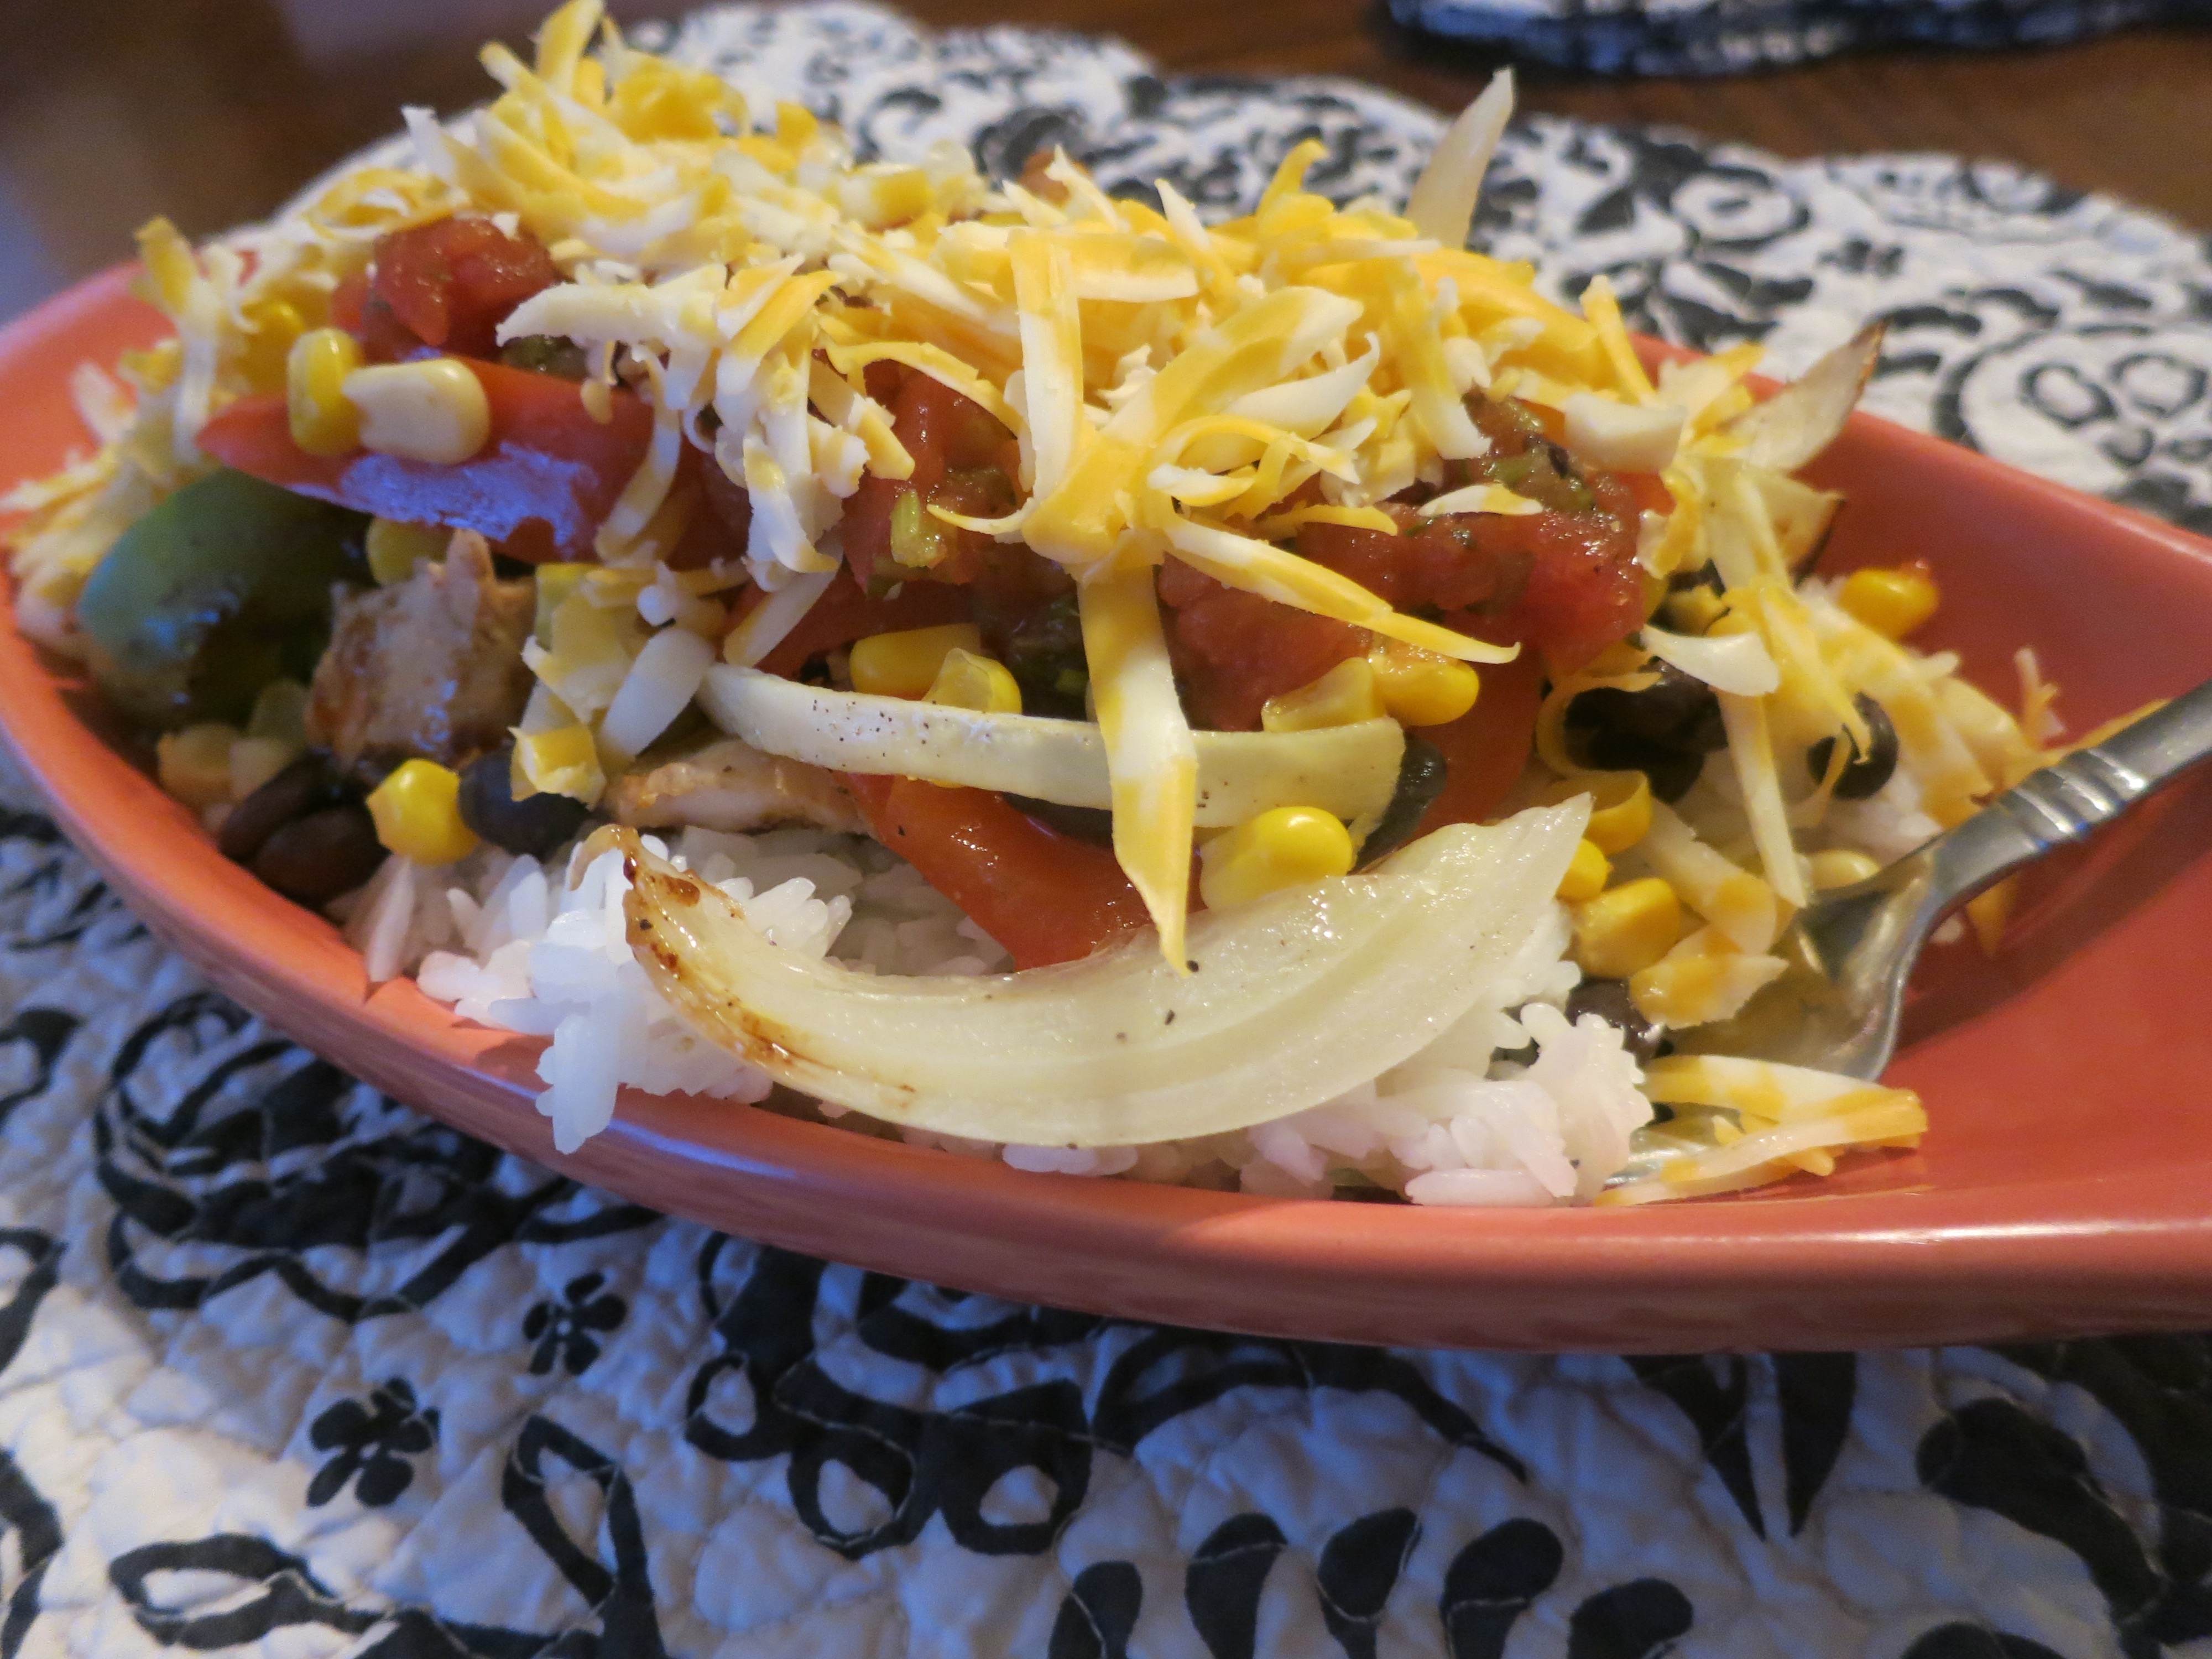
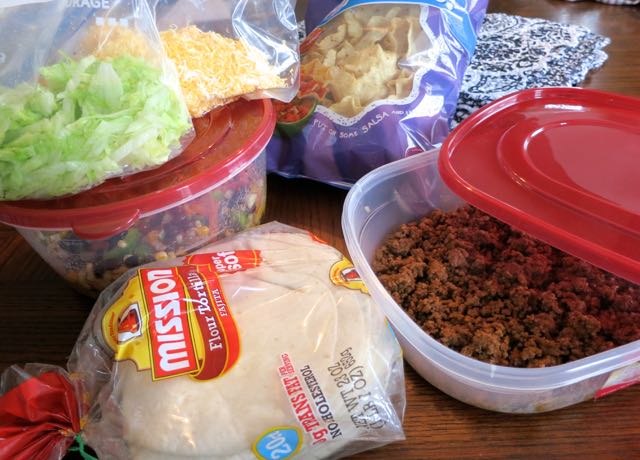
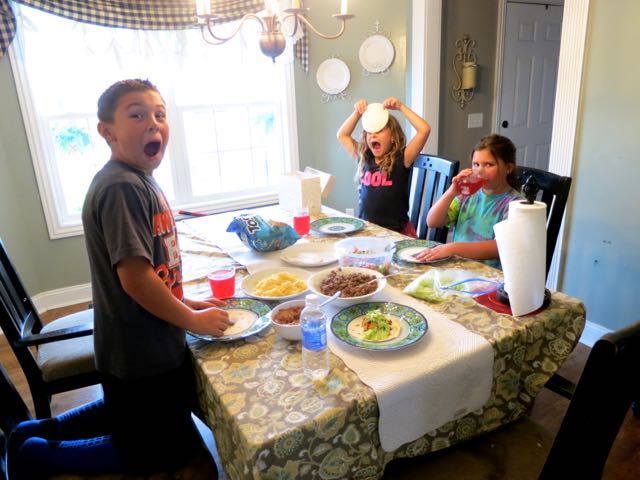
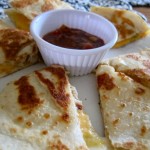
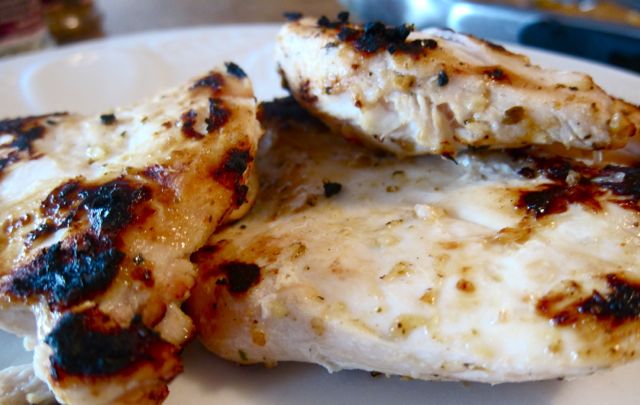
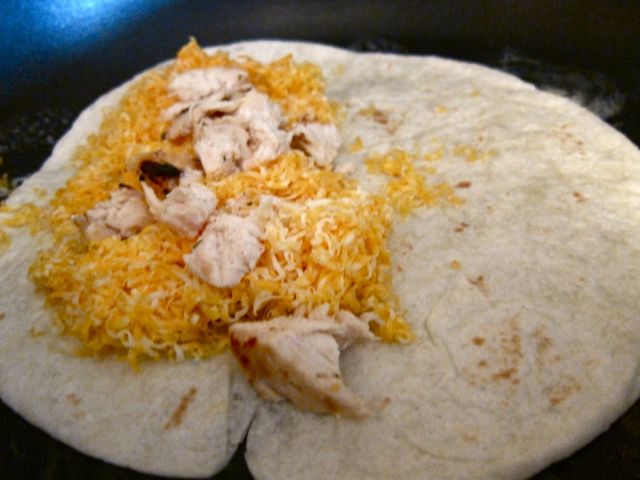
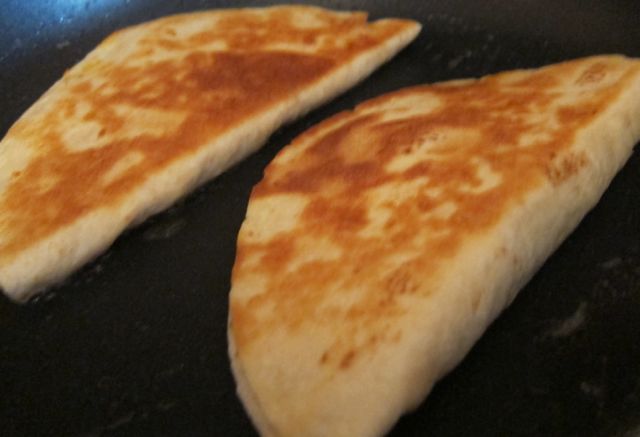
After I finished eating my left-over chicken quesadilla from a Mexican restaurant we had dinner at on Thursday night, it dawned on me that the container could be cleaned out, cut in half, and taped. This could give a little window for her vending machine.
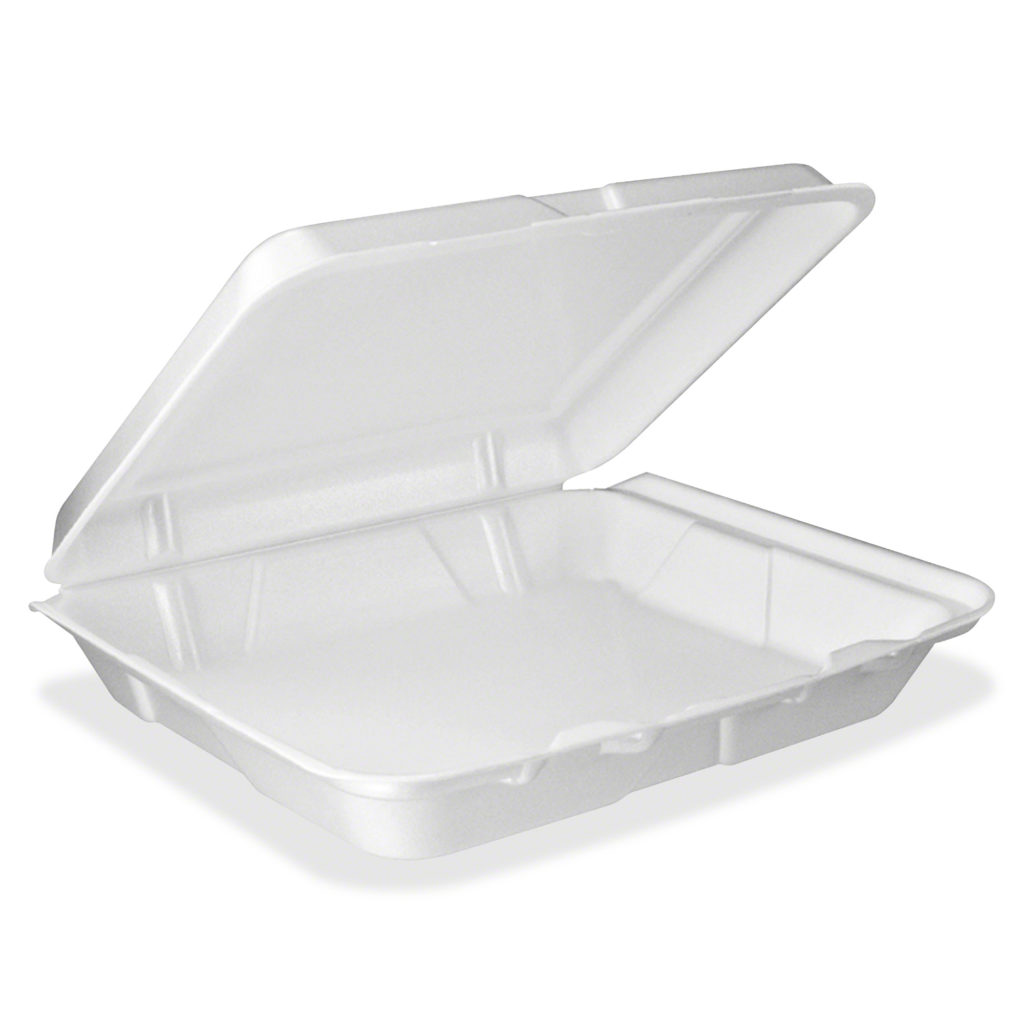
We just used the top half of this. We traced it onto the box and cut the shape with a serrated knife, then taped it from the inside of the box.
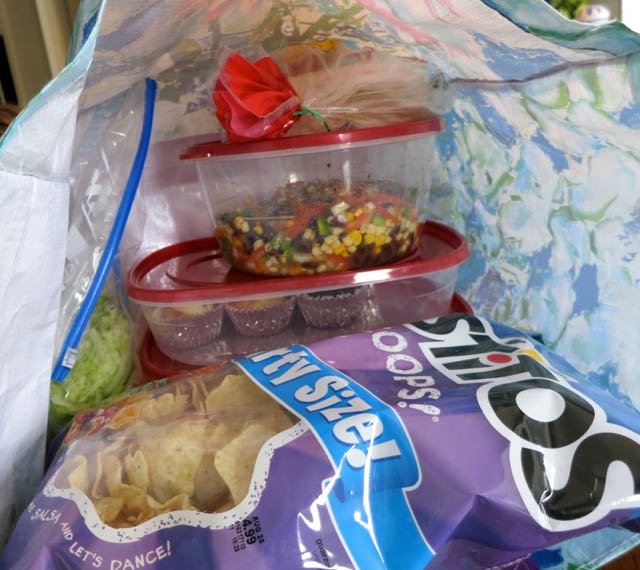
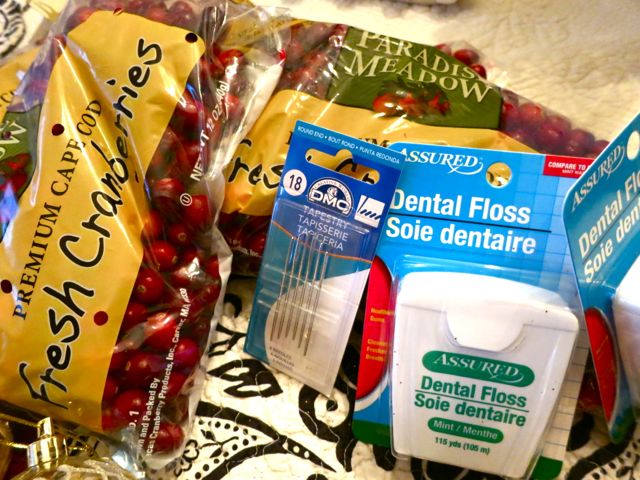
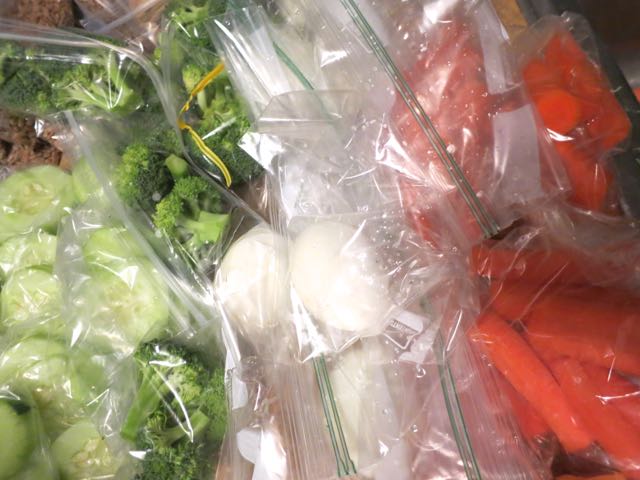
Then, we went on a hunt for what we wanted to “sell” in her vending machine.
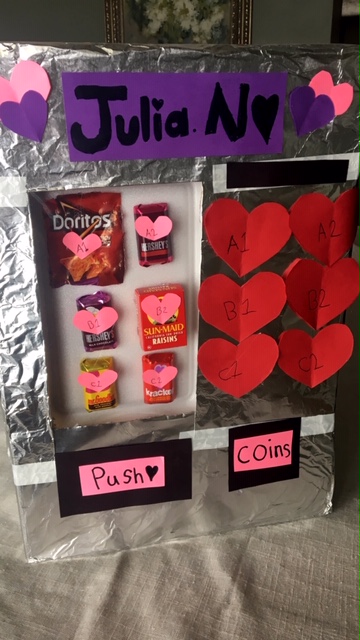
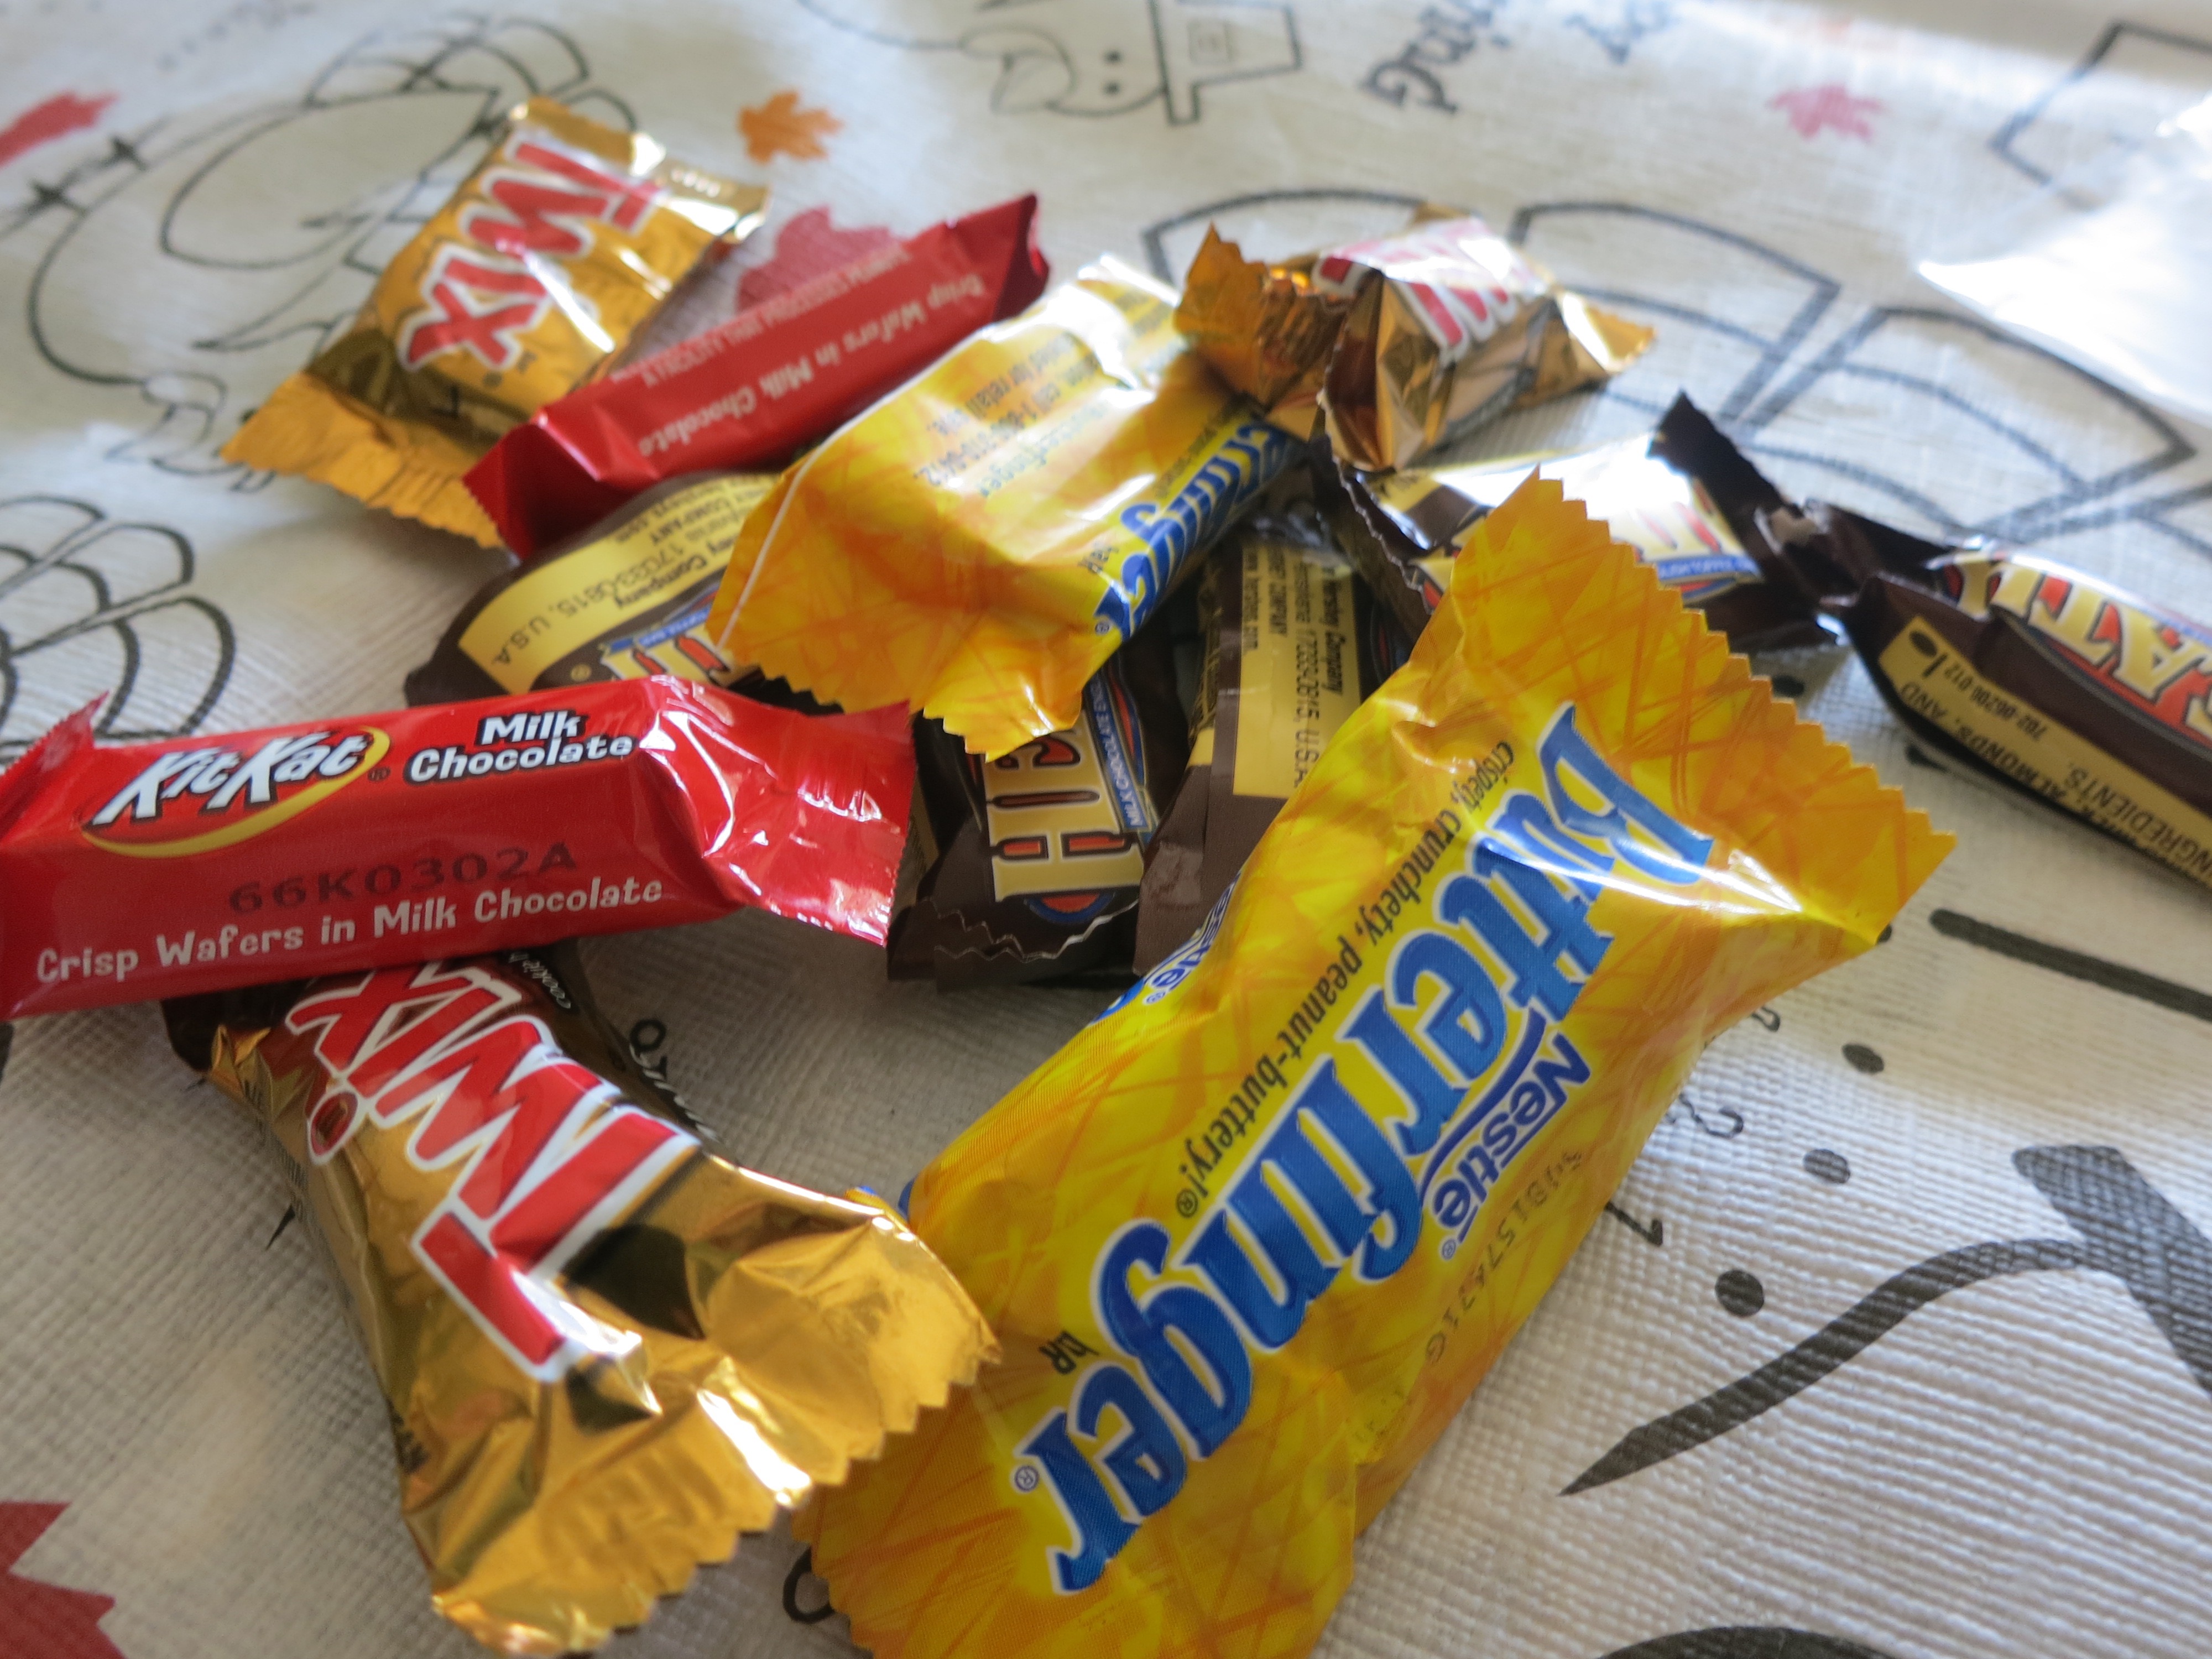
There was a large bag of snack sized chips in the cupboard, which had a picture of the chips on the bag. We cut the little picture out and hot glued it to the styrofoam. Then we glued mini valentine chocolate candy bars and a “healthy choice” of a mini box of raisins.
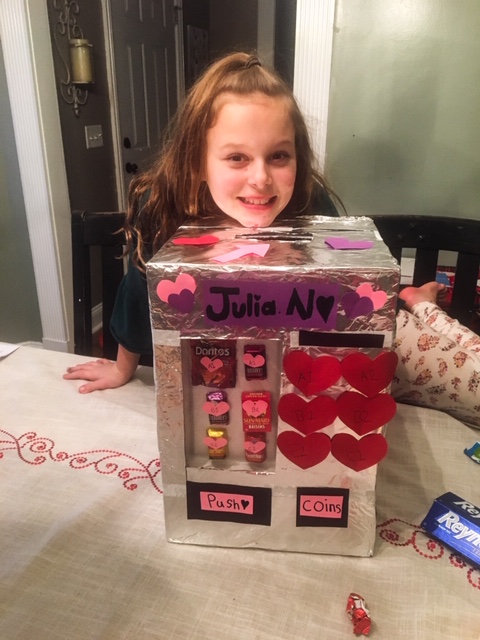
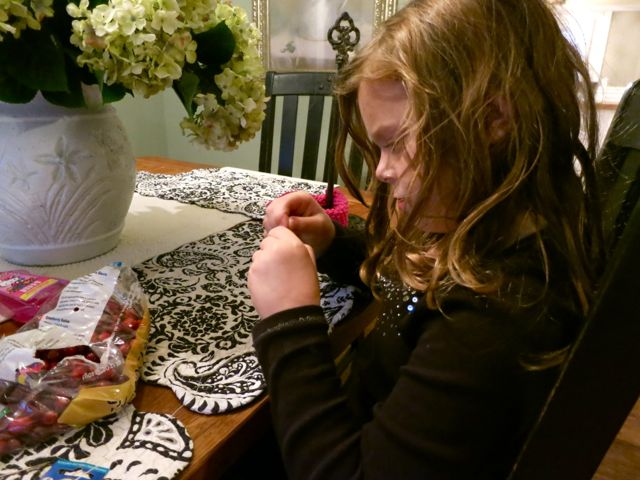
We folded pink construction paper in half and made little hearts (A1, A2, A3, etc.) Then, we taped plastic wrap over top to create a “window” appearance.
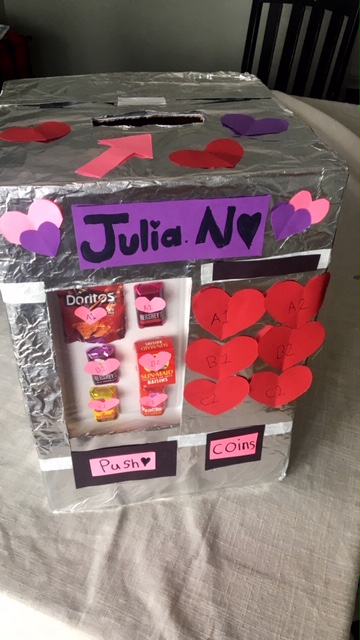
Next, we wrapped the box with foil and secured it with tape. Then we made buttons on the right hand side, a place to put in dollars, a place for a coin return, and an opening for the items to dispense.
We cut an area out on the top of the box for her valentines and put her name on the front.
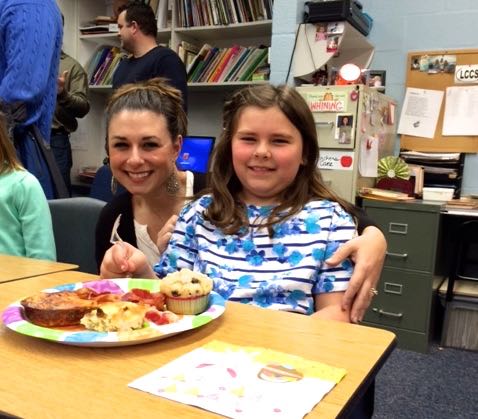
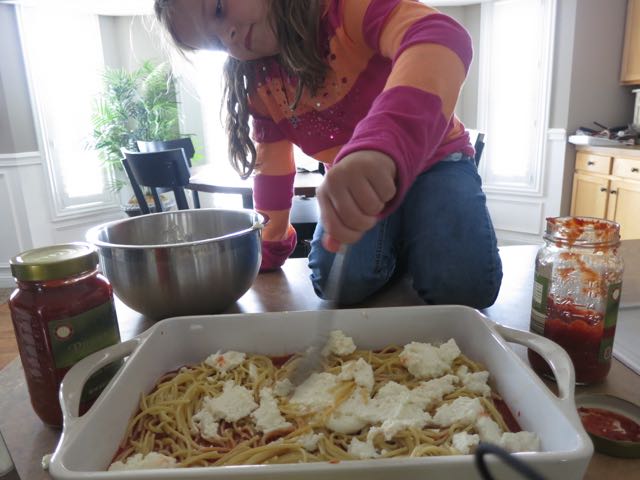
She did most of the work! I encourage parents to assist, but allow children to do their own projects. It’s a time to build confidence, foster creativity, and have fun. They are good enough (hand over heart).
“This is the box I dreamed of.” – Julia
(Mission complete, haha).
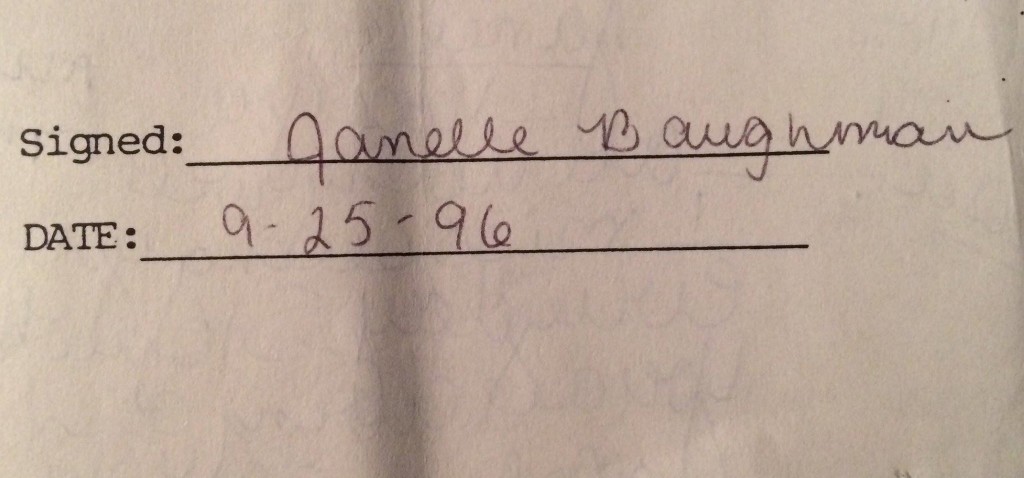
Happy Valentine’s Day! Love to you, Janelle


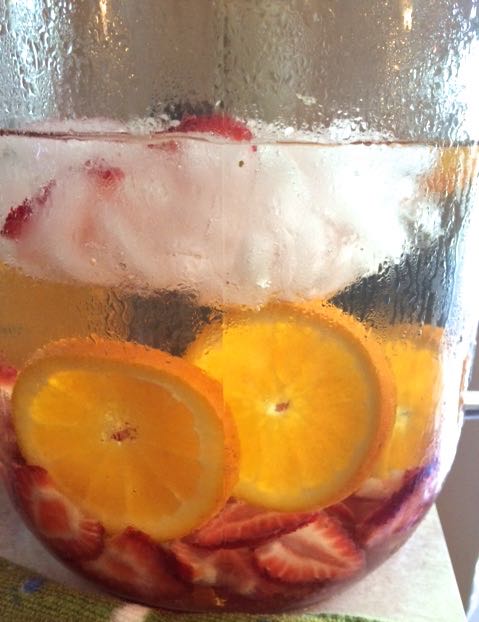
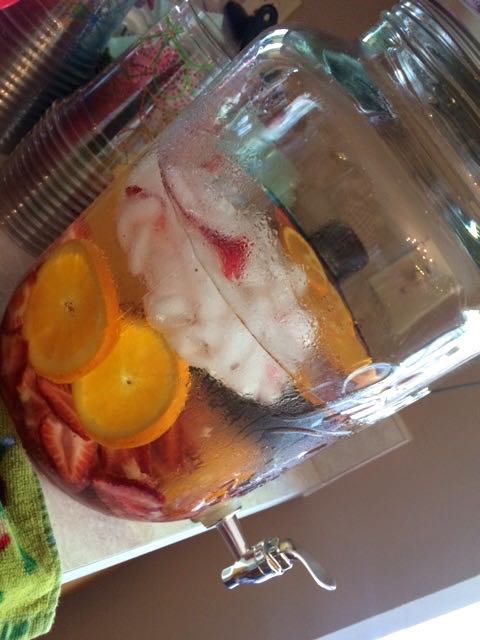


 I’ve always wanted to be the house with the ice cold lemonade –the kind in a giant plastic pitcher. The house that greeted children with homemade


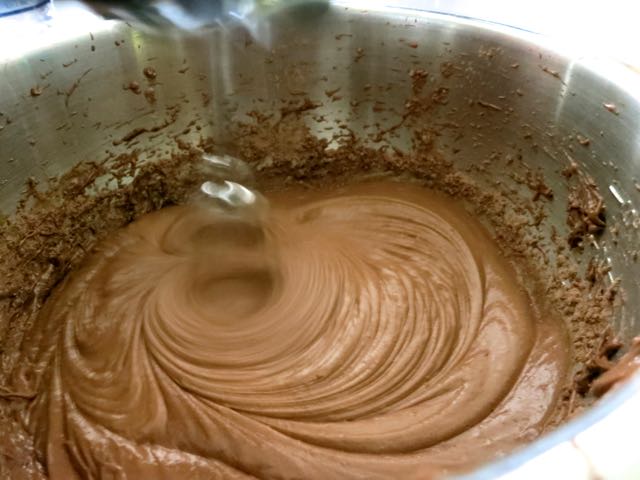

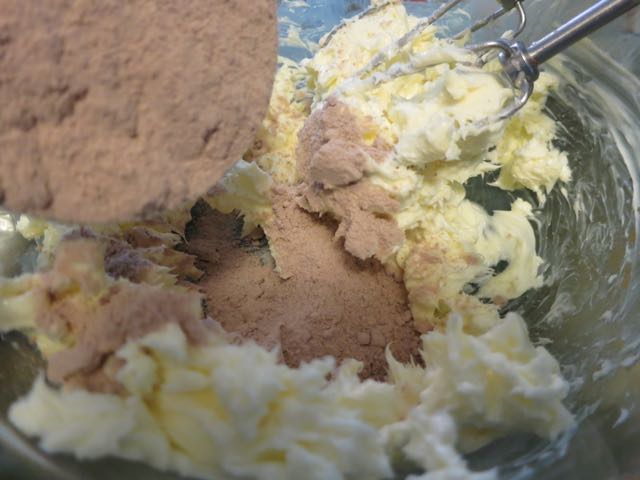


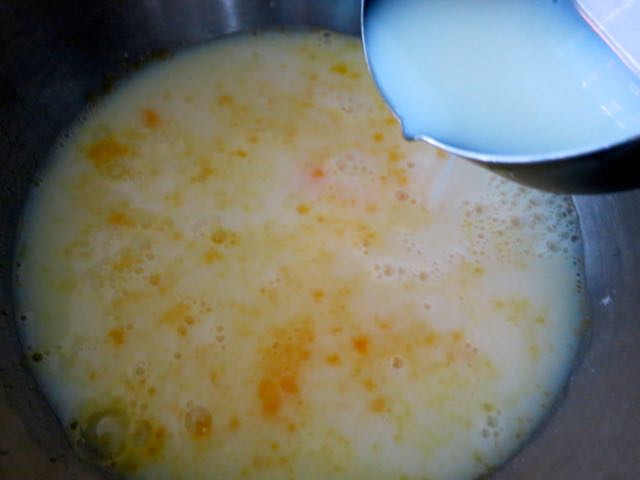
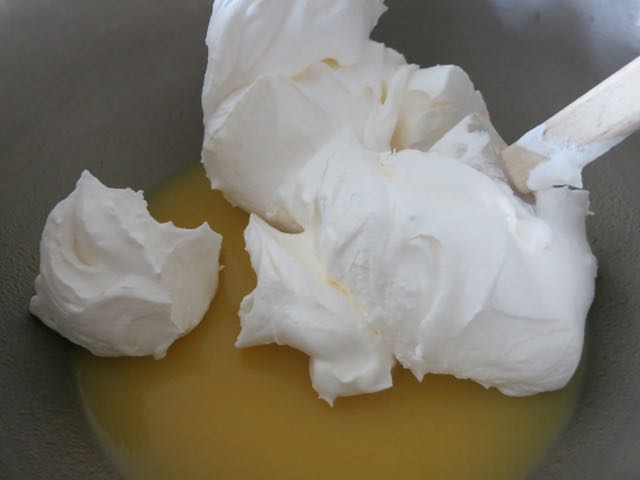
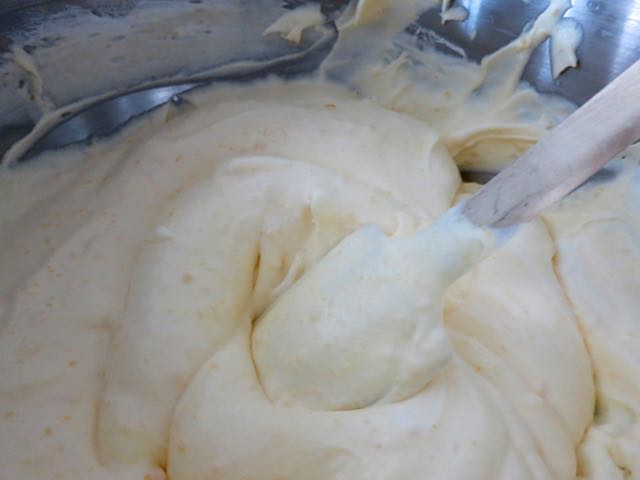


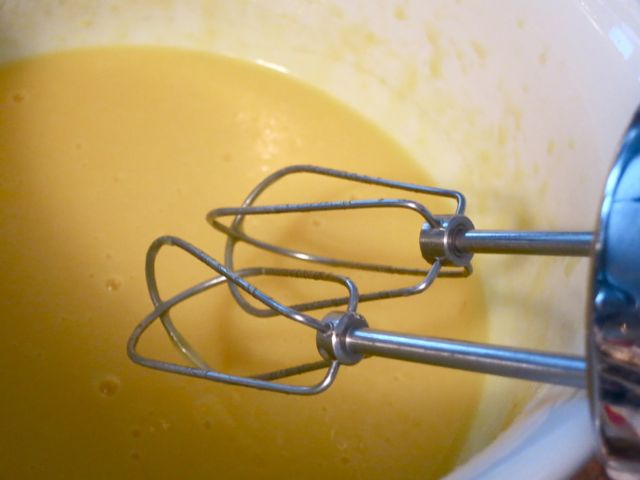
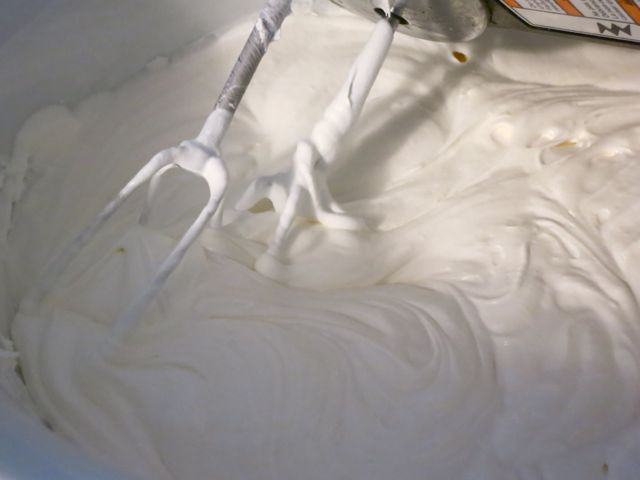


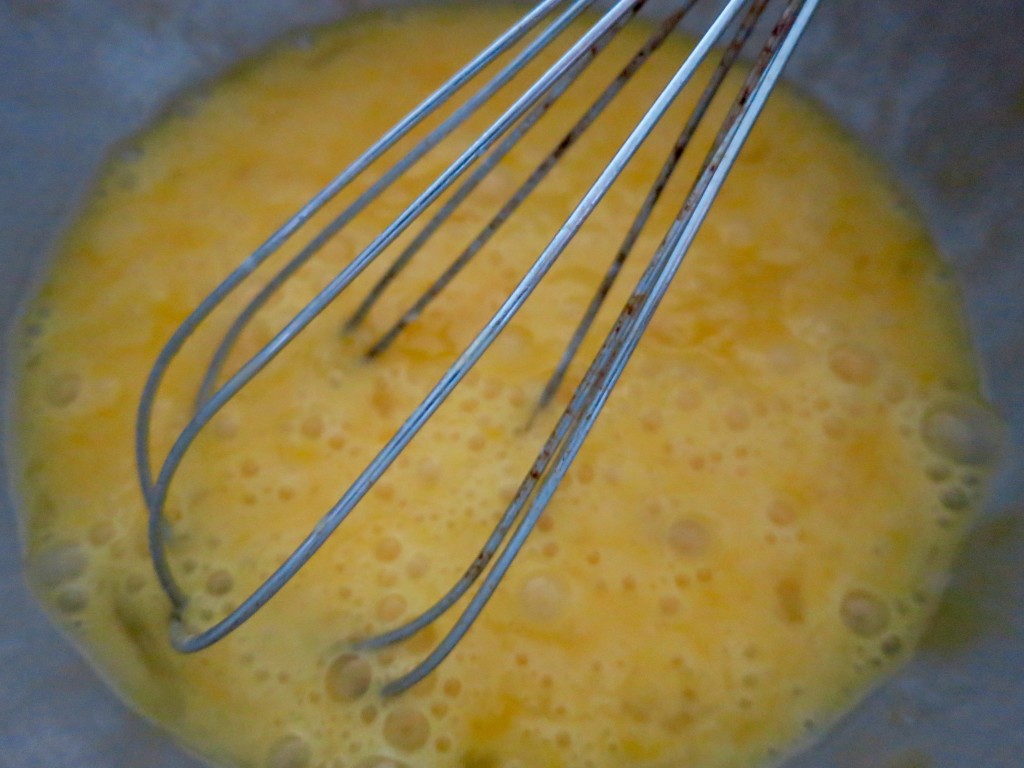
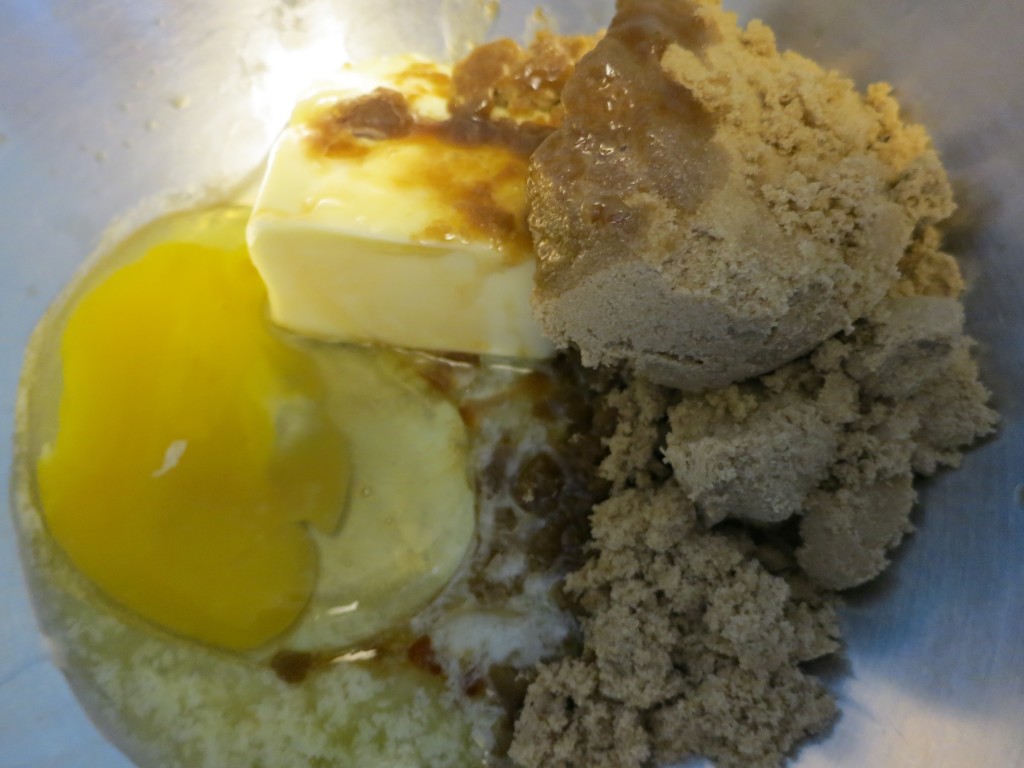
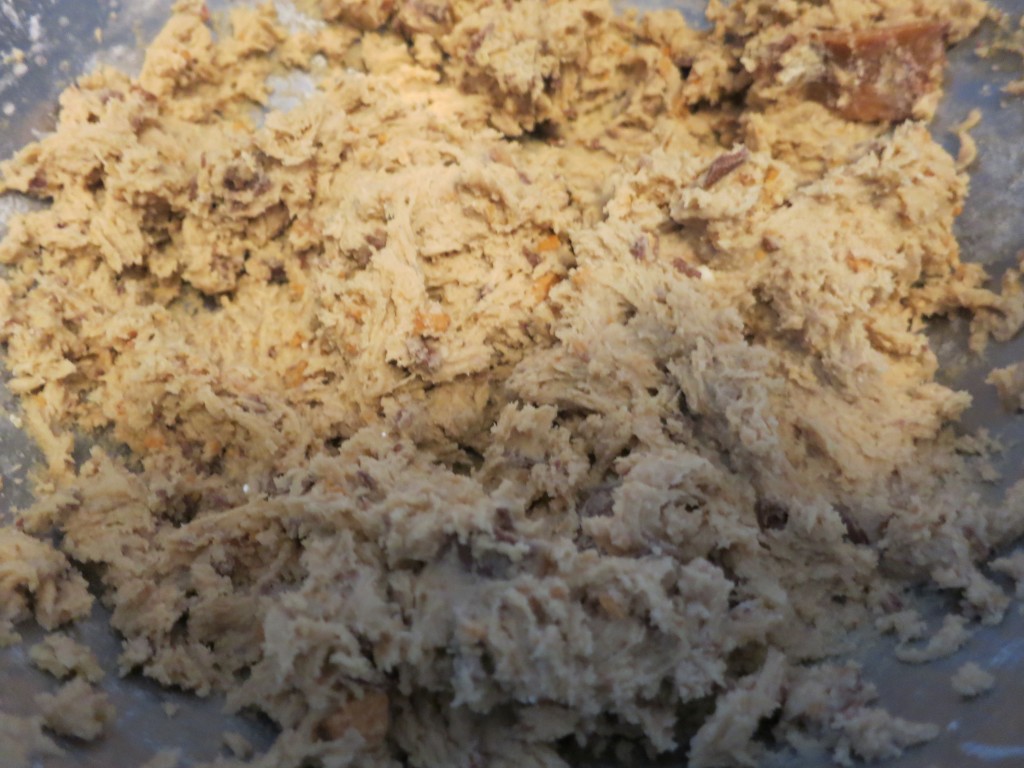
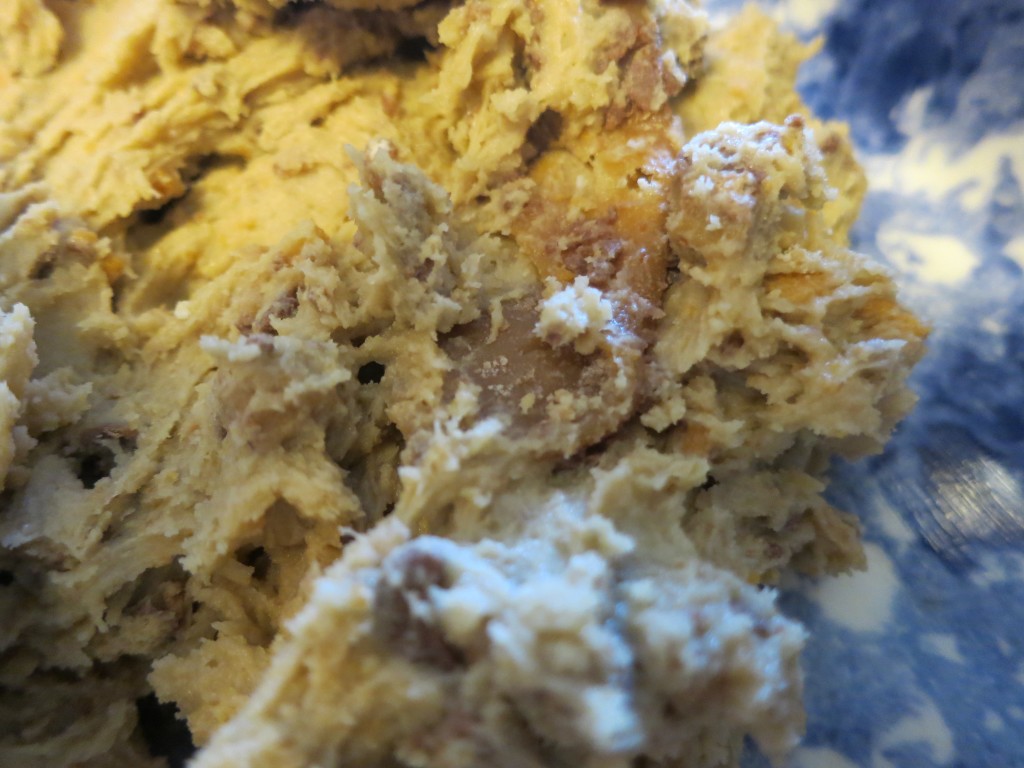
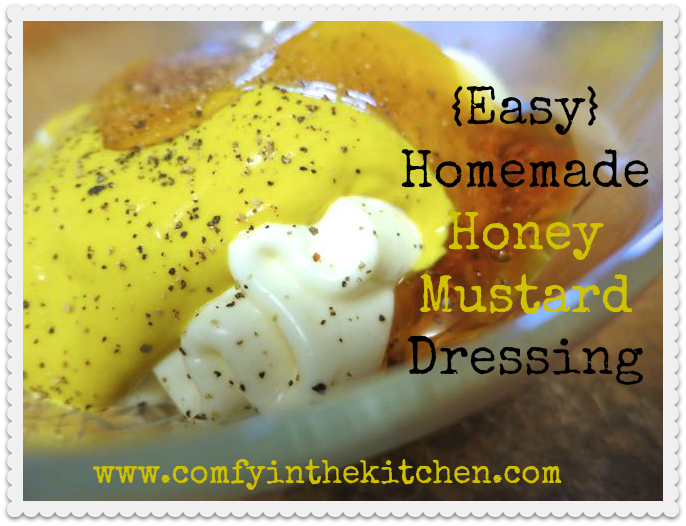
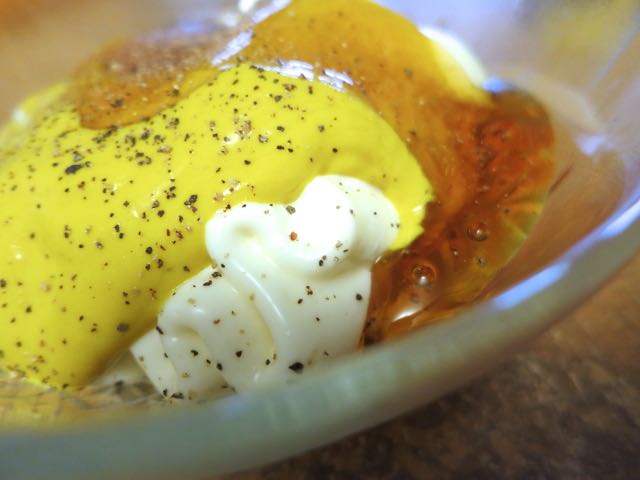
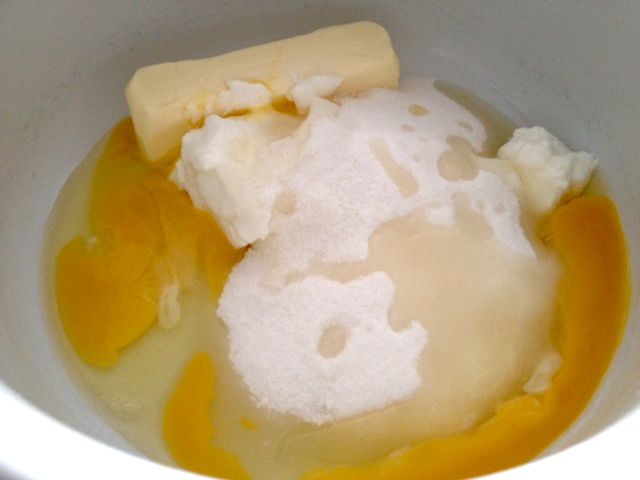 Start off with your butter, sour cream, sugar and eggs. Beat well.
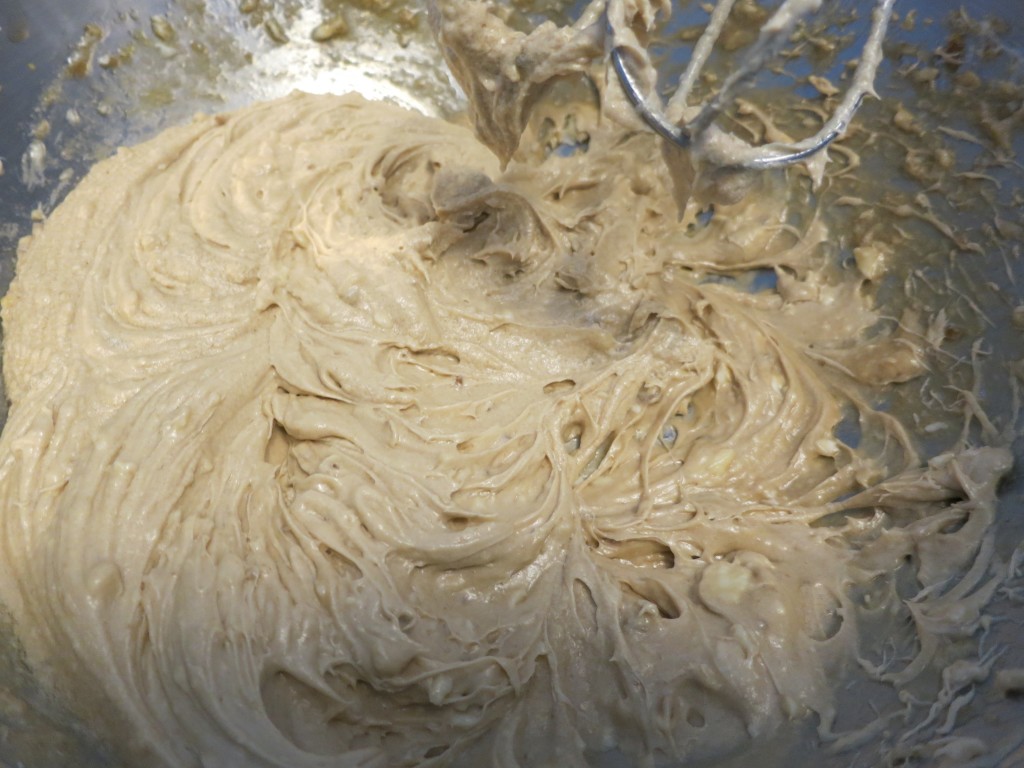
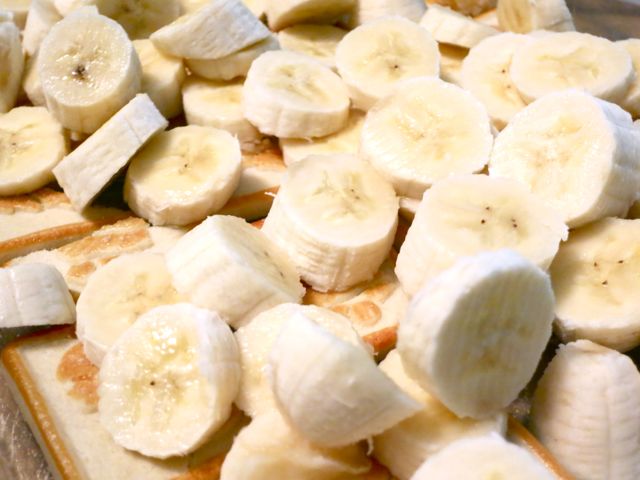
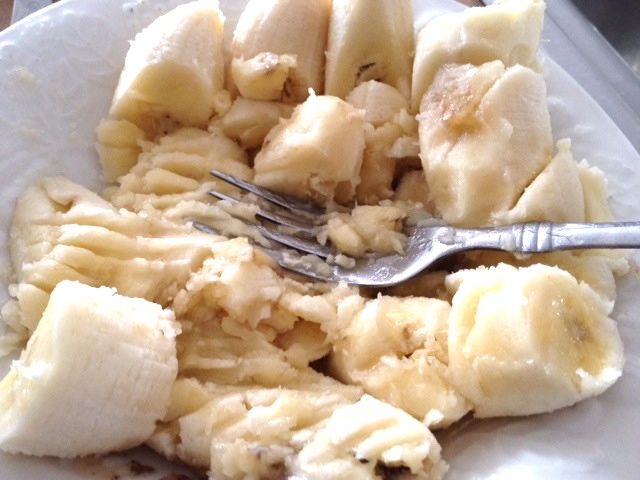 Mash 4 very ripe bananas.
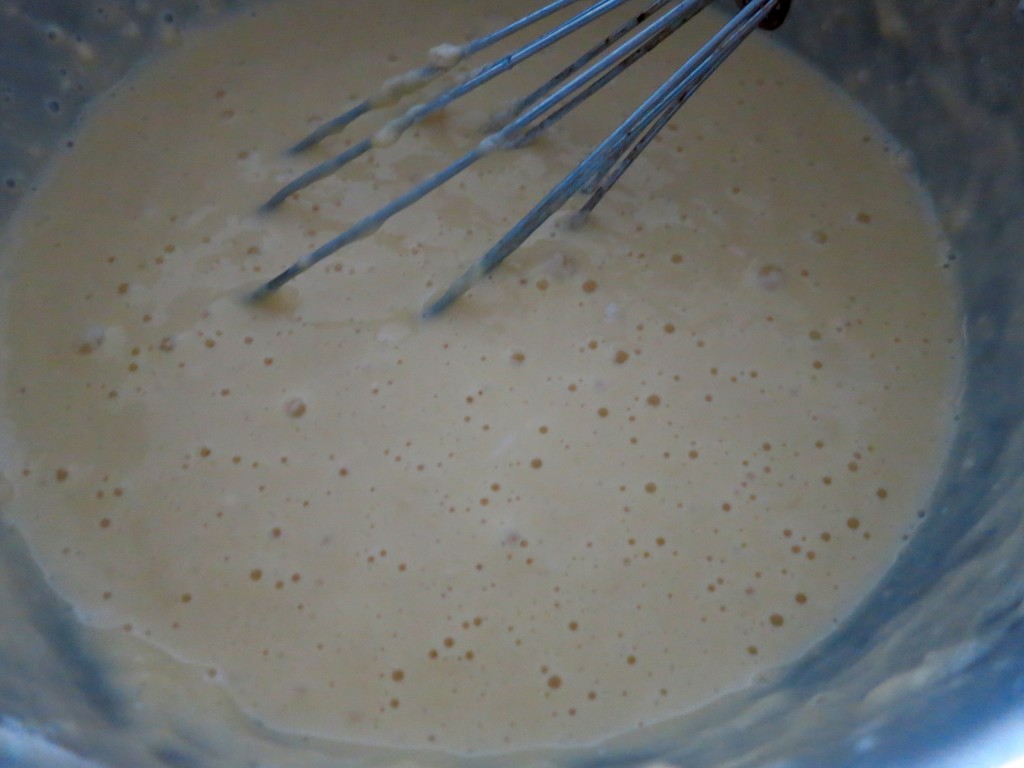
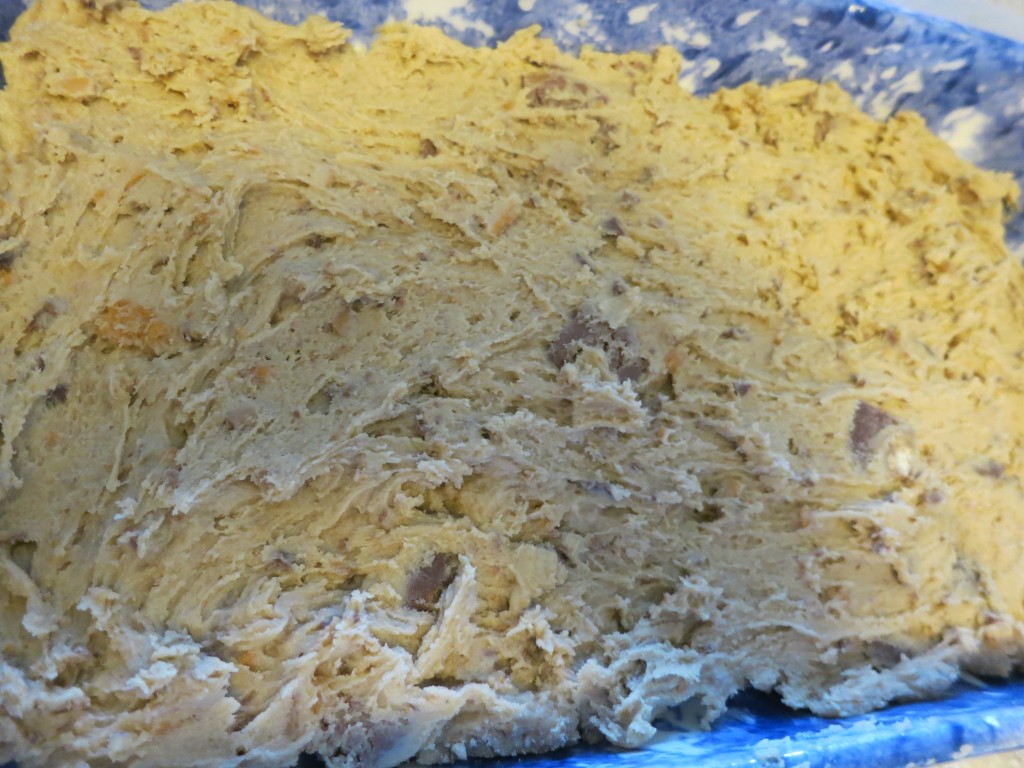
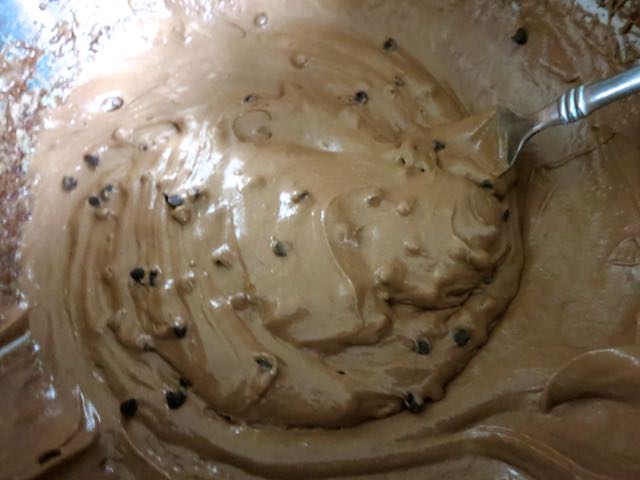
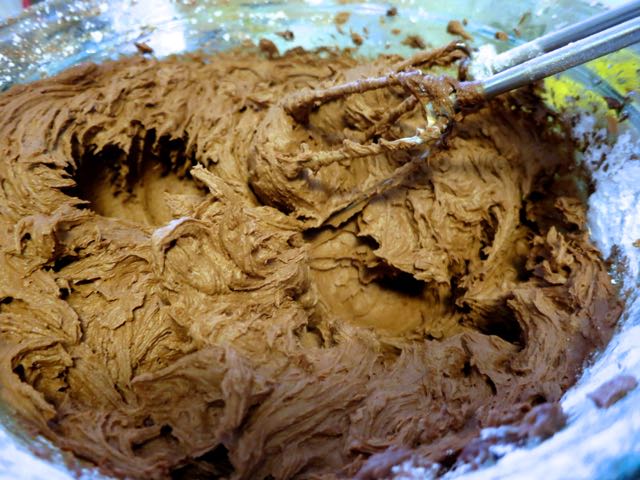
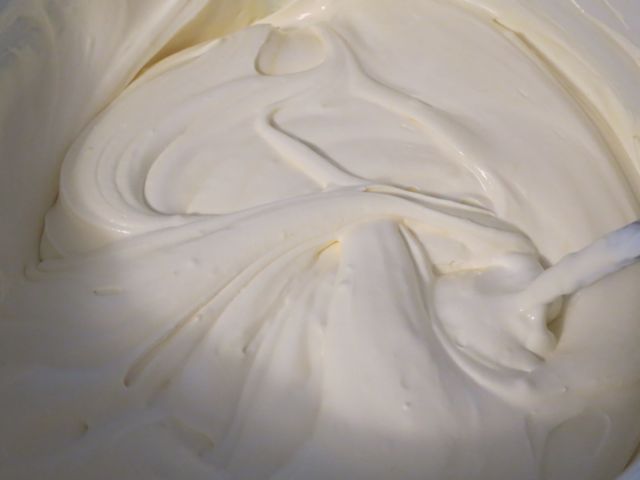
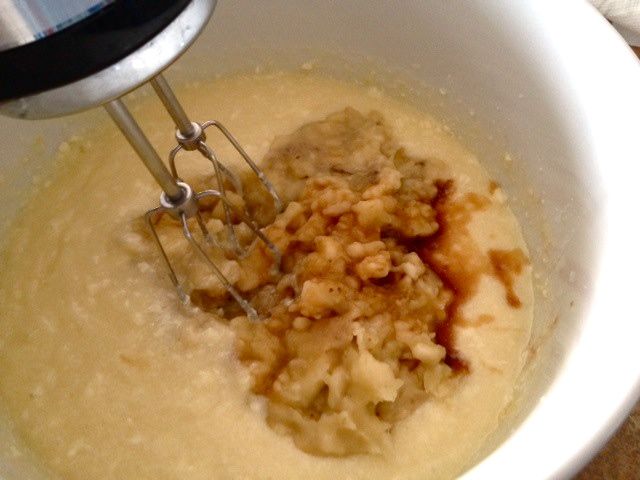 Add them to the mix with vanilla.
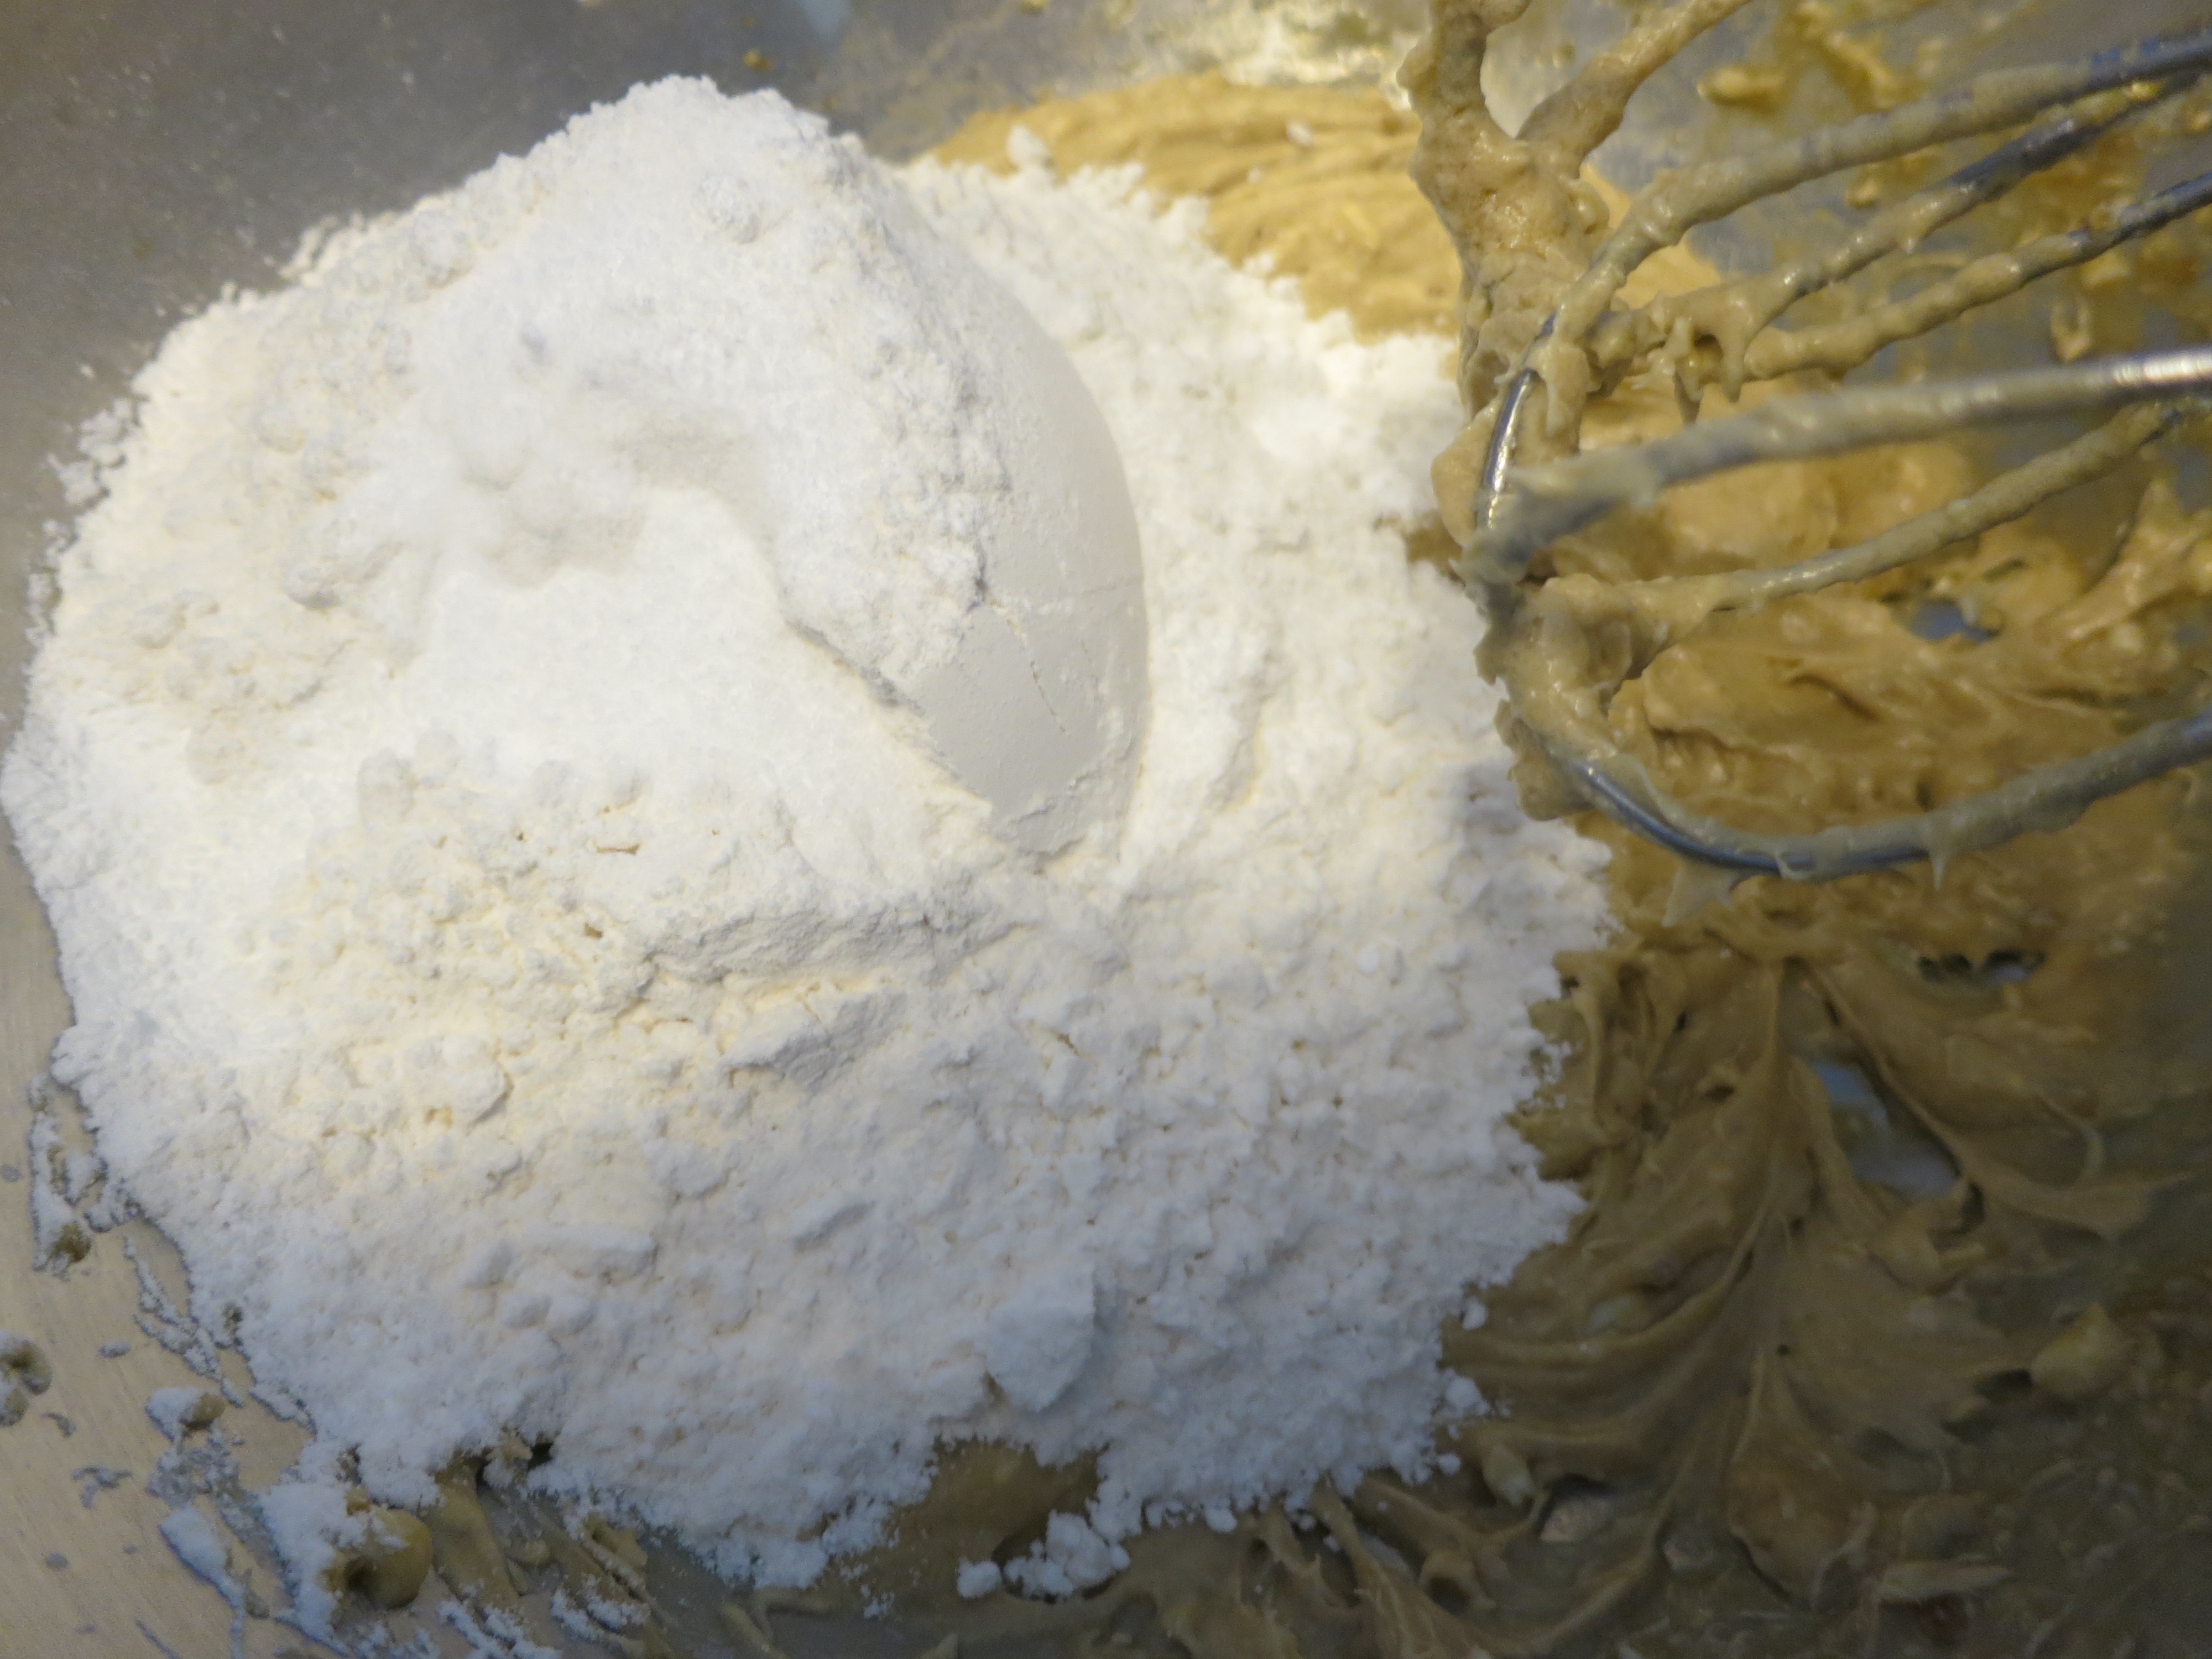
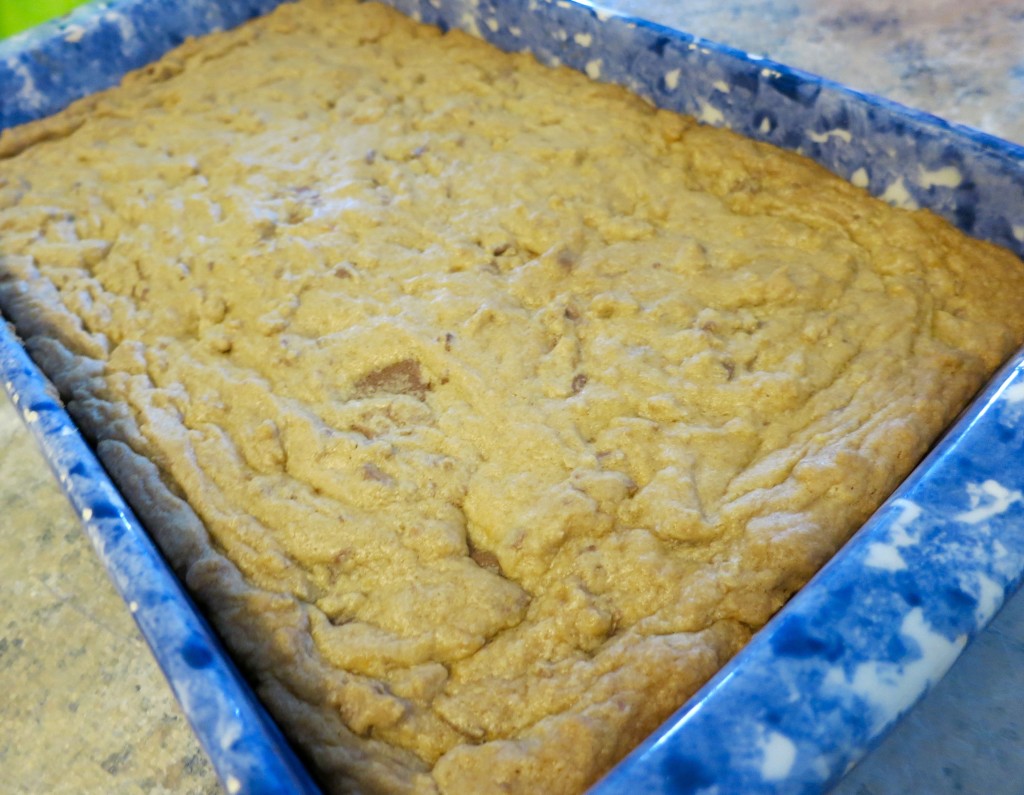
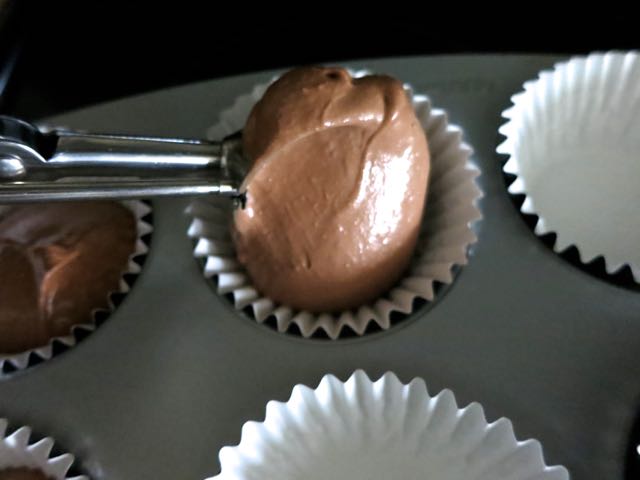
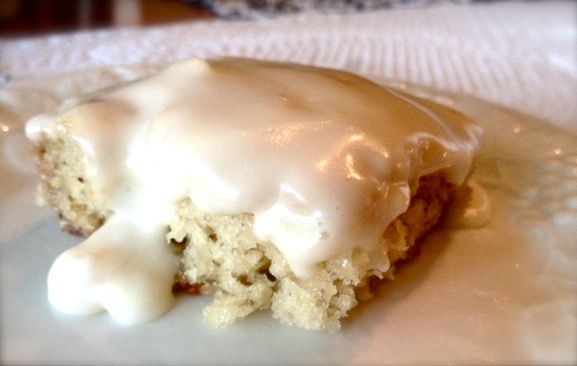
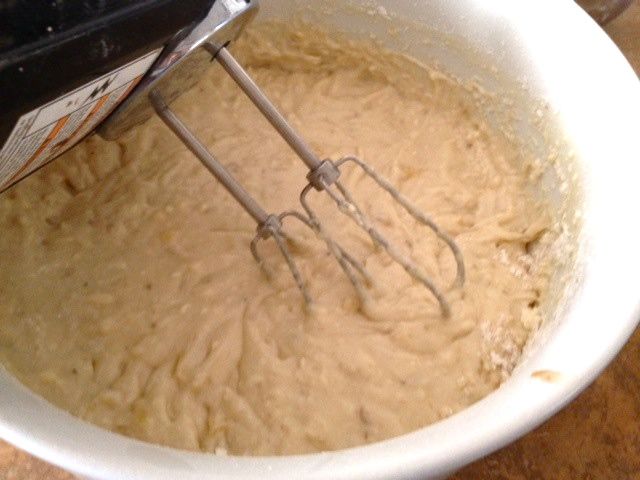 Add your flour, baking soda and salt. Mix well. Bake in a greased 9×13 pan in a 375 oven for 25 mins or until lightly browned.
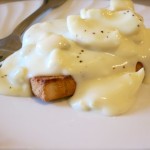
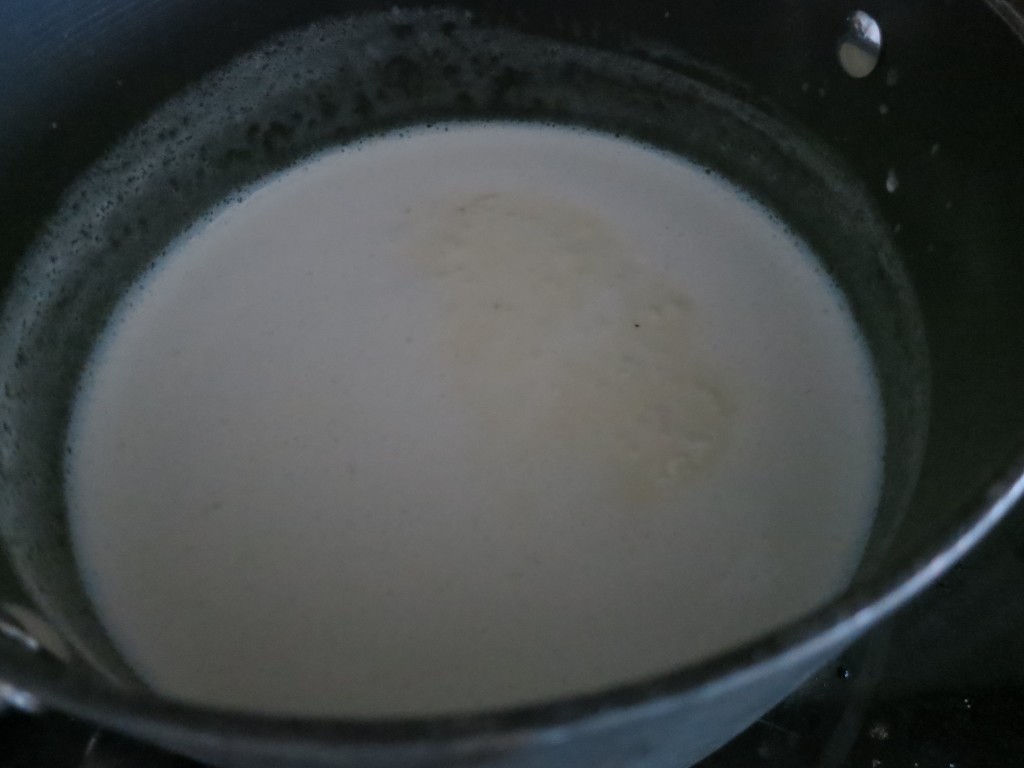
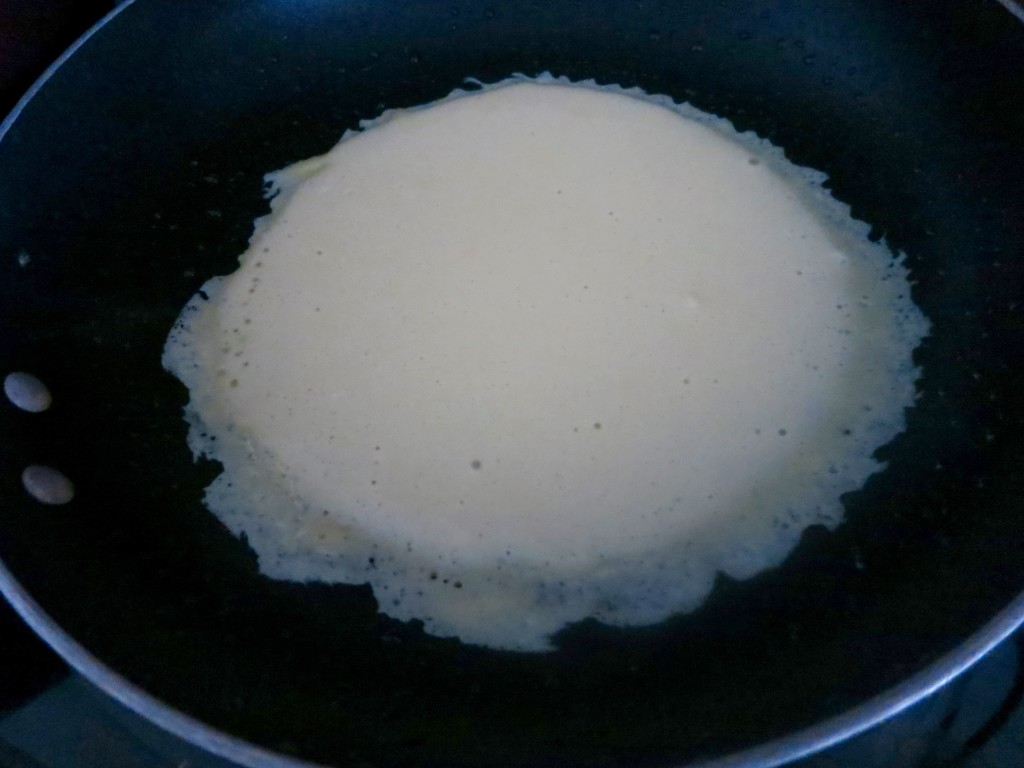
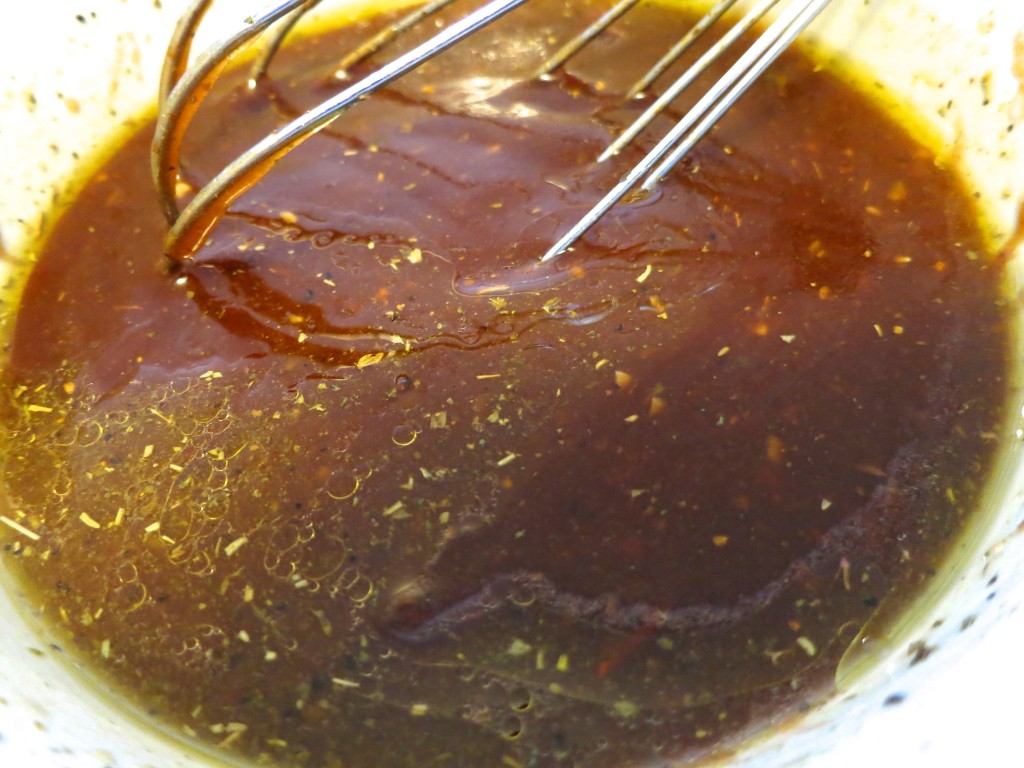
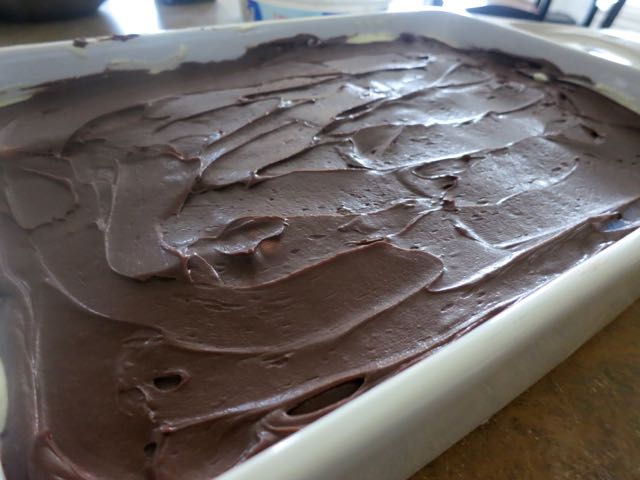
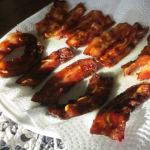
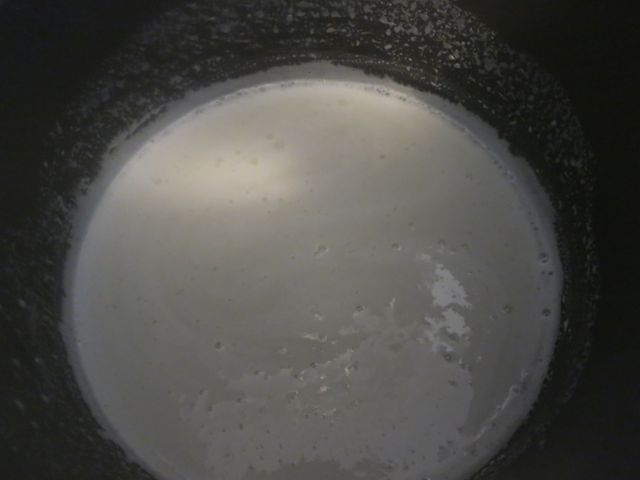
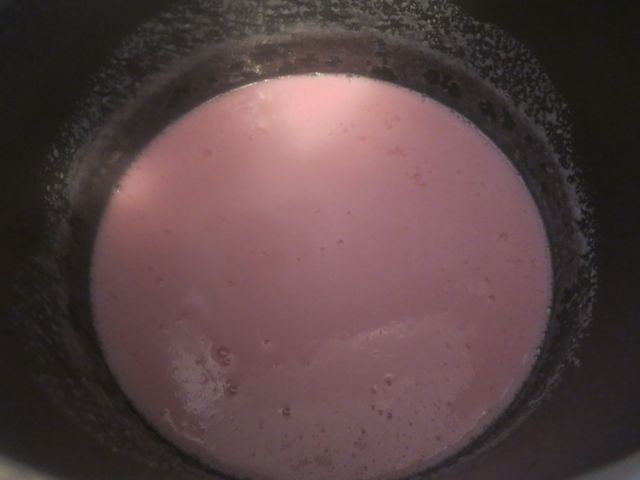
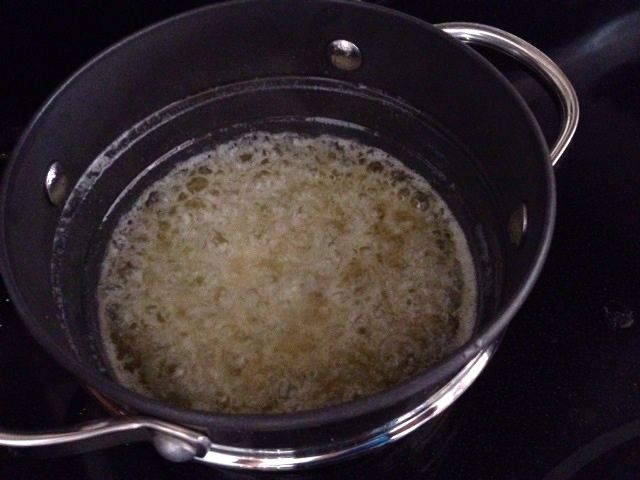 While brownies are baking, make your icing by browning your butter in a pan like so…make sure you use medium heat and let it simmer until it’s lightly browned.
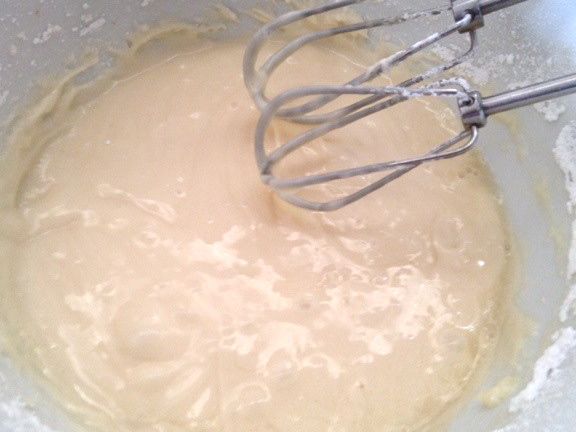


