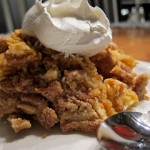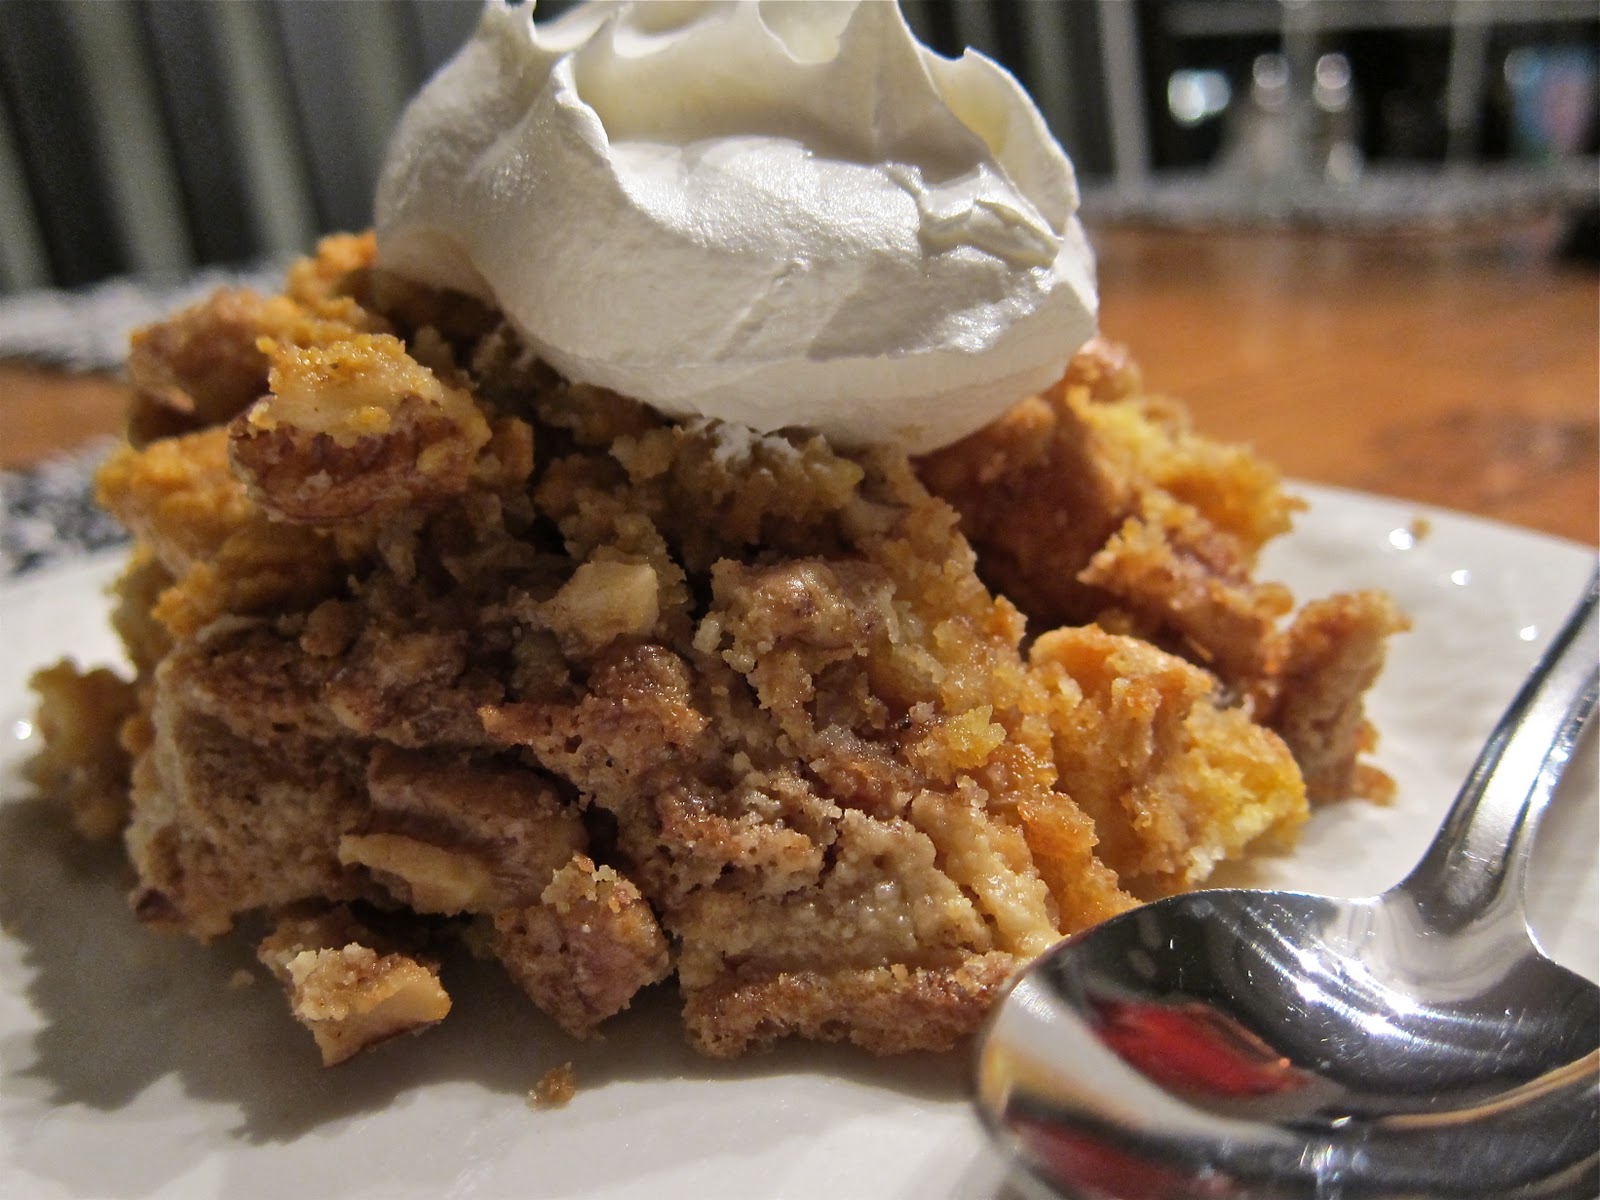

This is a delicious recipe I make out of my Paula Deen “Just Desserts” cookbook. I typically have the ingredients on hand and am able to “whip it up” in no time! You can add nuts to this recipe as well. Serve warm out of the oven with vanilla ice cream and you have yourself one incredible sweet ending!
 |
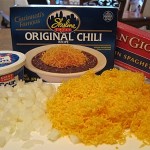
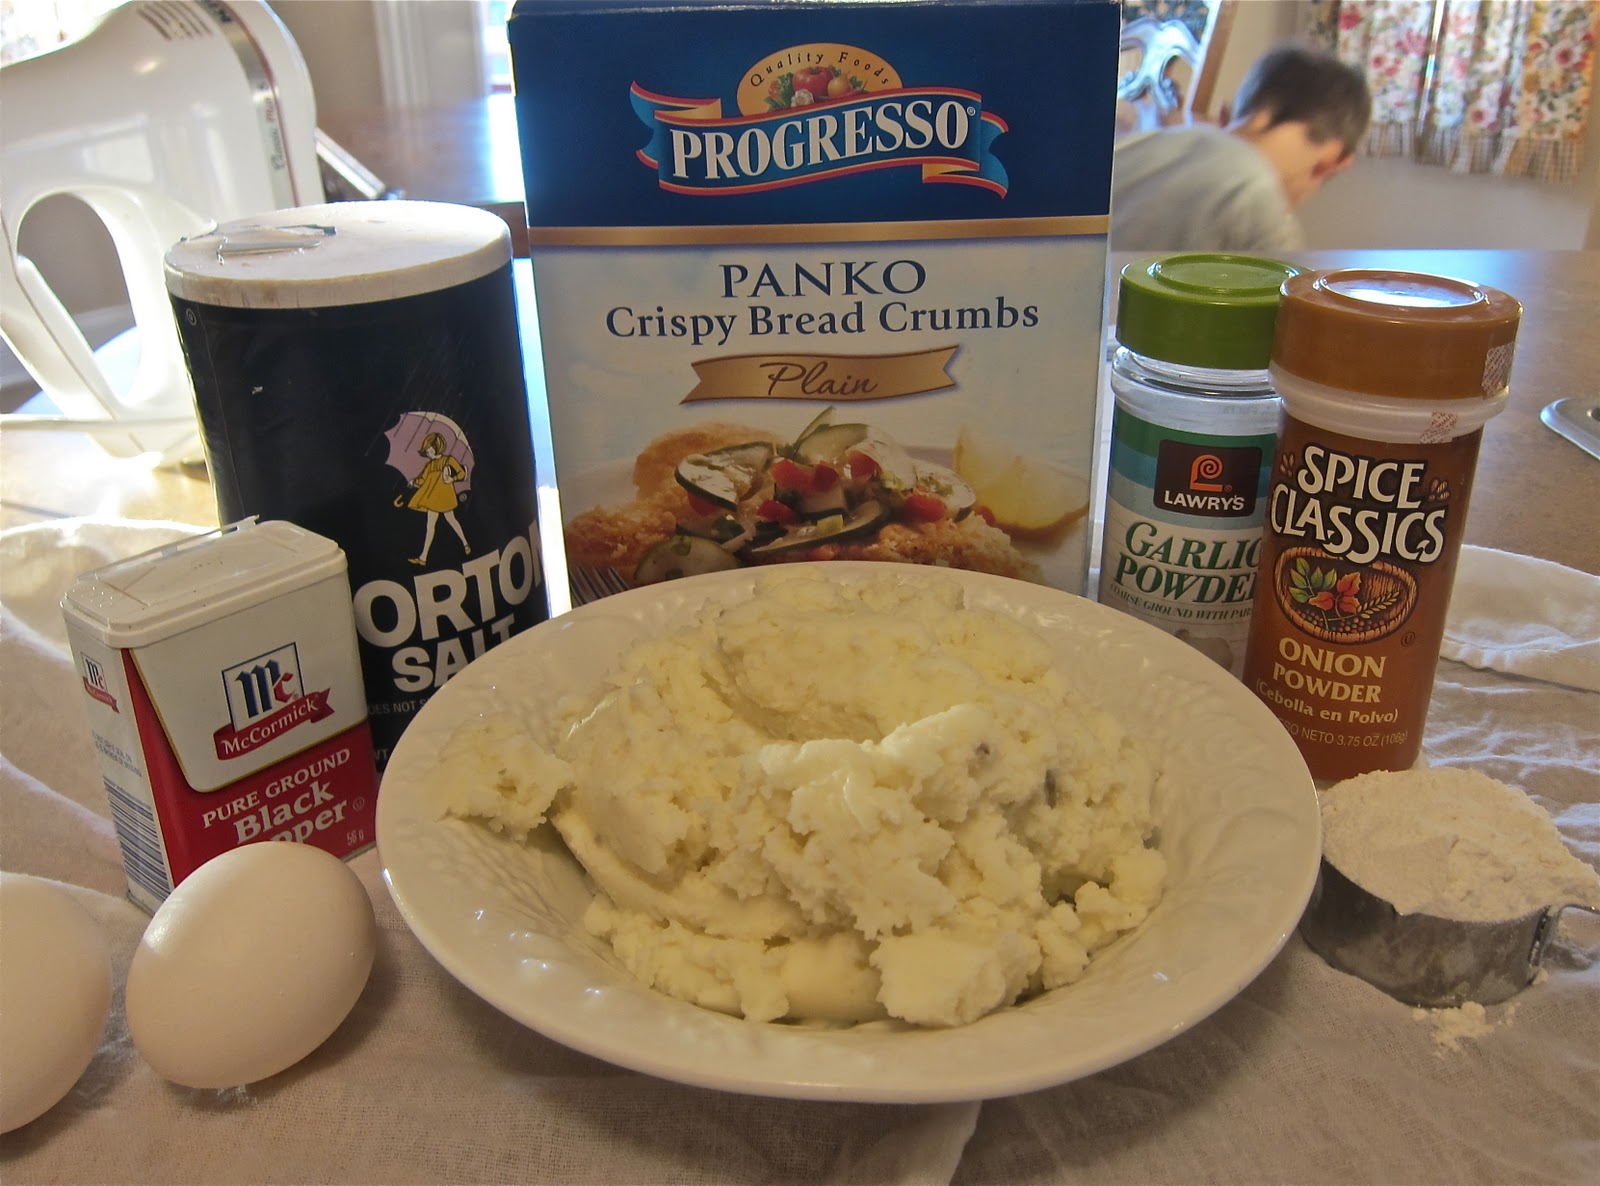
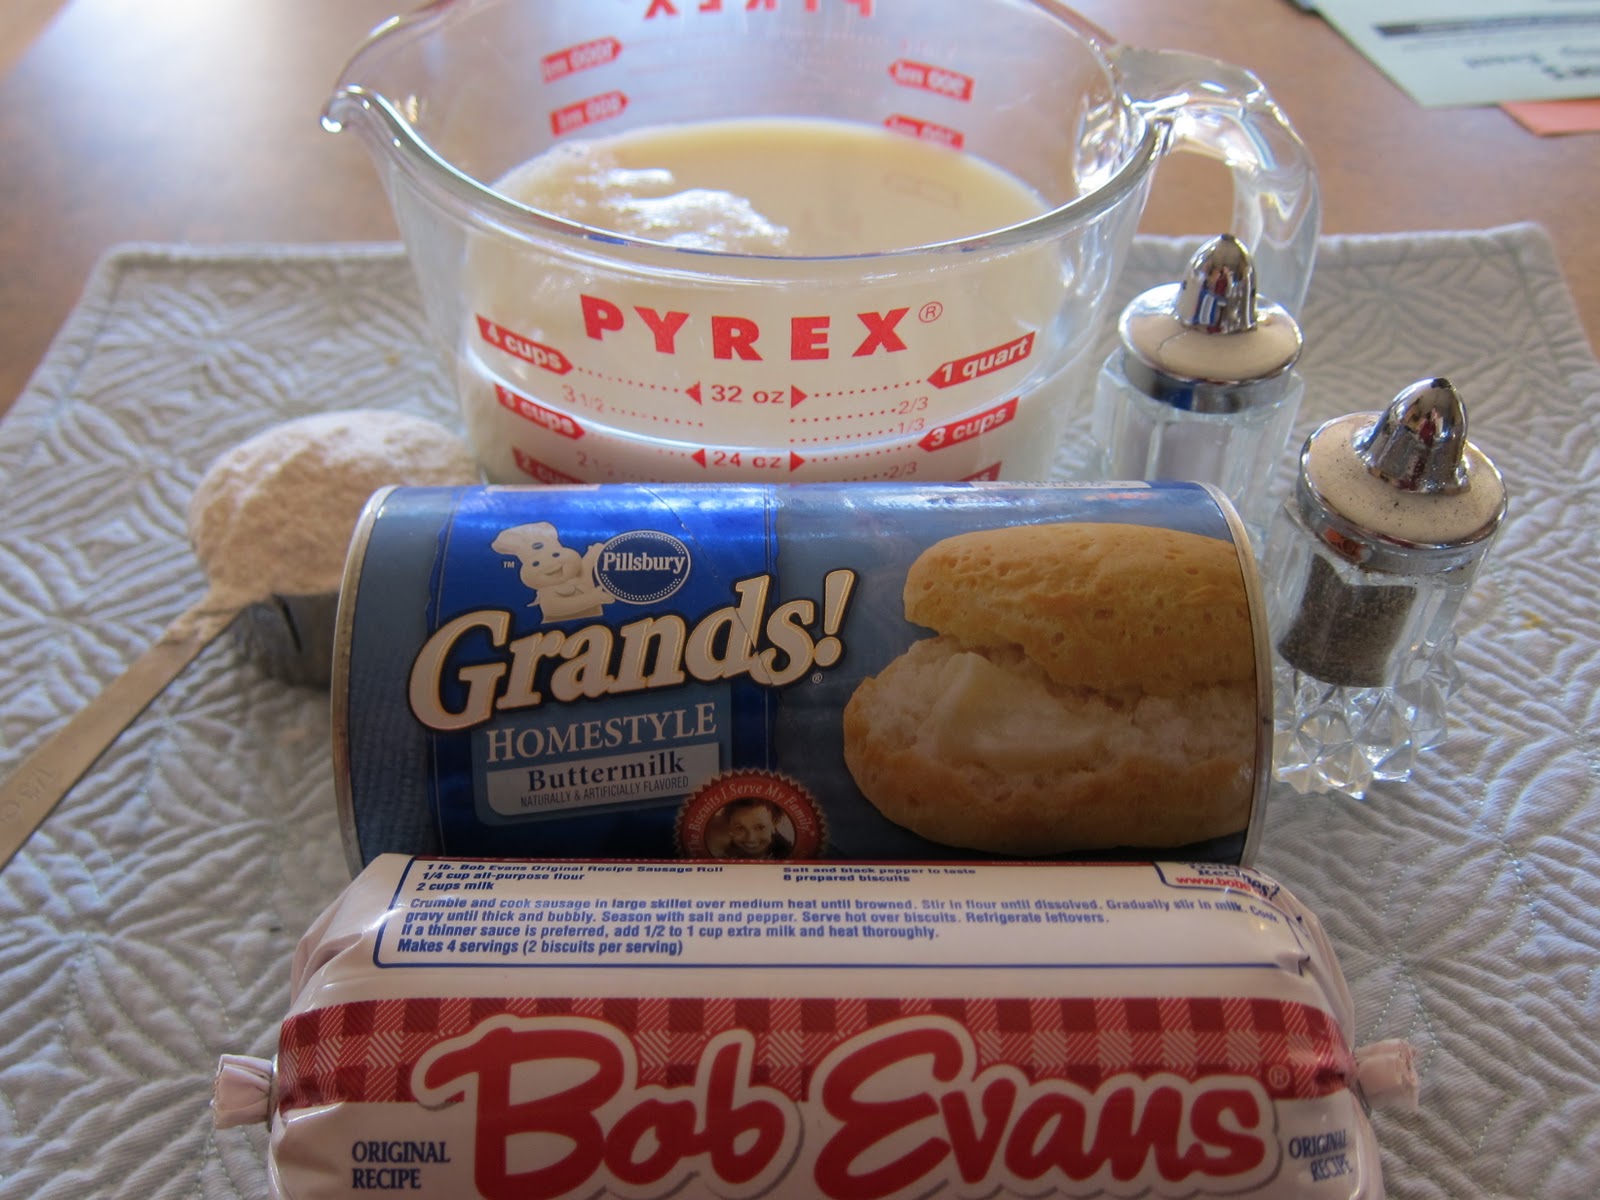
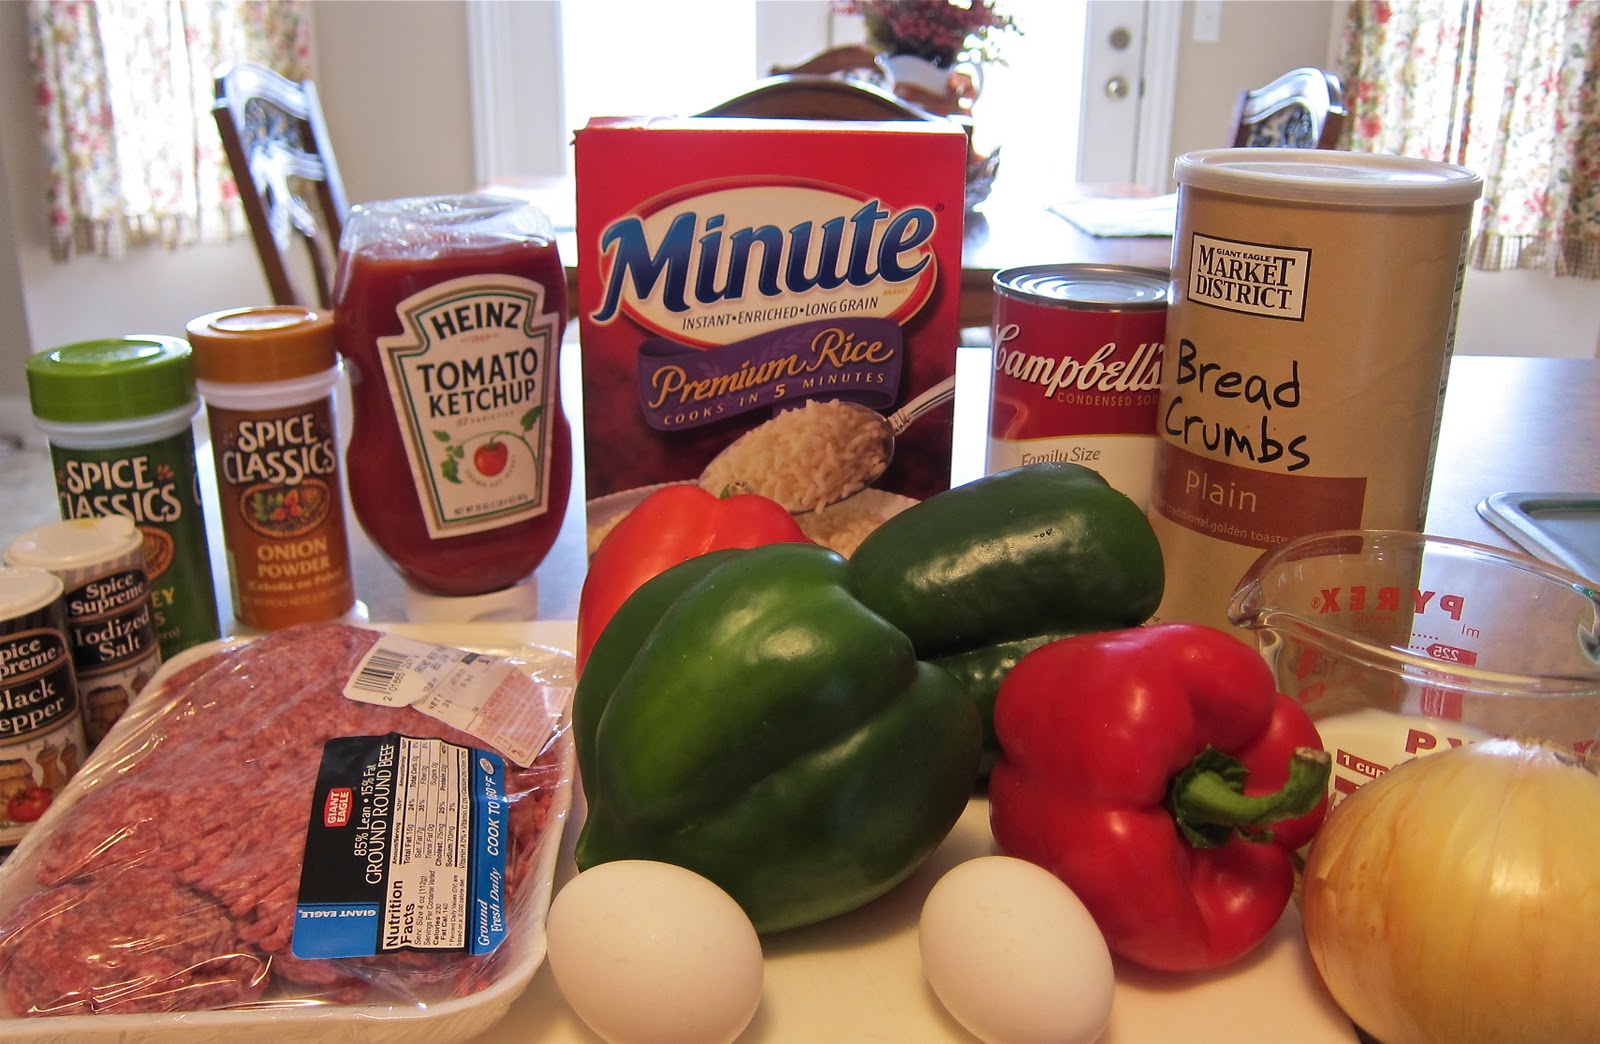
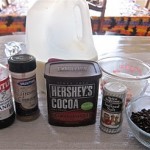
| A pre-made pie crust frozen, eggs, butter, flour, vanilla, sugar, salt, chocolate chips |
 |
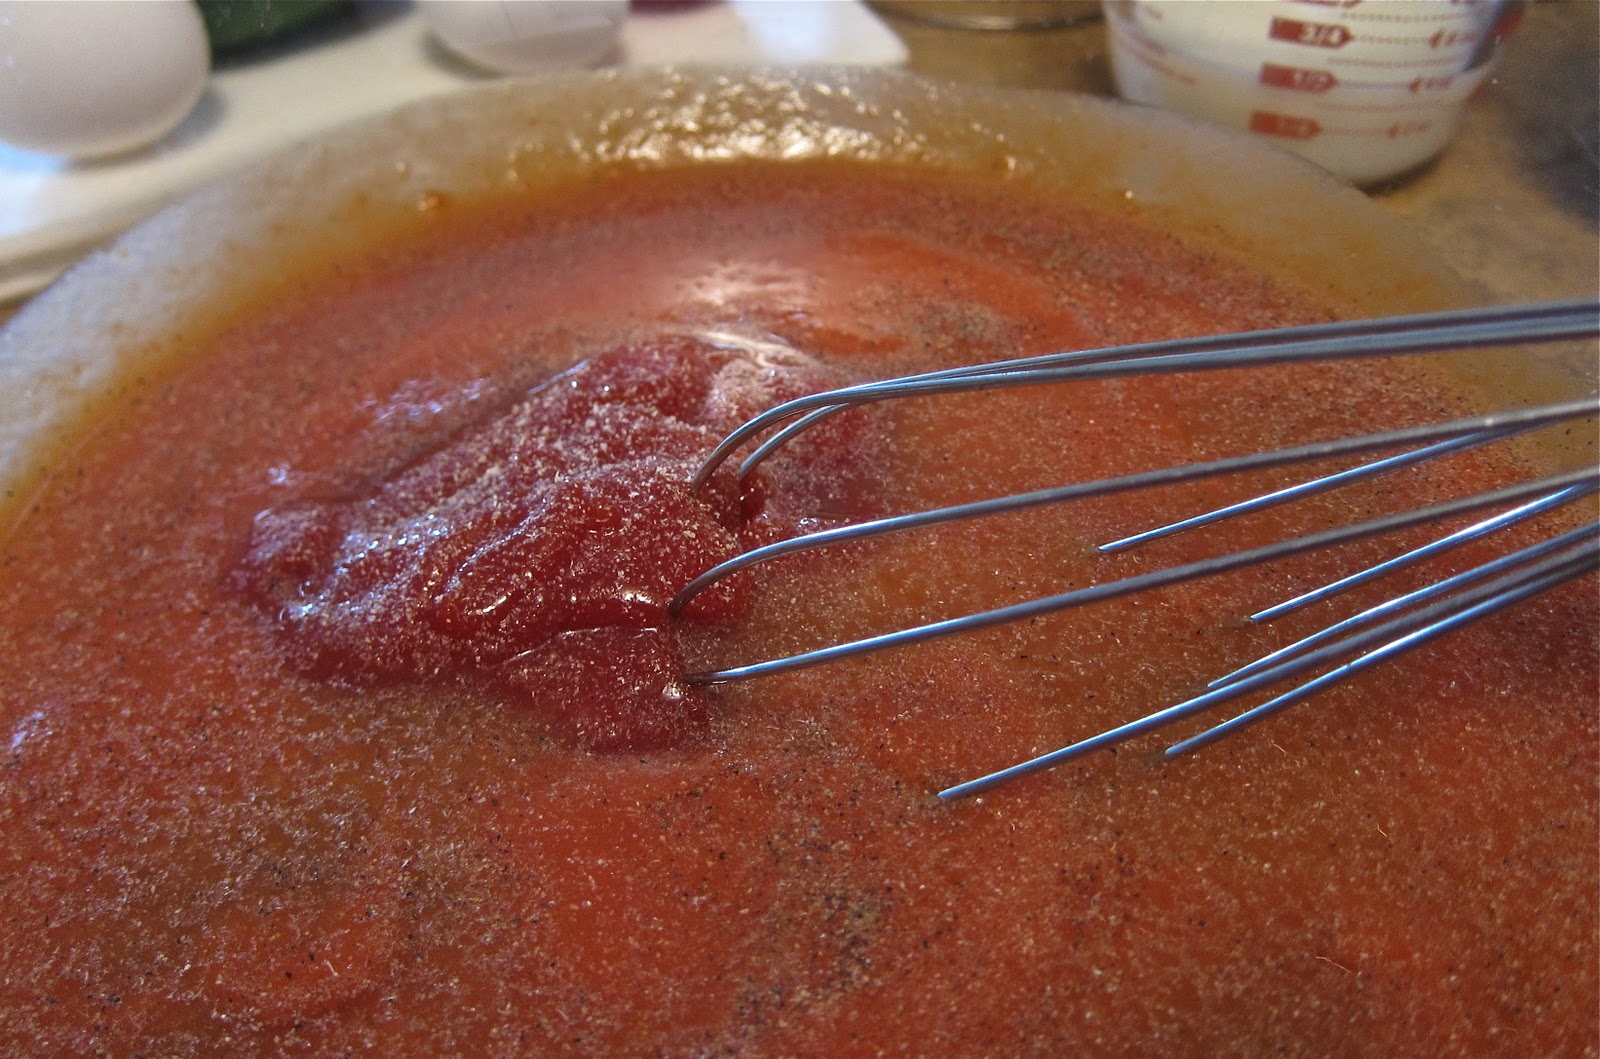
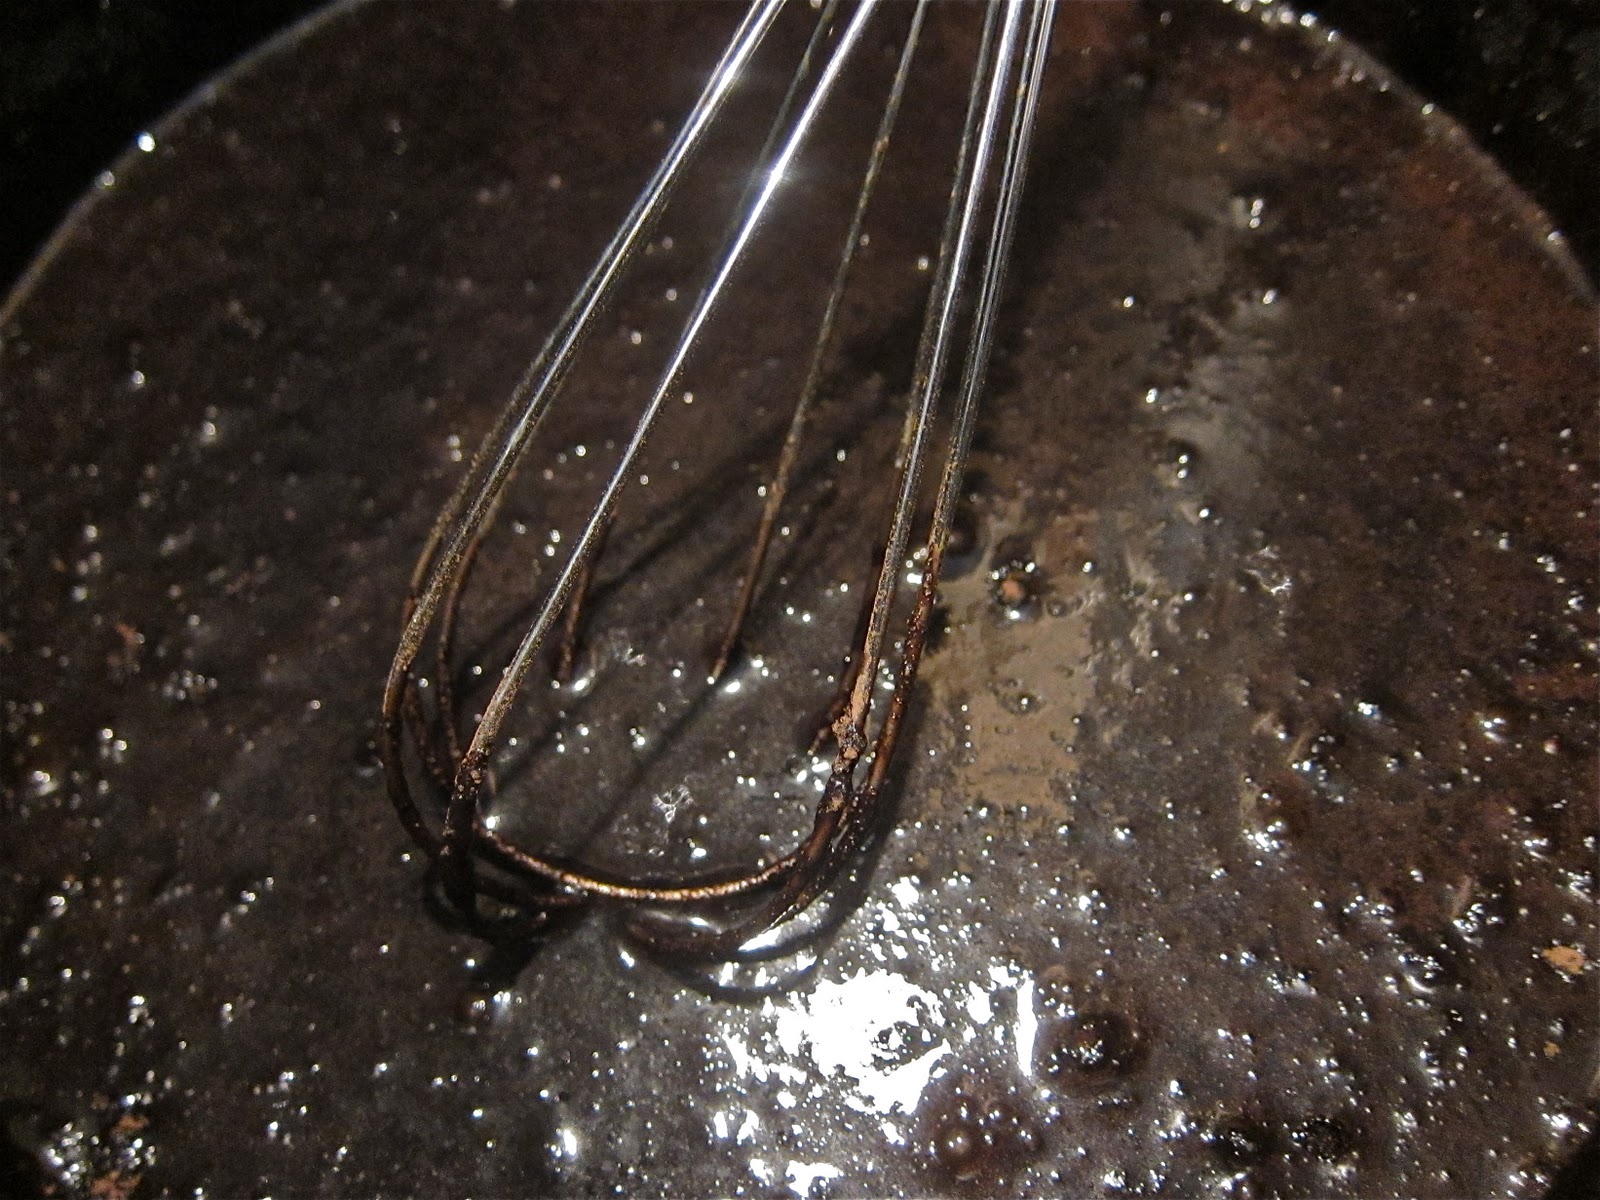
| Mix sugar, flour, and salt together in a medium bowl |
 |
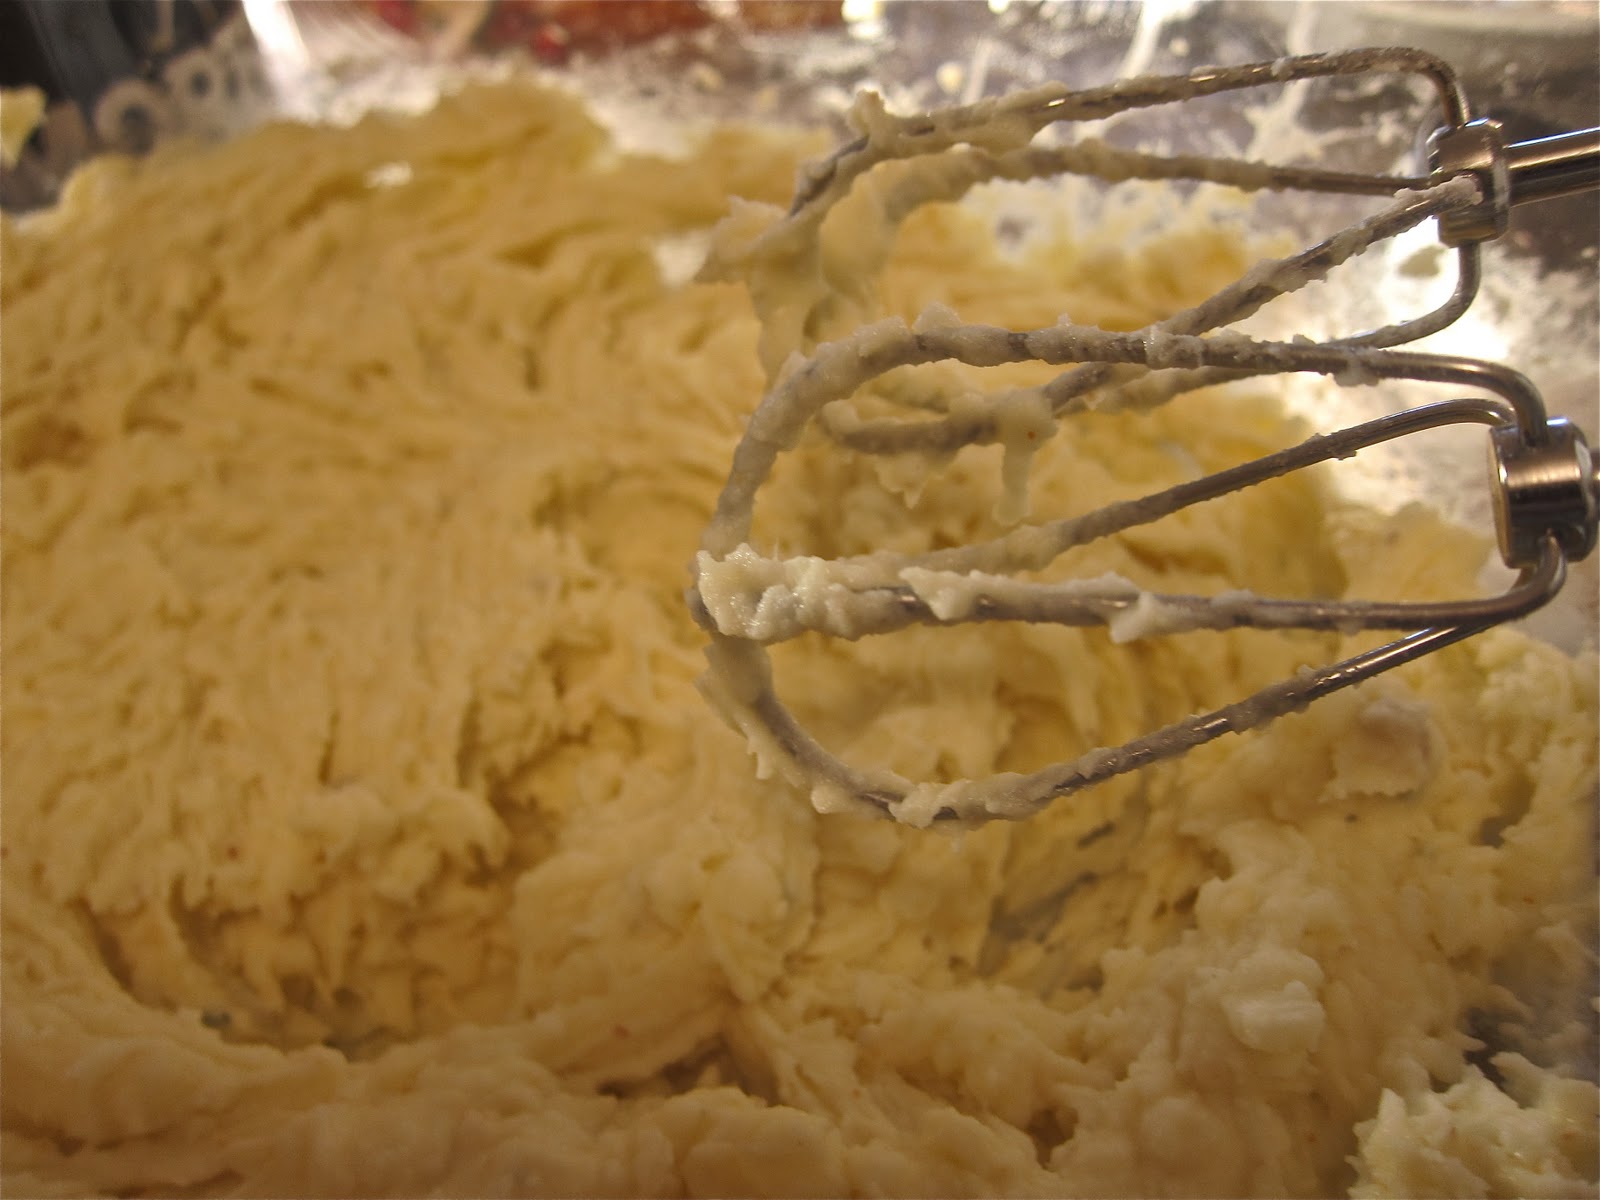
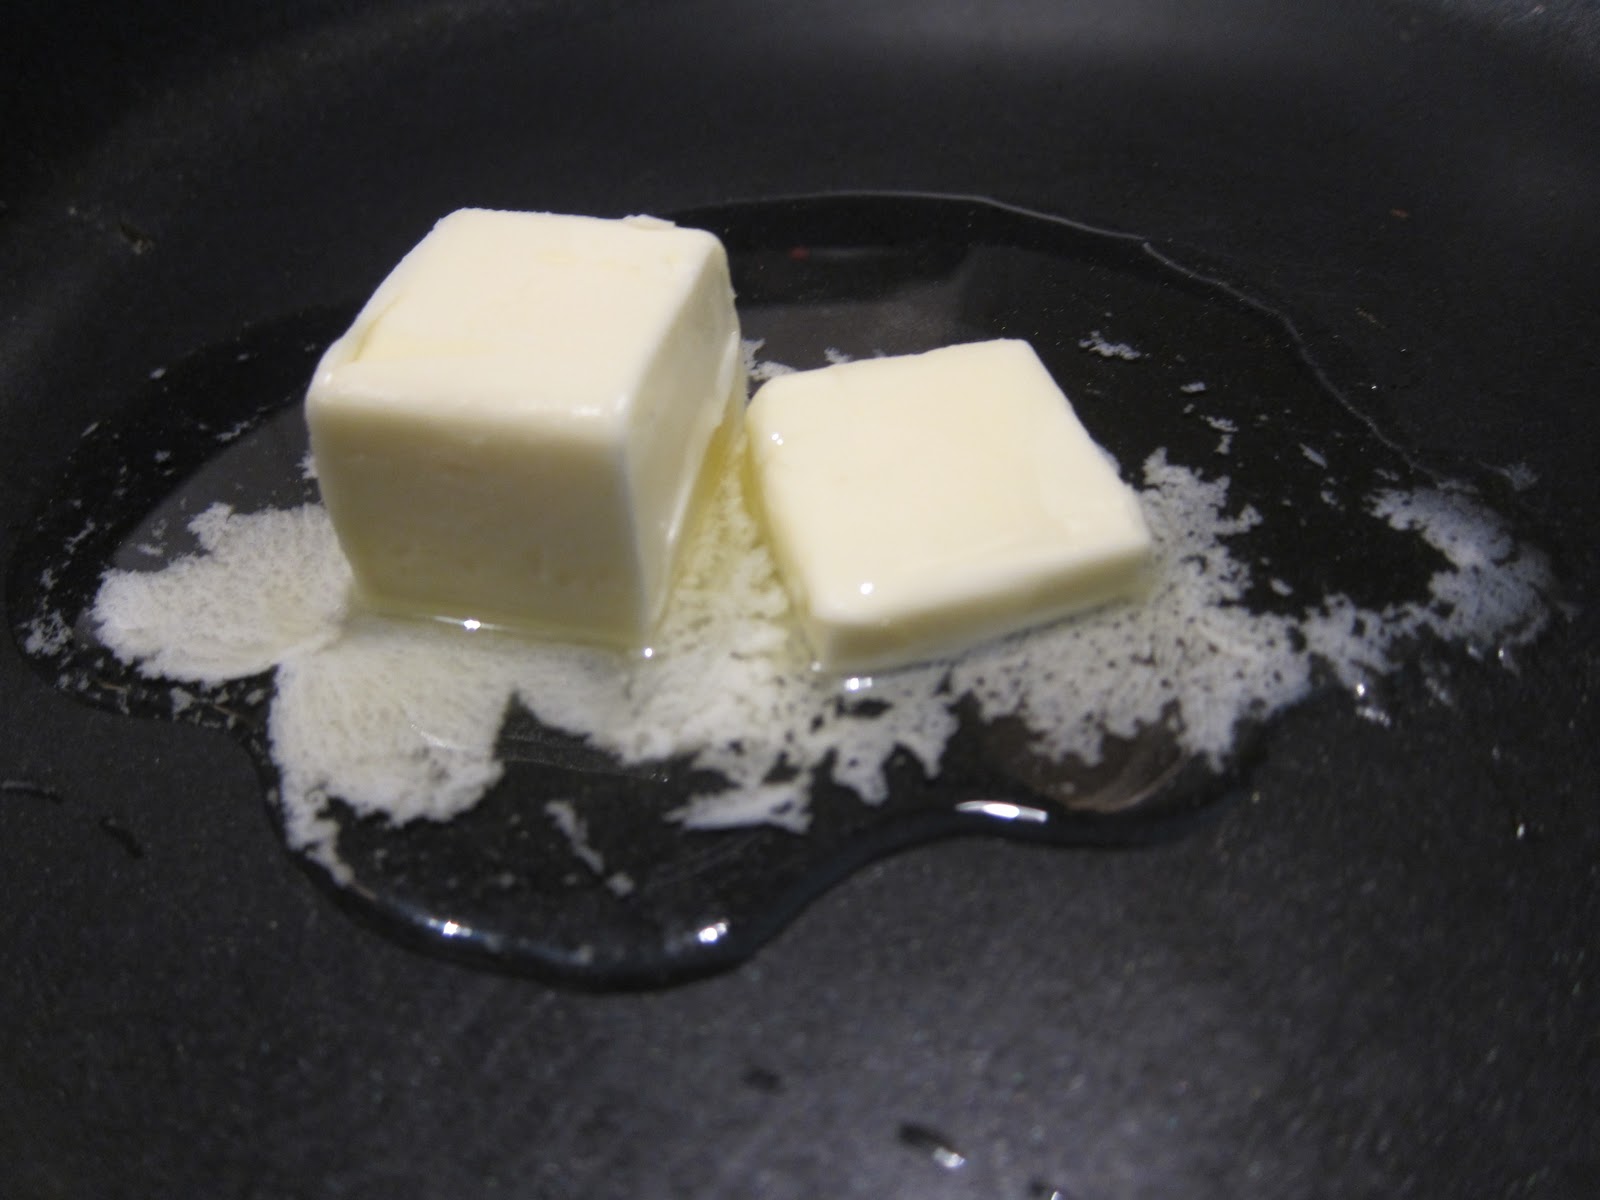
| Beat in eggs, vanilla, and softened butter (microwave butter only 15 sec) |
 |
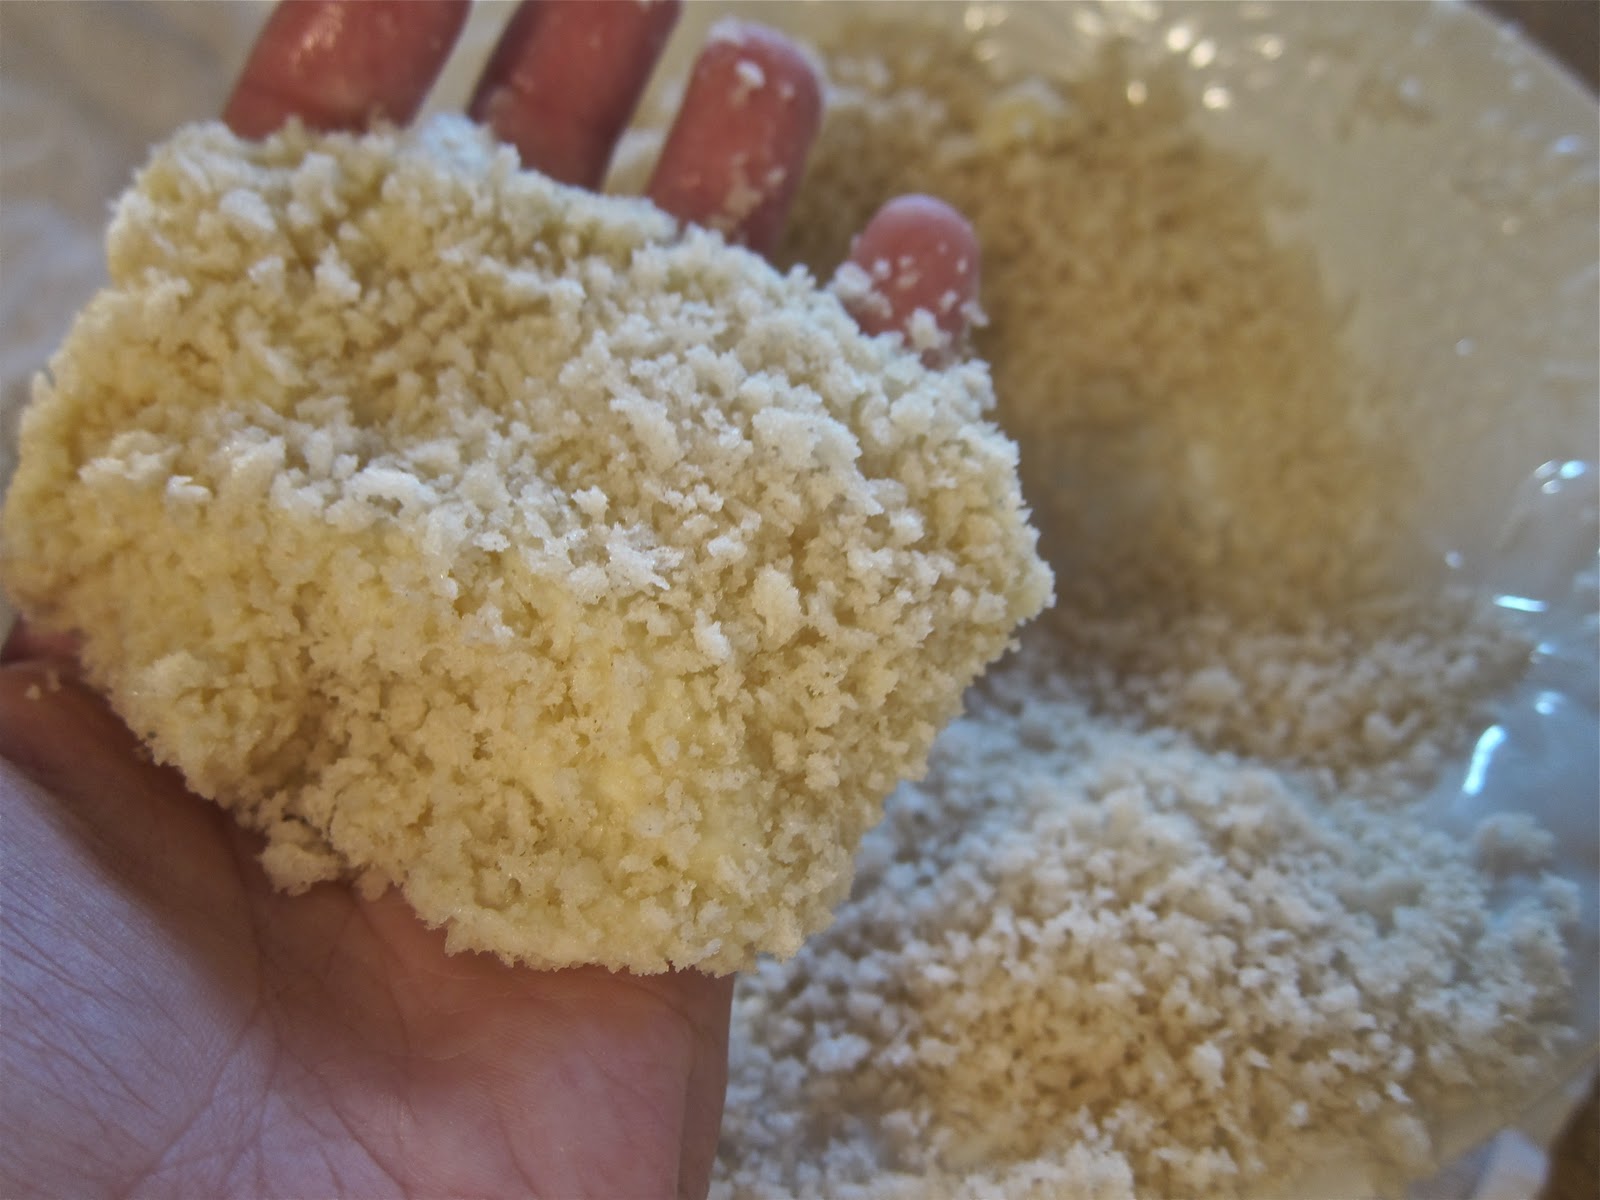
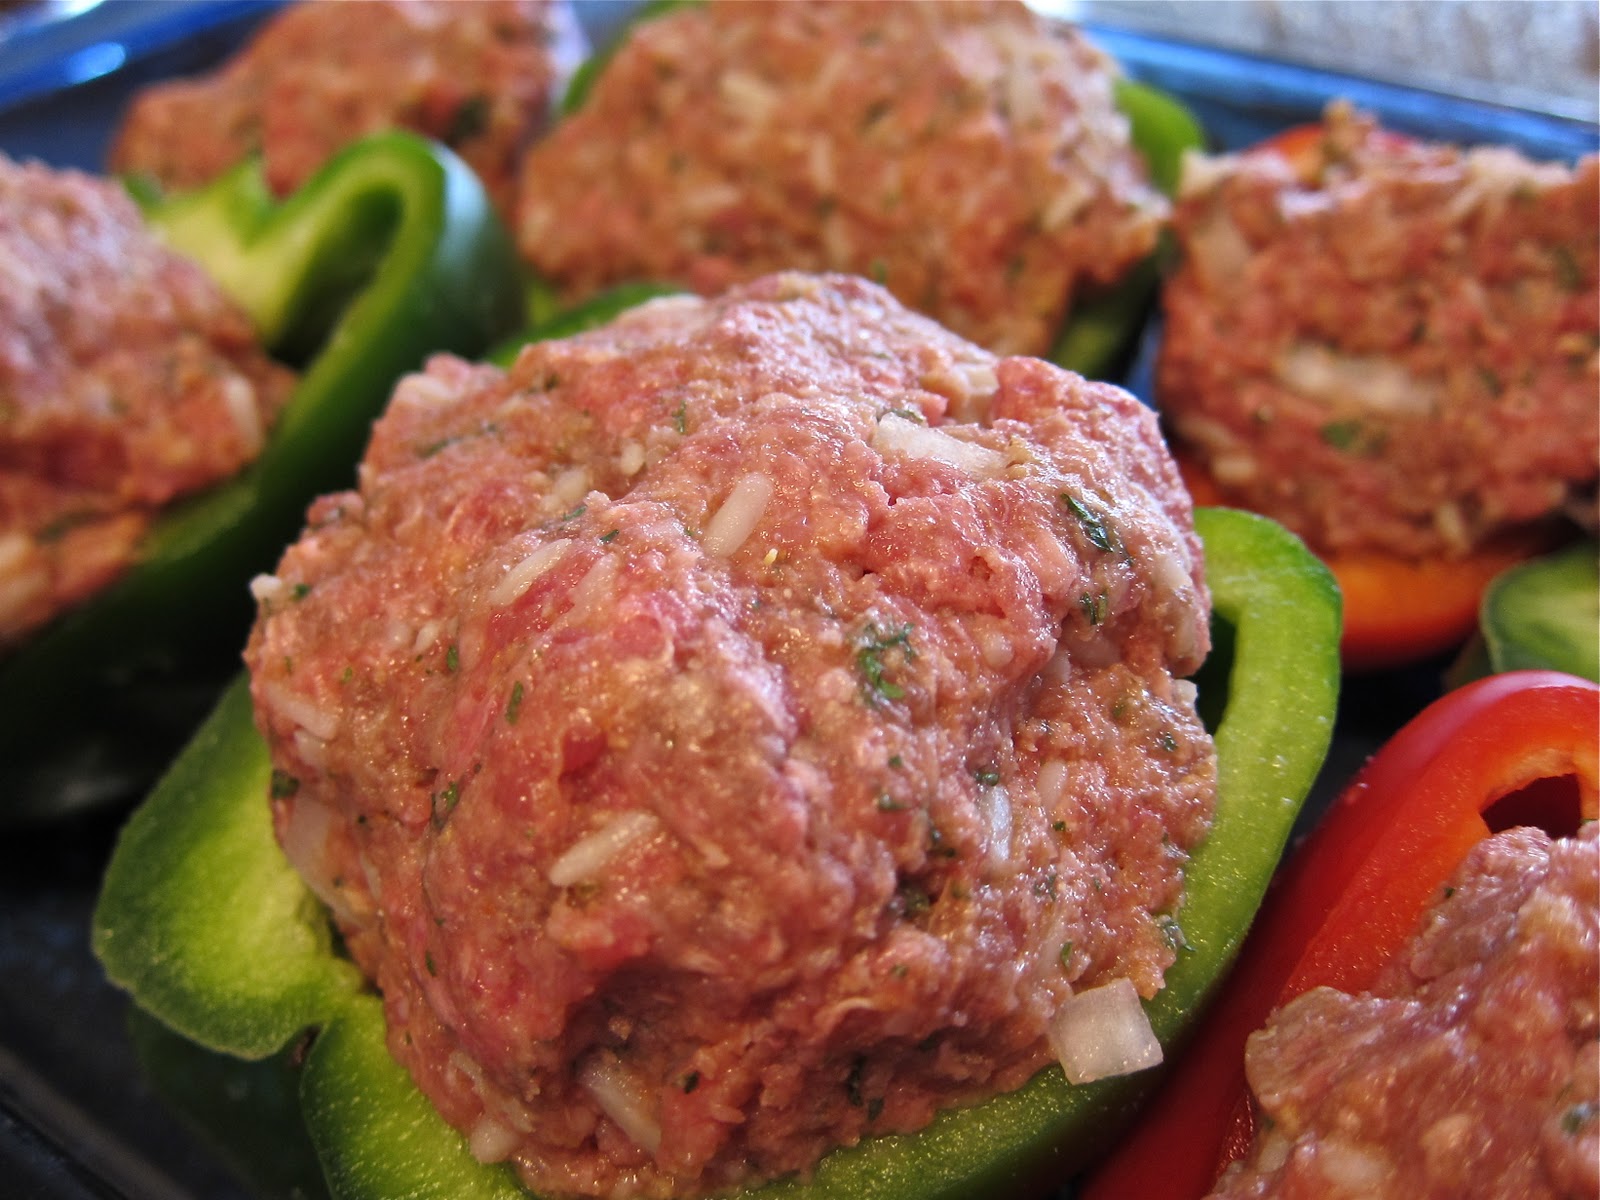
| Stir in chocolate chips |
 |
| Place mixture in pie crust |
 |
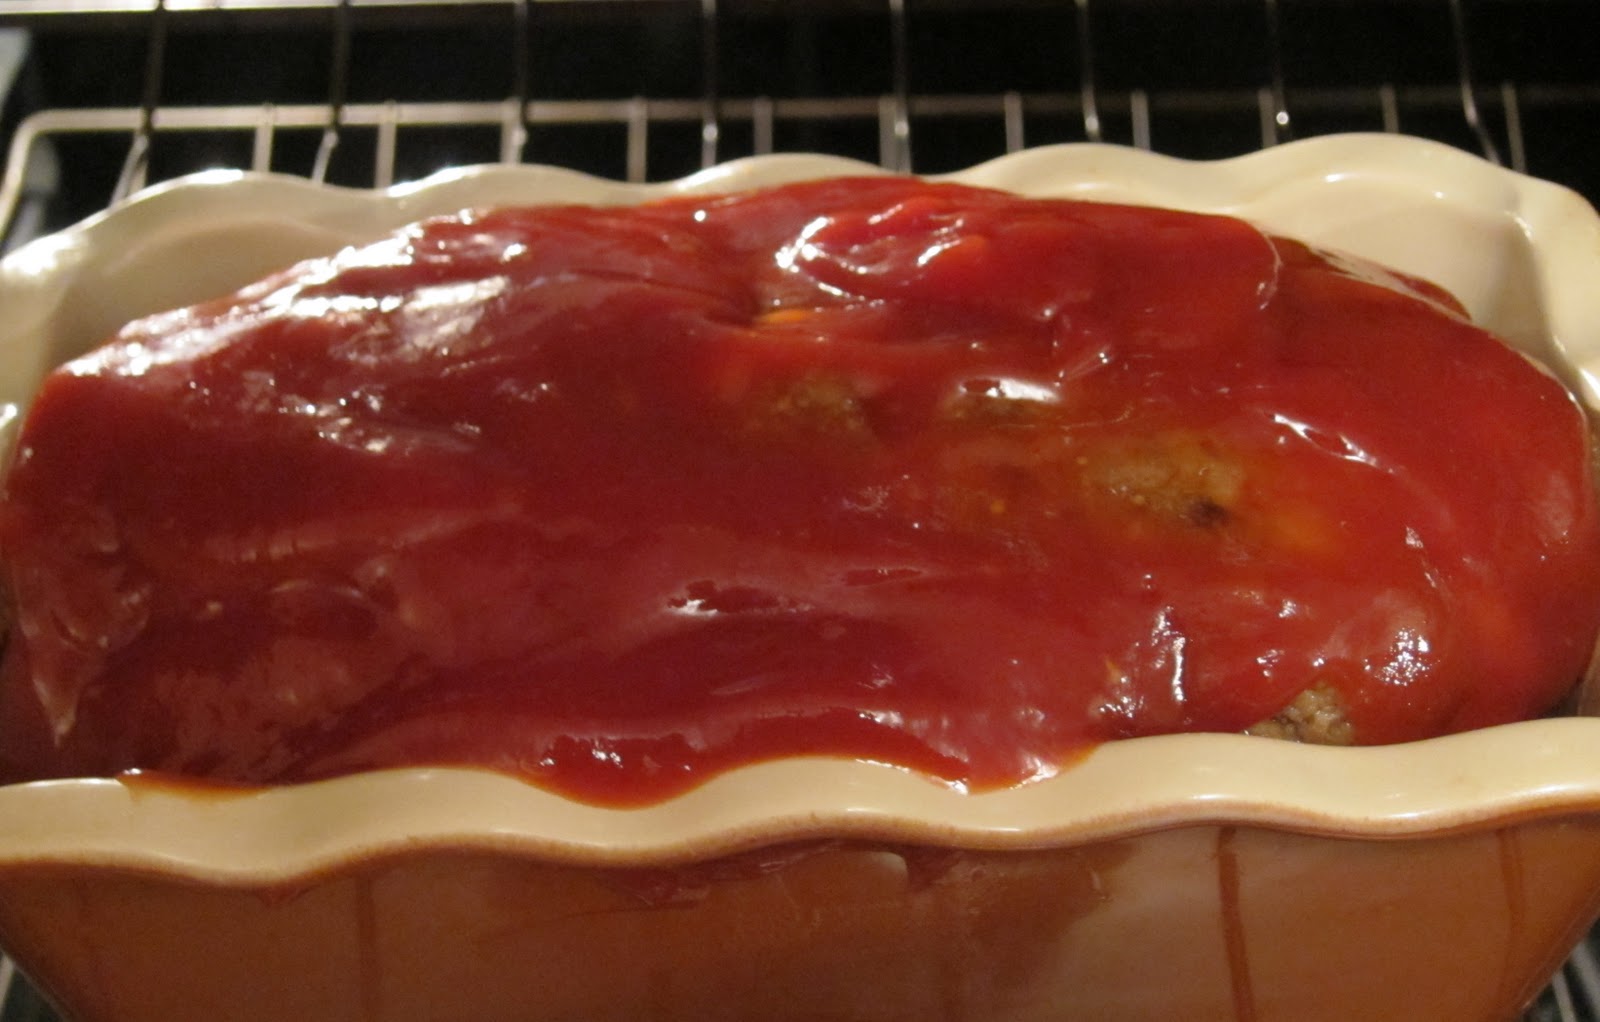
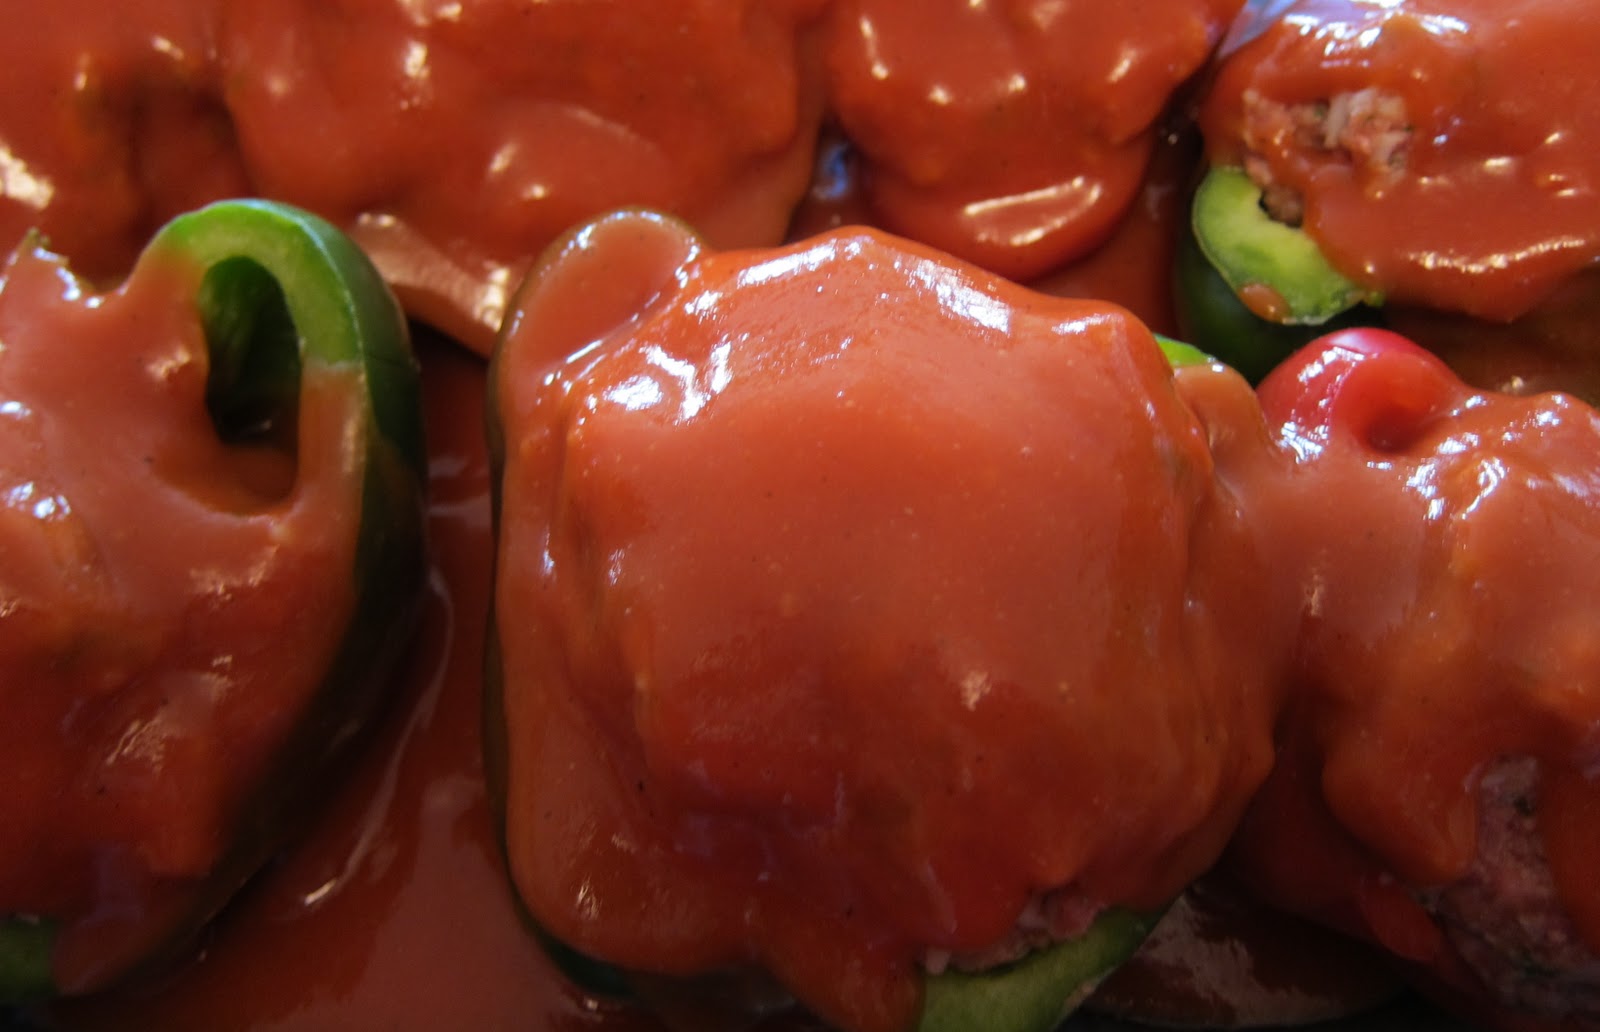
| Bake in a 325 oven for 45-60 mins until set in the center |
|
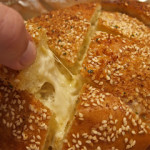
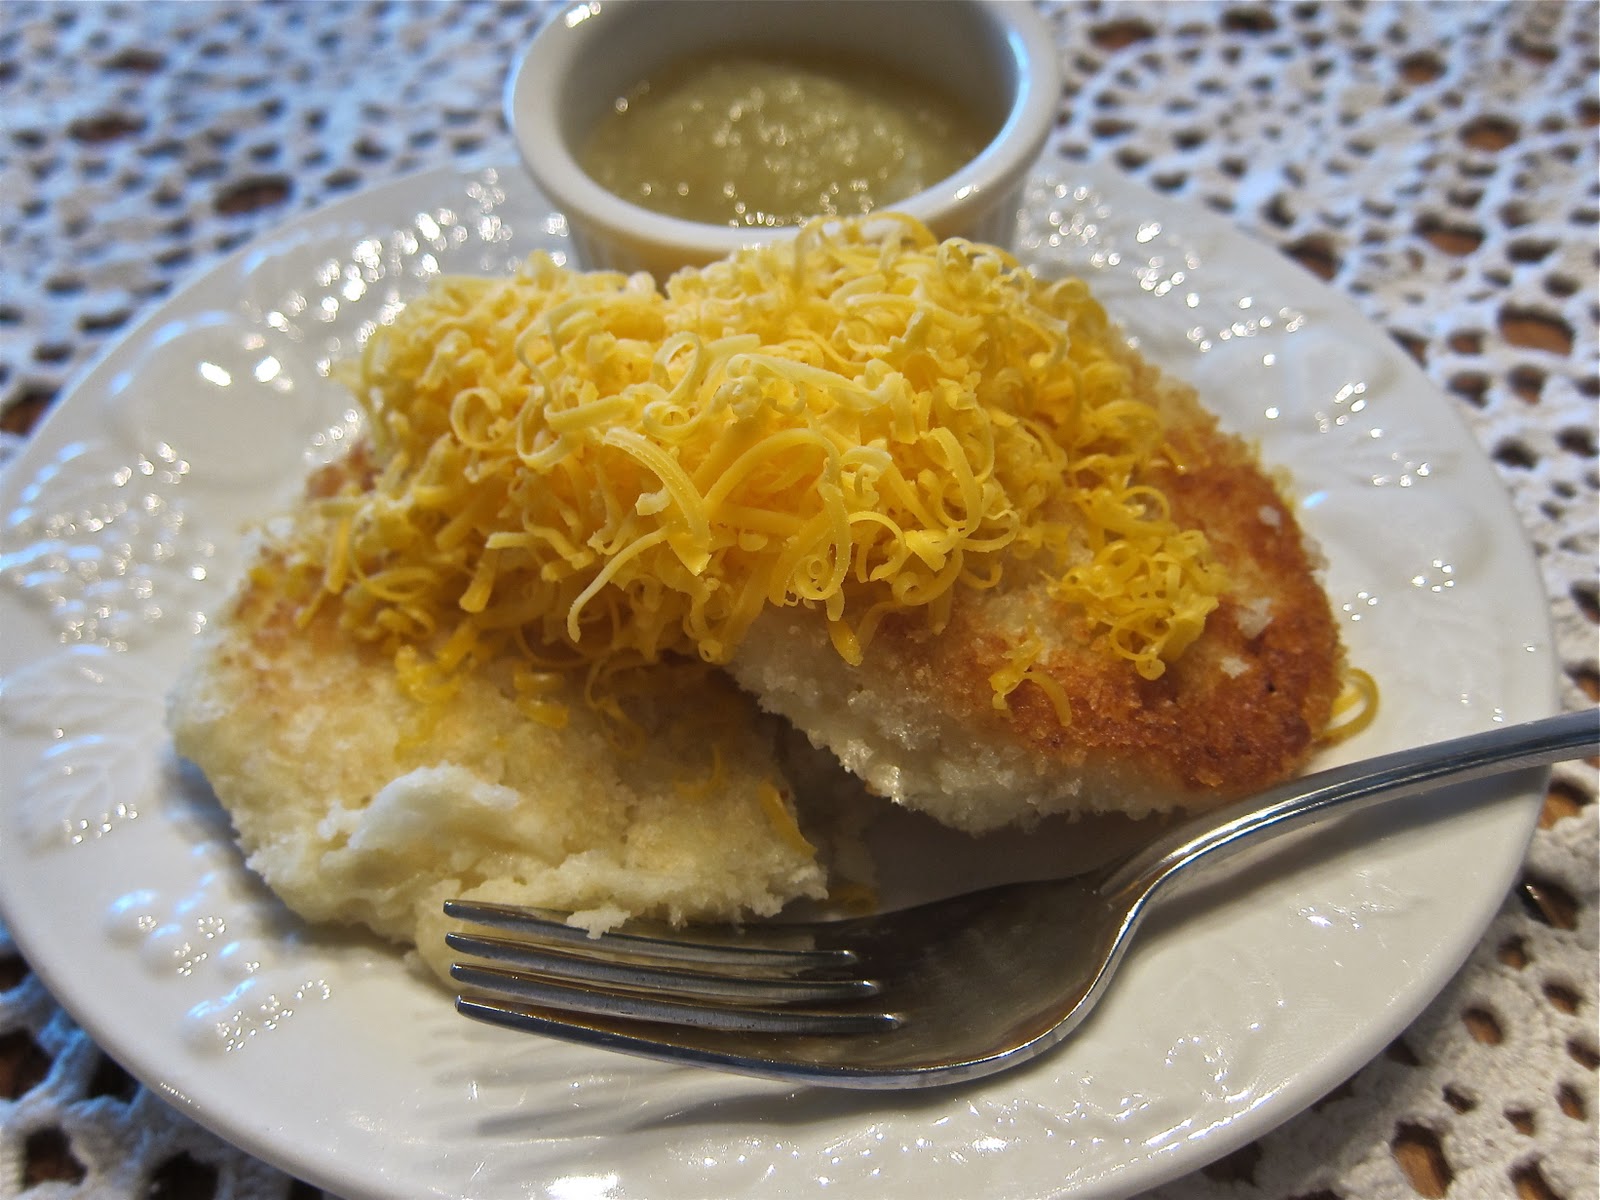
| YUMM!!!! |
 |
| I made this at a bible study at my house at the end of summer and it was a hit! |
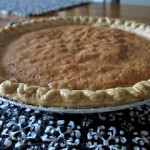
Chocolate Chip Cookie Pie
Author:
Prep time:
Cook time:
Total time:
Serves: 8
Ingredients
- 1 c. sugar
- 1/2 c. all-purpose flour
- 2 eggs, beaten
- 1 stick butter
- 1 c. semi-sweet choc. chips
- 1 tsp. vanilla extract
- 1 tsp. salt
- 1 unbaked 9 in. pie shell
Instructions
- Preheat oven to 325.
- In a medium bowl mix flour, sugar, and salt. Beat in softened butter, eggs, and vanilla.
- Add chocolate chips and pour into pre-made pie shell.
- Bake uncovered for 45-60 mins.
- Serve warm with vanilla ice cream! MMMMM!!!!
 |
| My sweet friend, Courtney, gave it a thumbs up! (www.womenlivingwell.org)
|
|
I am participating in Tempt My Tummy Tuesdays@ www.blessedwithgrace.net , Tasty Tuesdays @ www.beautyandbedlam.com and gold star weds @ www.frommytinykitchen.blogspot.com for more great recipes check out their sites!
|