Happy Friday My Friends!
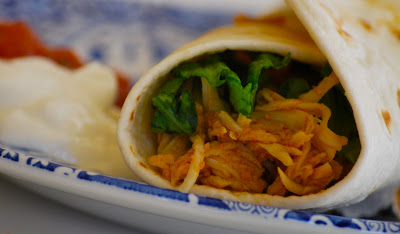
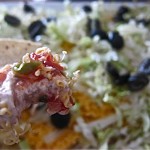
Anyone watching football this weekend? If so, I have the perfect taco dip for you…Come visit me over at Women Living Well for this touch down recipe! The football fans in your life will thank you!

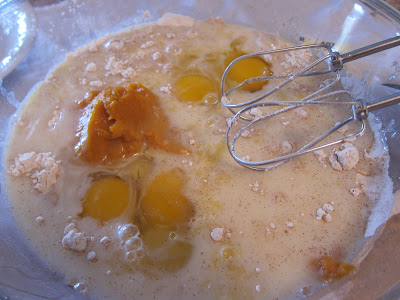
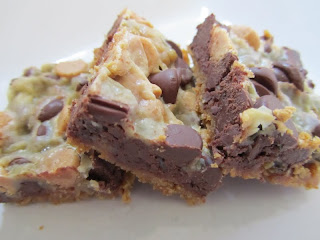
Pumpkin Pie Scones
Made By: Simply…This.That.And the other..

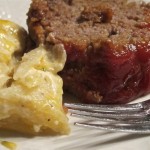
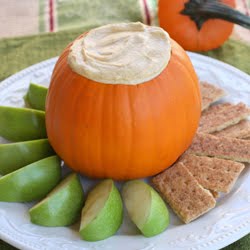
Pumpkin Cheesecake Cups
Made By: Little Rays of Sunshine

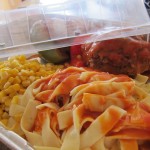
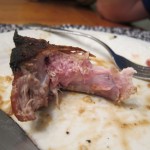
Hawaiian Meatballs
Made By: The Time Warp Wife

It’s a Feasting in Fellowship Link up! Please post as many recipes as you wish. All I ask is that you please place my button or link on the post you share! Have a very blessed weekend! See you on Monday!