Friday’s Feature!
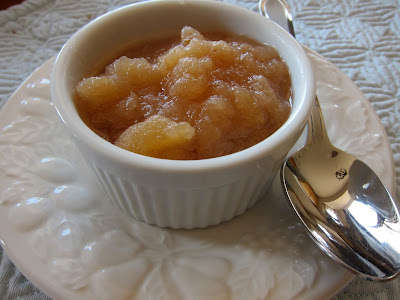
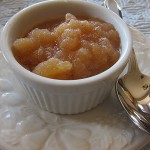
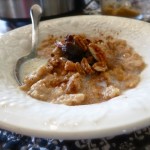
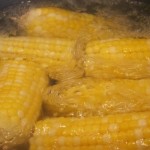
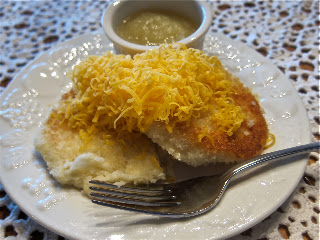
Courtney from Women Living Well has some delicious applesauce cooking in her Crock Pot today…Ladies, this is a ” must make ” recipe for Fall.
Take the kids to the apple orchard {Field Trip!} and let them help peel the apples {Home Economics} Wohoo !
Friday’s Favorites!
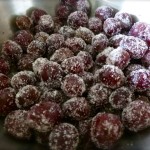
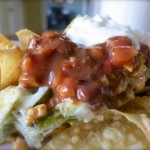
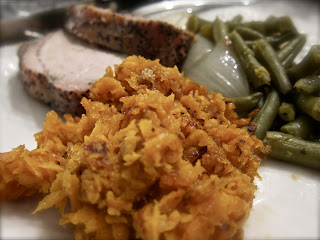
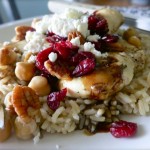
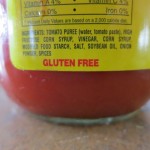
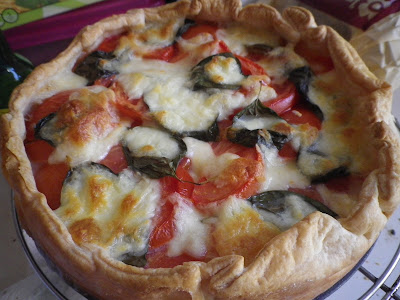
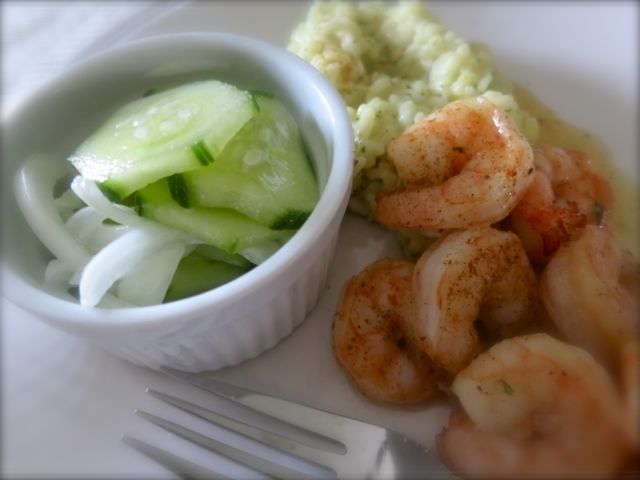
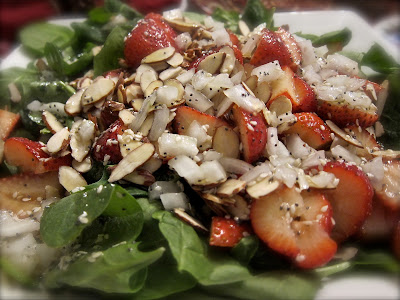
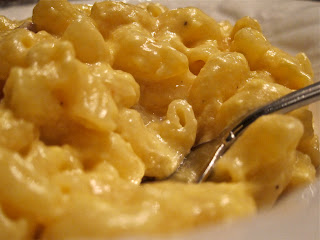
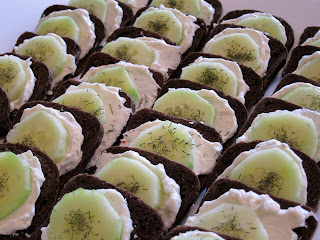
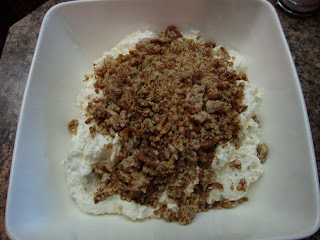
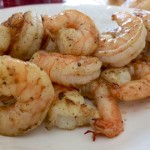
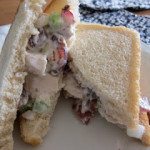
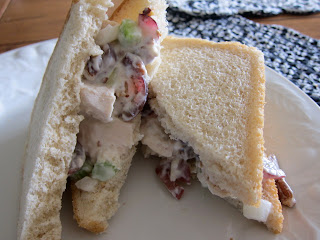
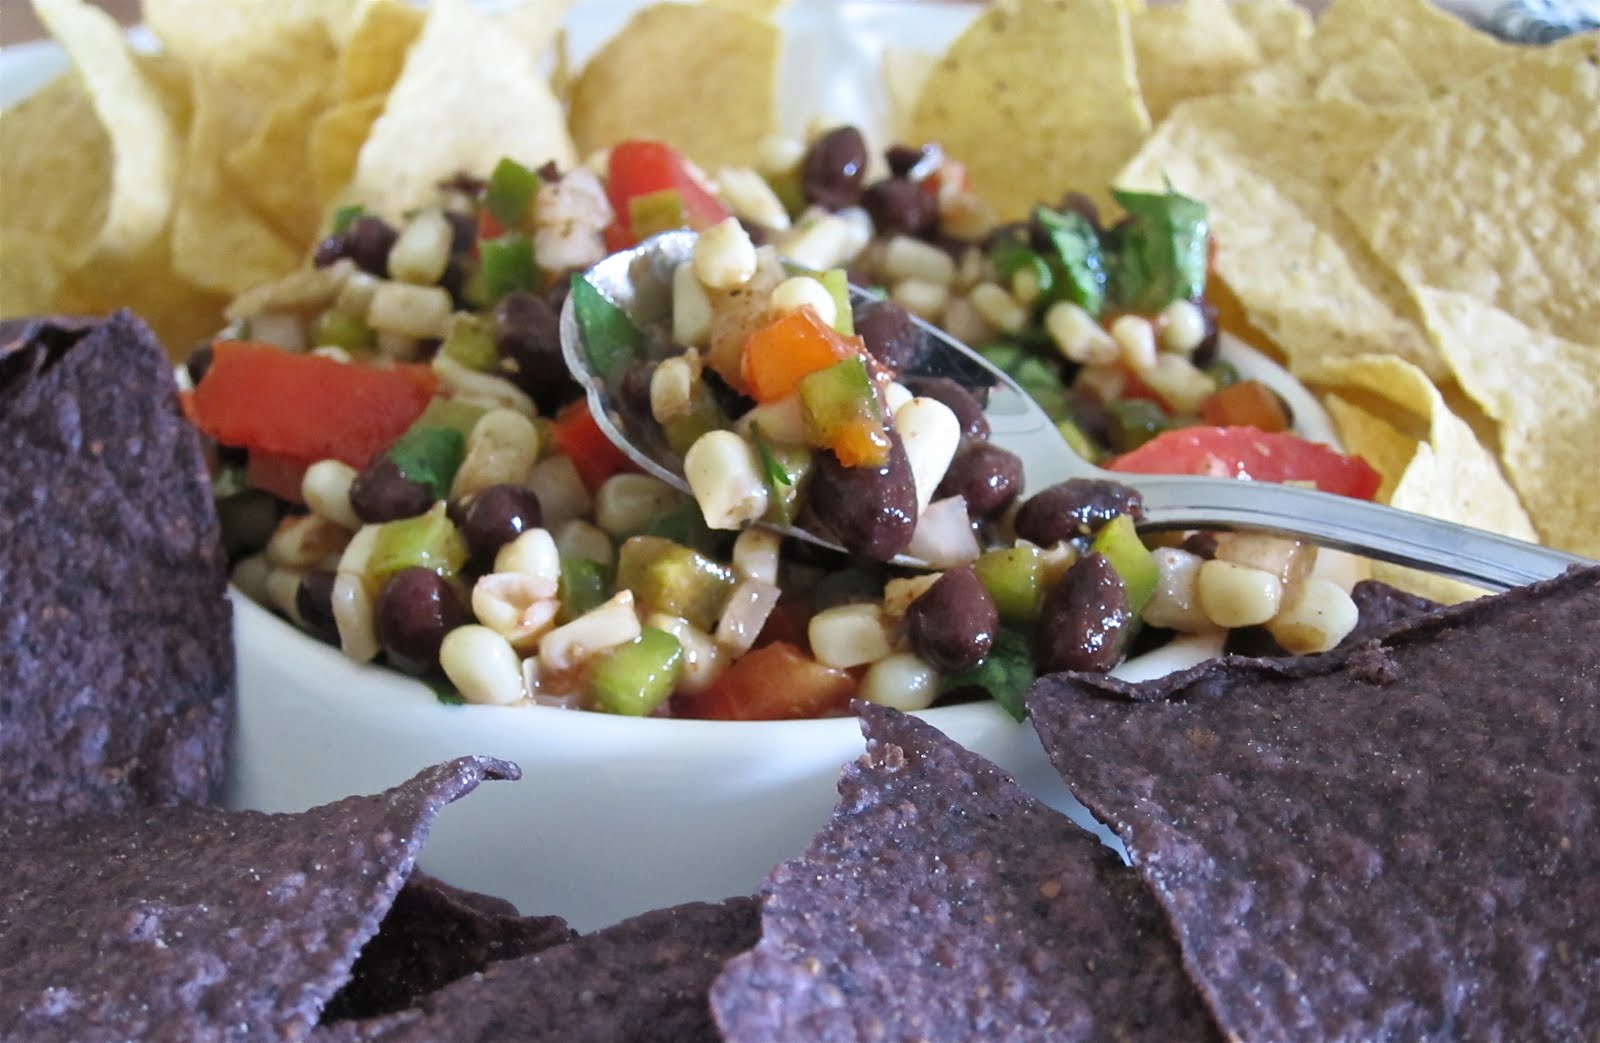
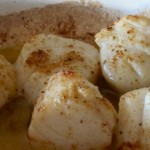
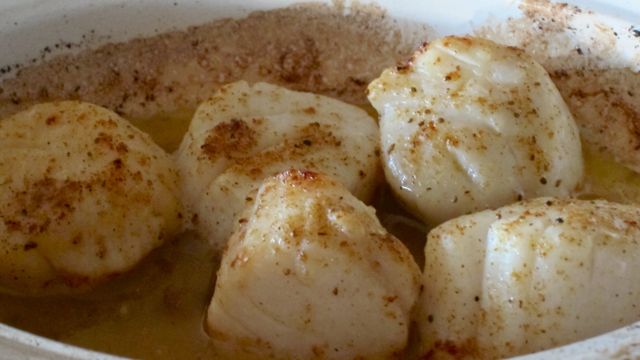
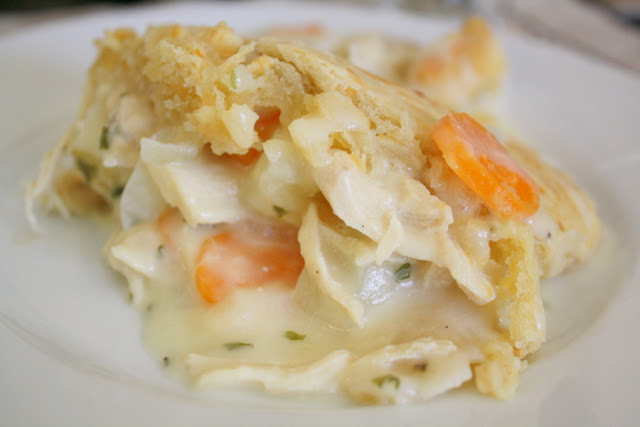
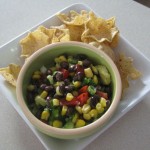
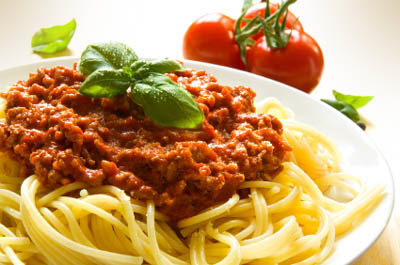
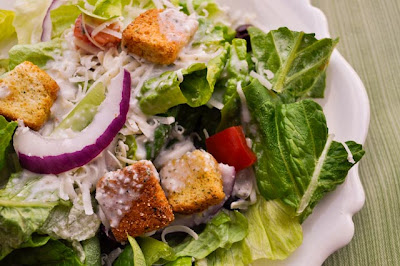
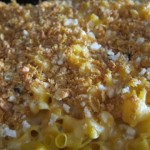
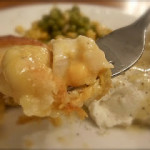
Today we are featuring GLUTEN FREE recipes! These looks great girls!
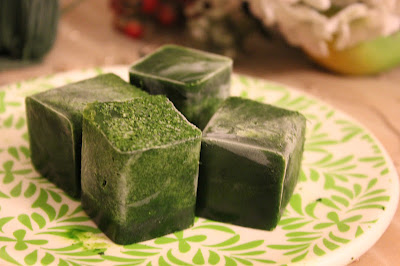
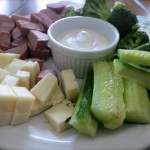
{I recently tried Kale chips and was surprised at how good they were!}
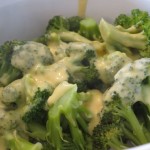
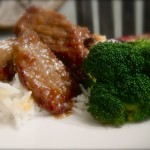
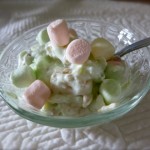
Made By: Mom Essentials

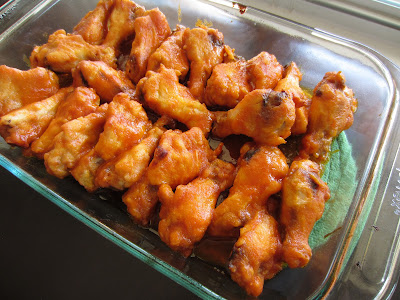
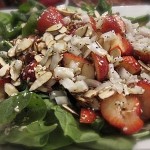
Made By: The Wholesome Life
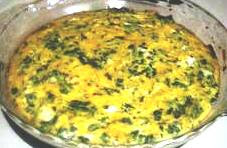
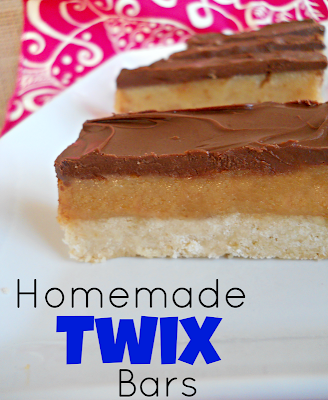
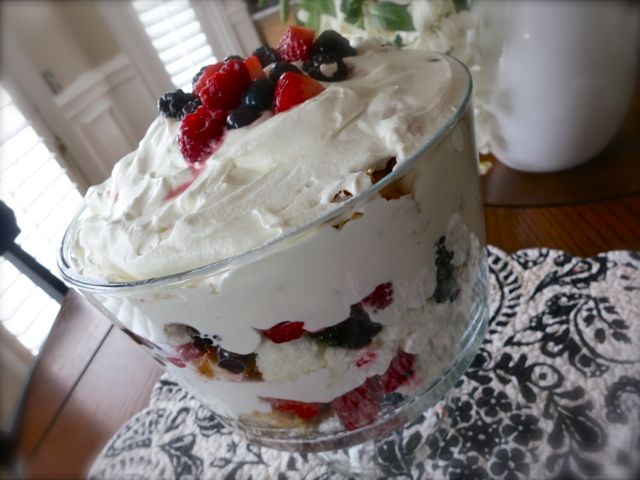
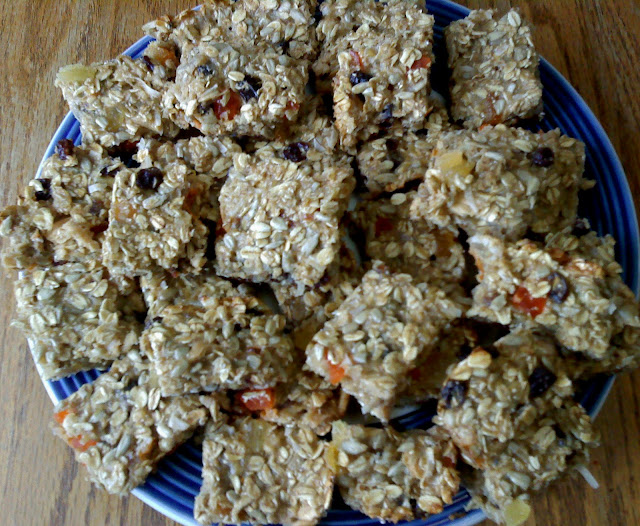
Made By: The Humbled Homemaker

It’s a Feasting in Fellowship LINK UP!
Please link up as many recipes, Christian posts, and/or posts of the season as you wish! All I ask is that you link back or simply place my button {located on my sidebar} onto your post. I will pick my top 3 each Friday and advertise. Thanks to those who PIN, TWEET, and FB!!!! I love making new friends {thanks to you!}
Thanks for sharing what YOU have cooking!


 My Mom and Me 😉


")


